|
Building
DML's T19 105mm Howitzer Motor Carriage |
 |
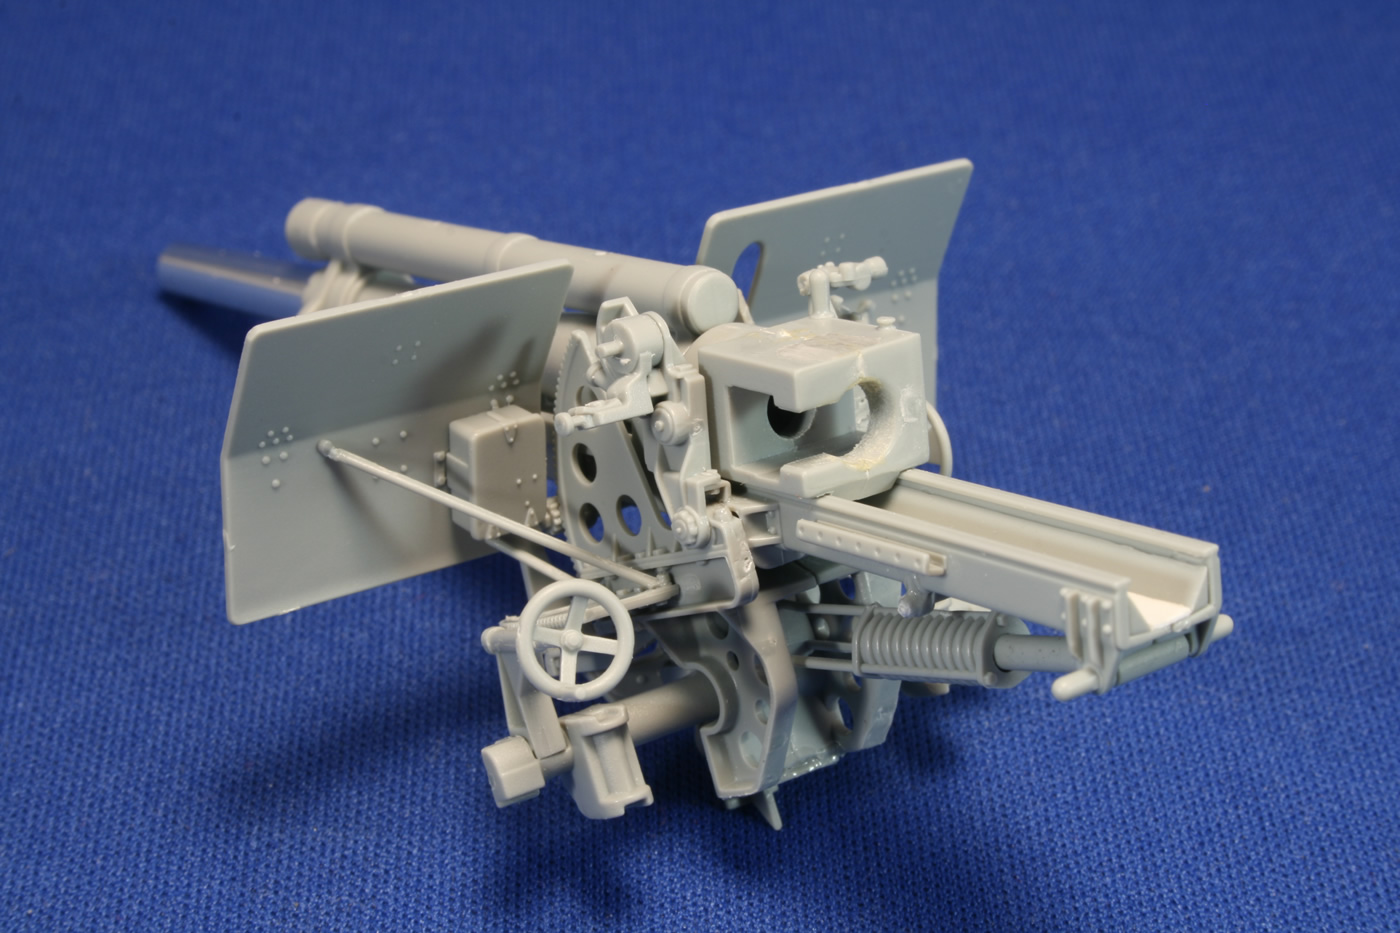
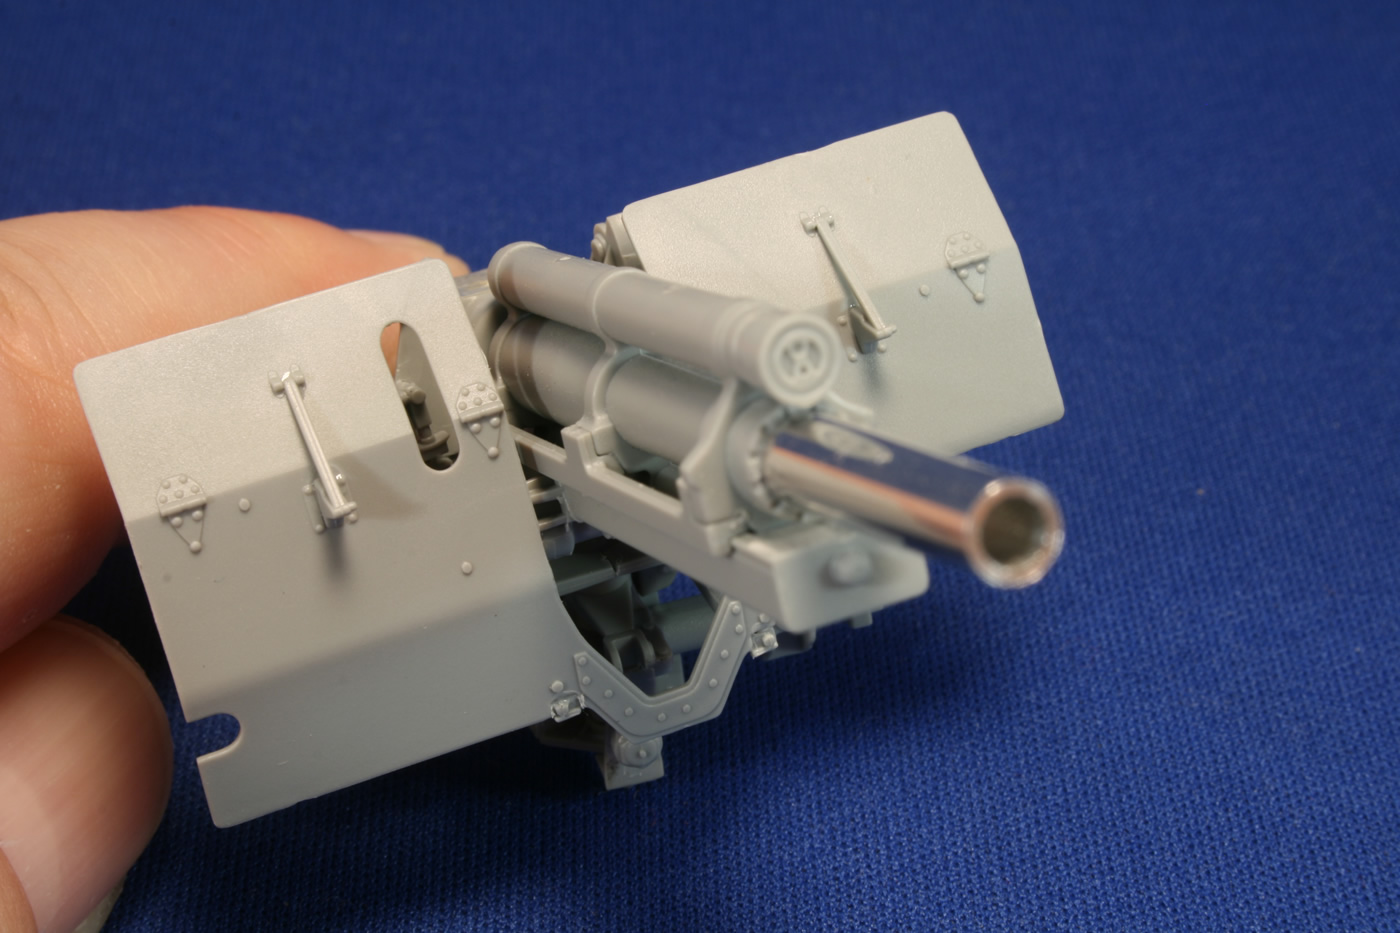
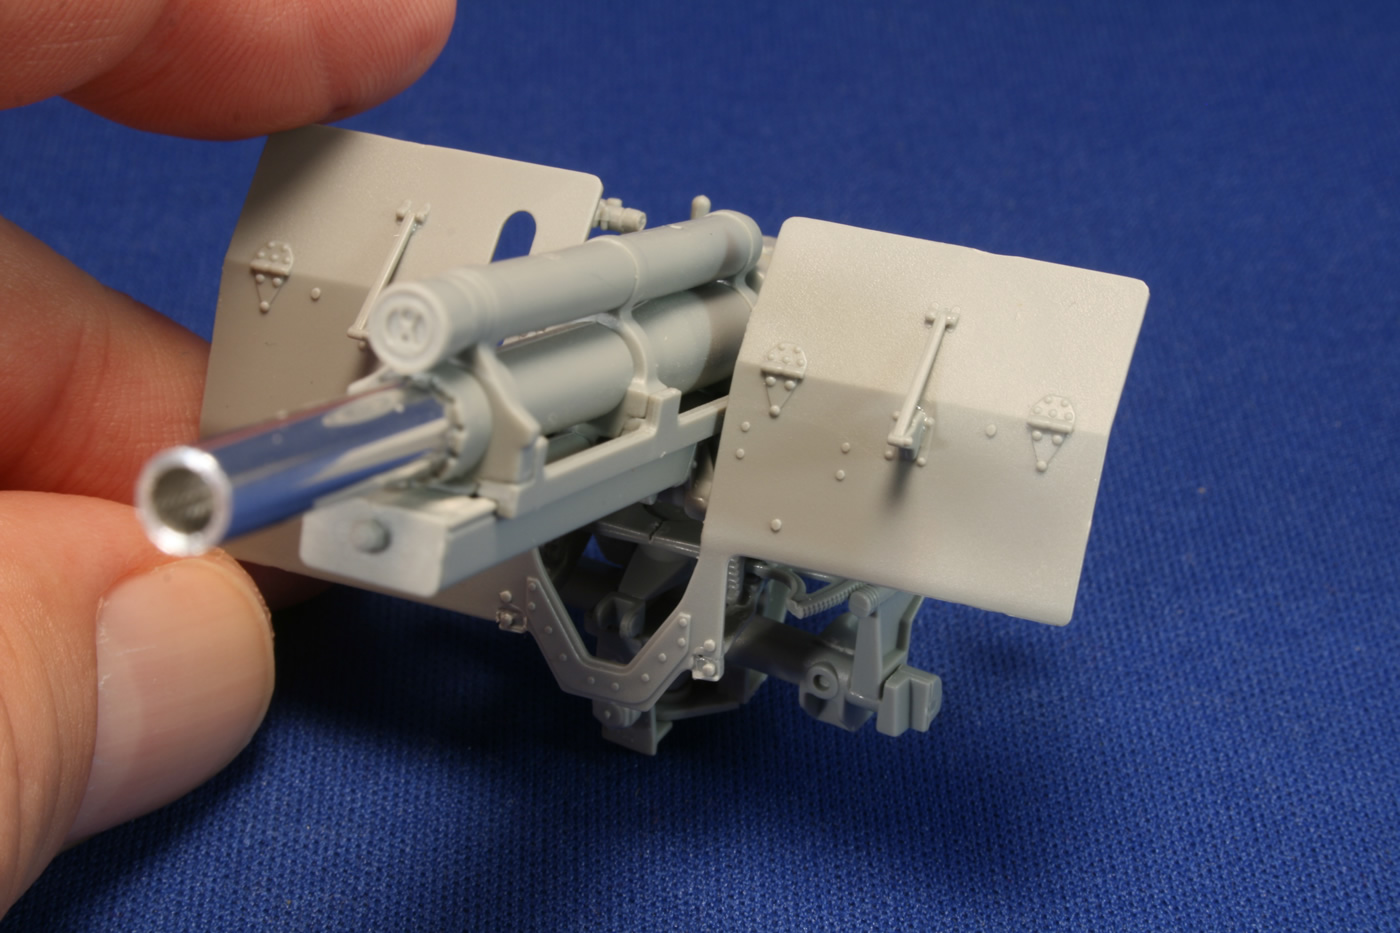
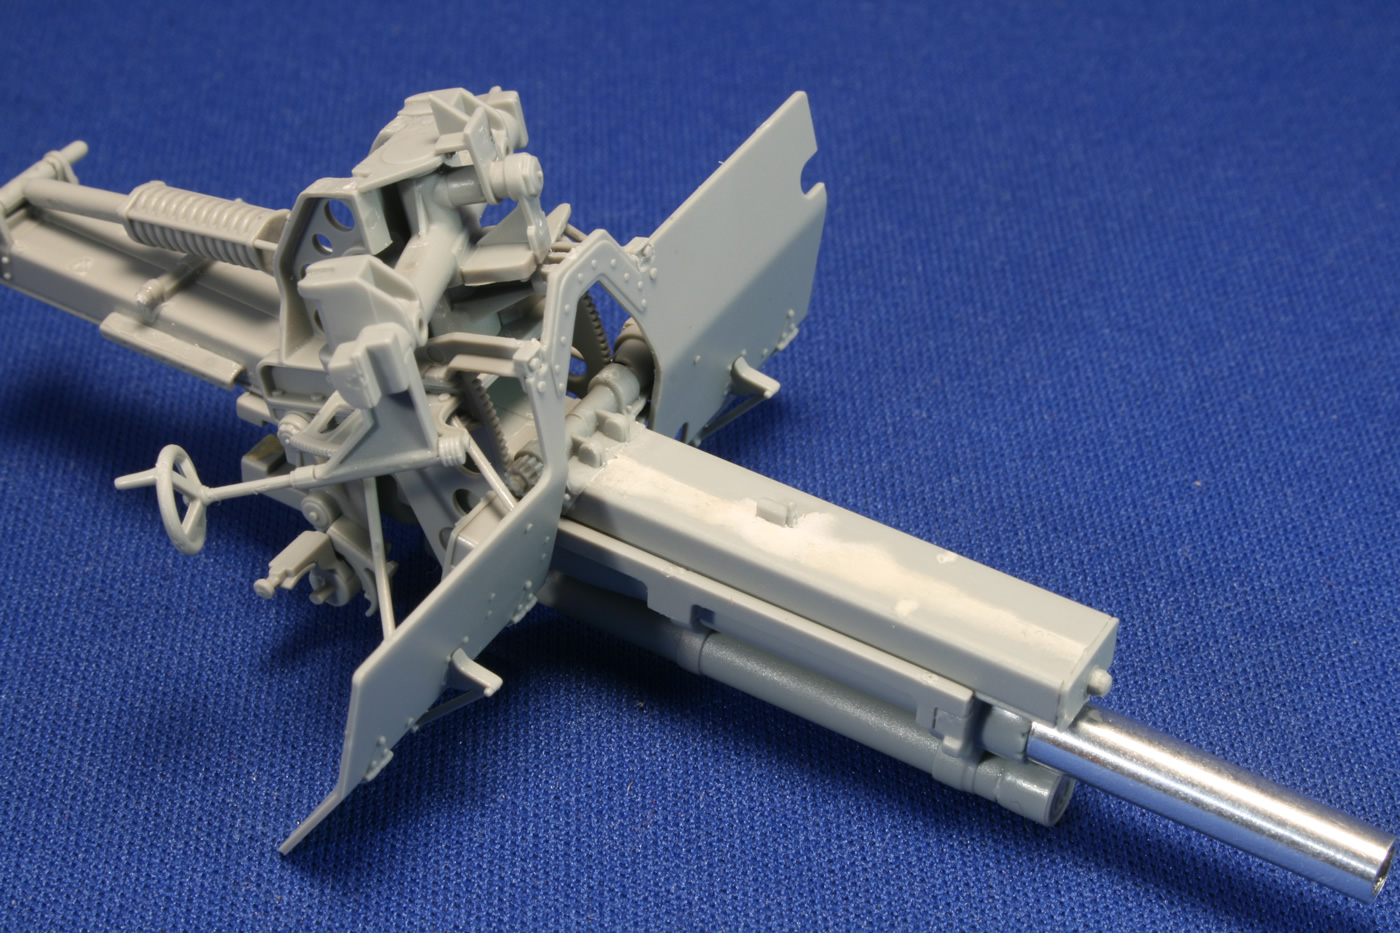
Building the 105mm HowitzerWe arrive at construction of the 105mm at Step 10, and much of this repeats what I experienced with DML's previously released M2A1. There are numerous images here to help with the assembly. Unfortunately, DML has not updated the parts to show the breech lever in an open position, nor have they included the lanyard missing from the cradle. I did not install the breech block until after painting it separately. Likewise, the telescope M21 was left off until I had the elevation of the gun settled. Note in the bottom right photo the need for filler on the underside of the cradle. The shield represents the modified protection that was standardized after initial production of the T19 began. I don't know if this happened by my error or by design, but the right side of the shield came into contact with the end of part A22, pushing it forward and out of alignment with the other side. Fortunately, I had not yet cemented the gun at its desired elevation, nor had I glued the knurled knob A12 (saving this until final elevation was decided), so I was able to tilt the carriage up beyond the top of the shield and nip back the knob end of A22. This bought me a little more elevation before the round housing on A22 came in contact with the shield.
It wasn't until the gun was built when I remembered that the top flap of the shield on the gunner's side was typically lowered forward when the gun was in battery. I suppose it would have been left up if there was some anticipated danger, such as return fire. It would be possible to carefully score and cut the shield in half, but the hinge support would require some surgery to respond correctly. Introduction Building the Chassis Building the Tracks Building the Cab Building the 105mm Howitzer Building the Fighting Compartment Ready for Paint Painting and Weathering References -tss- |
 |
 |
 |
 |
 |
 |
 |
 |
 |
 |
 |
 |
|