|
Building
DML's T19 105mm Howitzer Motor Carriage |
 |
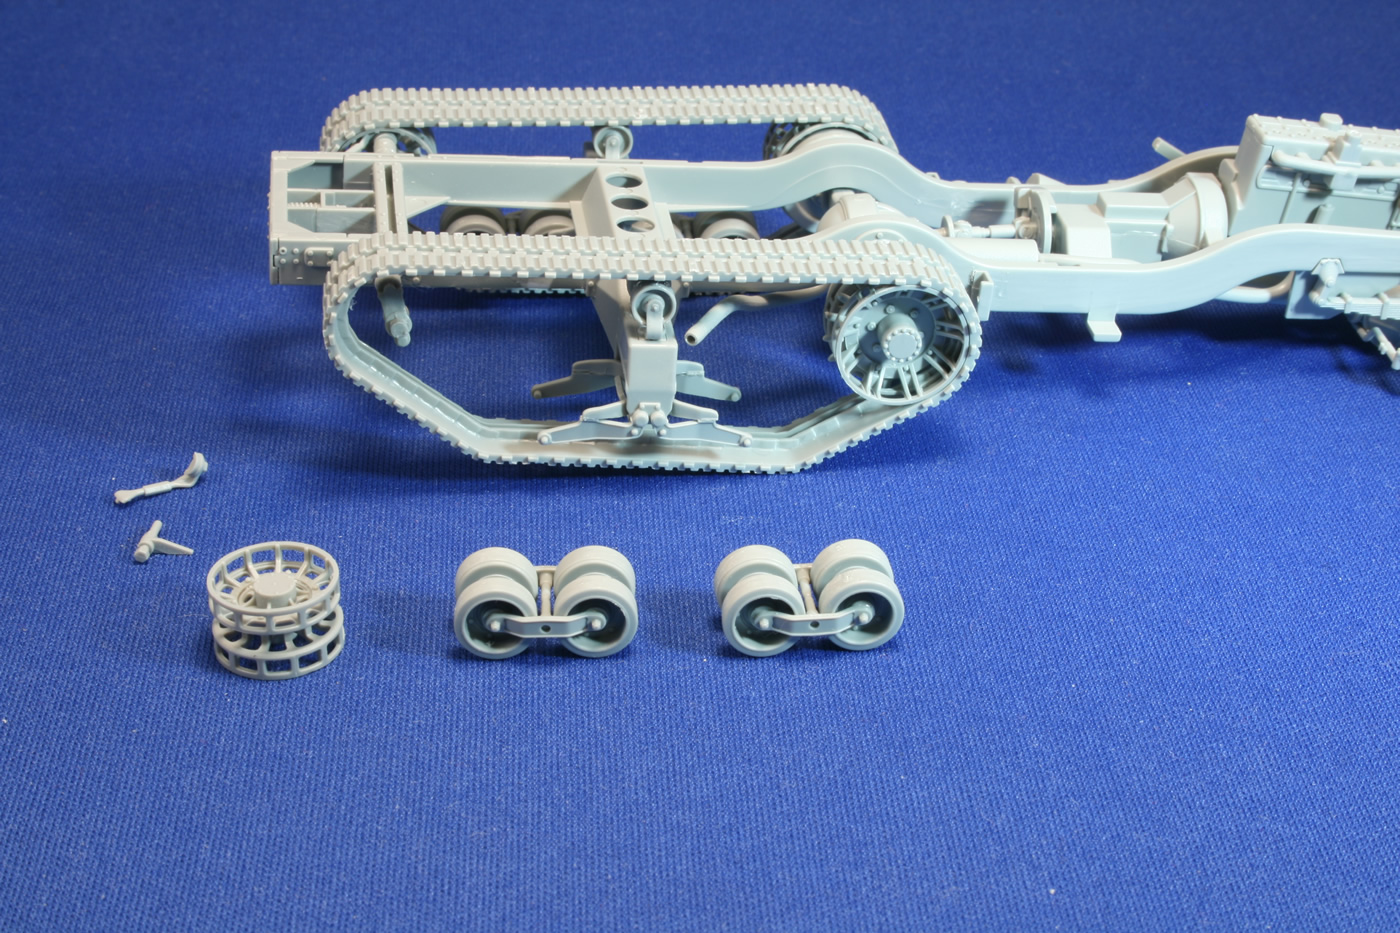
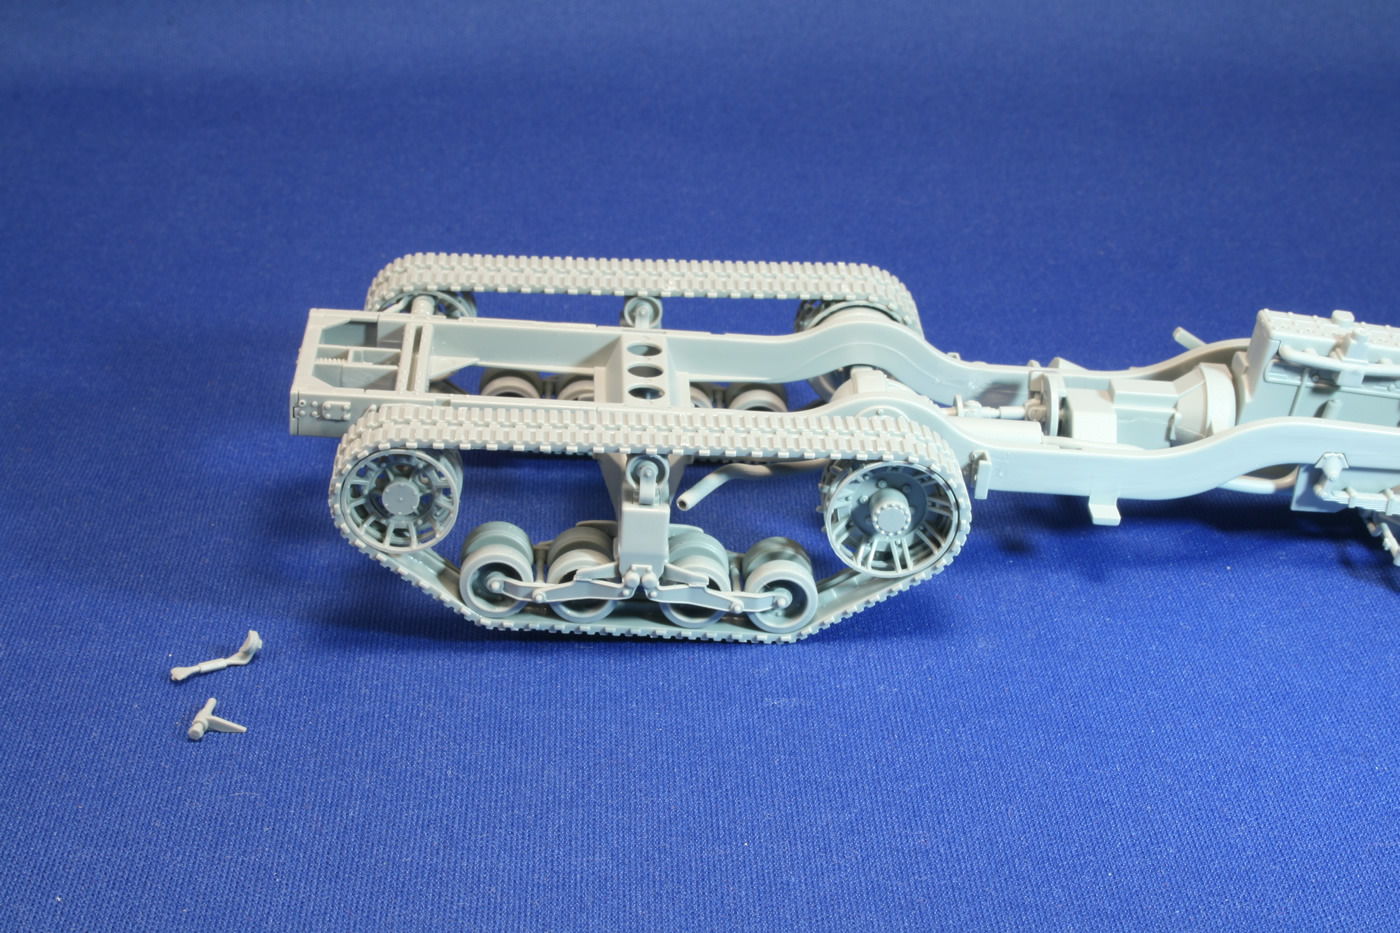
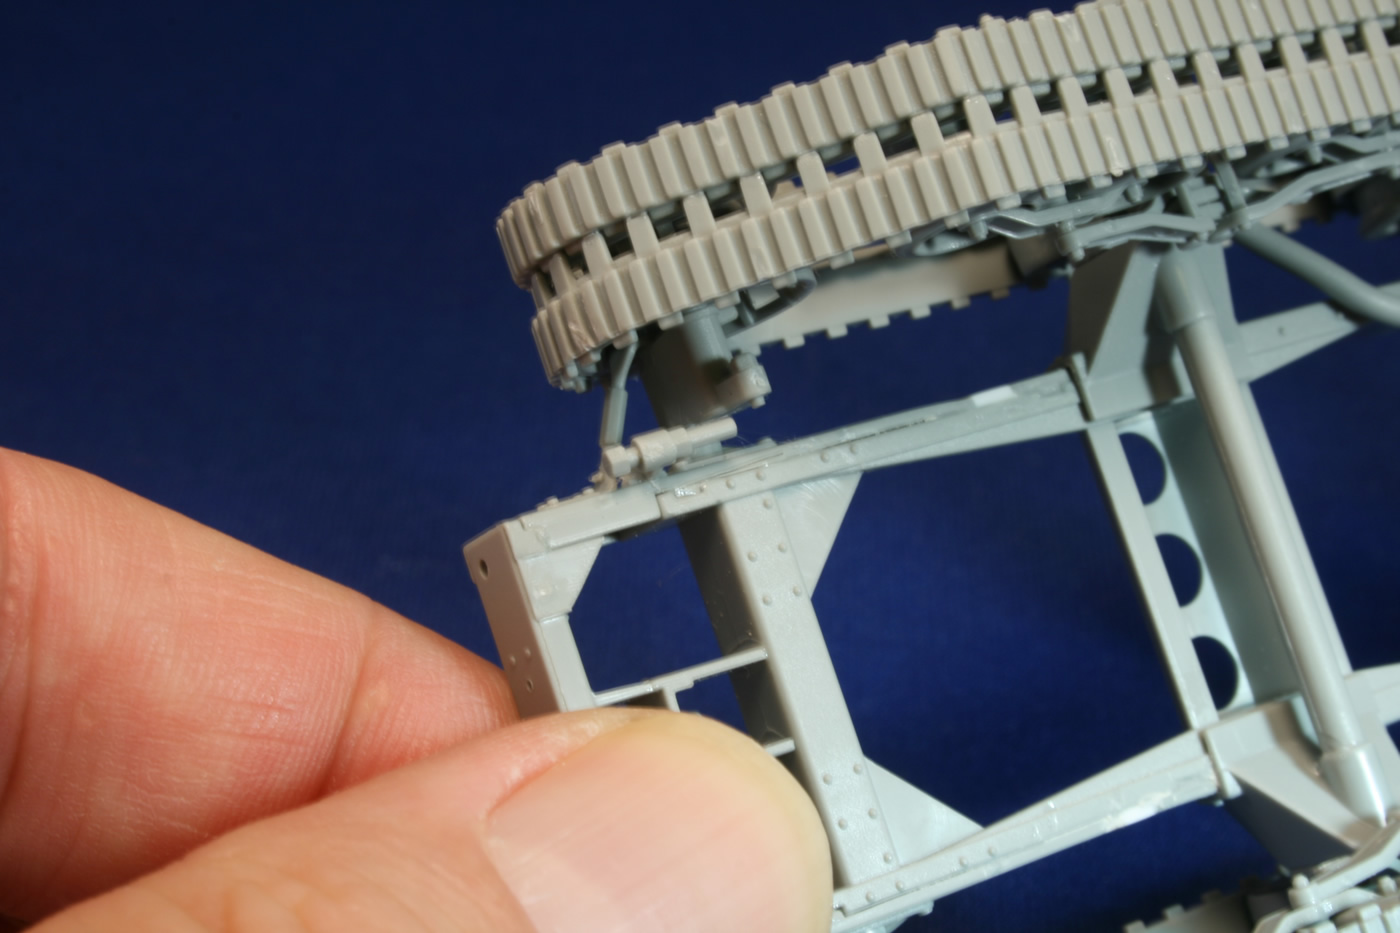
Building the TracksAdding the ingeniously designed track to the suspension takes a bit of fiddling. Looking at construction of the right side of the half-track, the step-by-step photos here should help clarify the process. With the sprocket assembly glued in place on the axle hub, slide the inner half of the track D17 over it (I had glued the sprockets in place the day before so it would provide a firm anchoring point). Make sure that you get the track properly positioned around the sprocket so that it will sit correctly on the ground-the top track is supposed to angle downward as it approaches the rear idler. It wouldn't hurt to put a little glue on the inside curve of the tracks to ensure contact is maintained between the parts. A track that floats off the sprocket or idler will be an unfortunate distraction!
Apply glue sparingly to the extensions that represent the metal ribs of the rubber tracks. Slide the second half of the track part D23 over the sprocket and into place so that it mates up with the partner track. Then, glue the rear idler axle to the frame and slide the idler into place, dabbing some glue on both the axle and inside surface of the track.
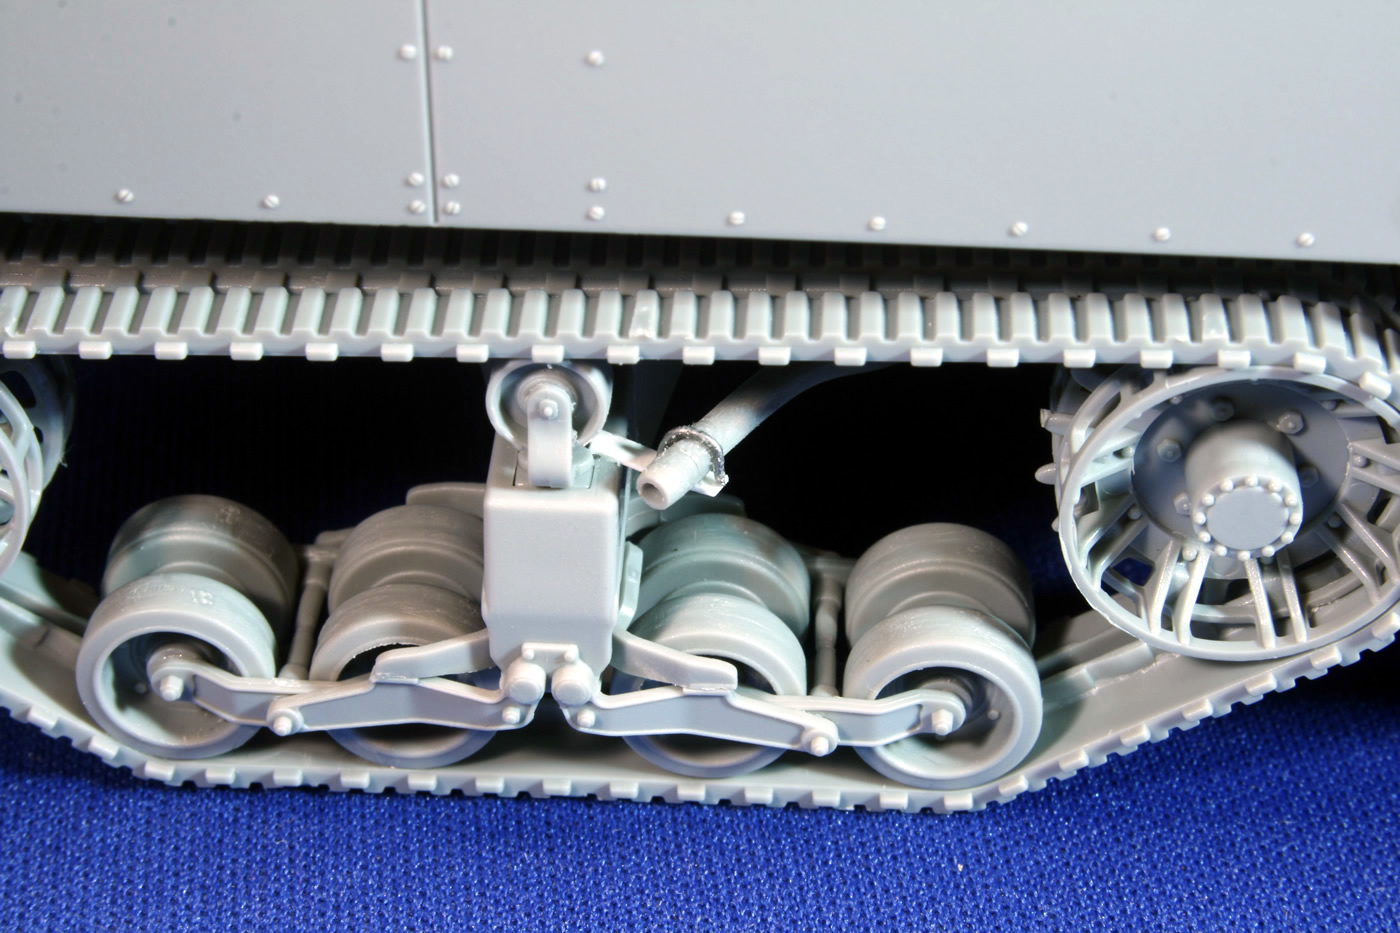
You can wait at this point to catch your breath if you'd like and let the glue set, or forge ahead and glue the wheel units into place. Again, a dab of glue on the wheel bottoms will hold everything together. Once I was happy that everything was seated correctly, I added the other doodads at the rear idler. A good tweezers is helpful getting these parts in place.
The downside of DML's approach is that painting of the rubber surfaces is complicated. Some modelers have complained that they'd like to see a bit of sag on the top run of the tracks. But any slack was slight even on a well-travelled vehicle, and this is certainly an improvement over the springy rubber band tracks from Tamiya or trying to soften resin tracks with boiling water or a hair dryer.
At Step 7, the front tires are added. You'll need to decide if you're satisfied with the bulged appearance or whether taftermarket replacements are in order).
Introduction Building the Chassis Building the Tracks Building the Cab Building the 105mm Howitzer Building the Fighting Compartment Ready for Paint Painting and Weathering References -tss- |


 |
 |
 |
 |
 |
 |
 |
 |
 |
 |
 |
 |
|