|
Building
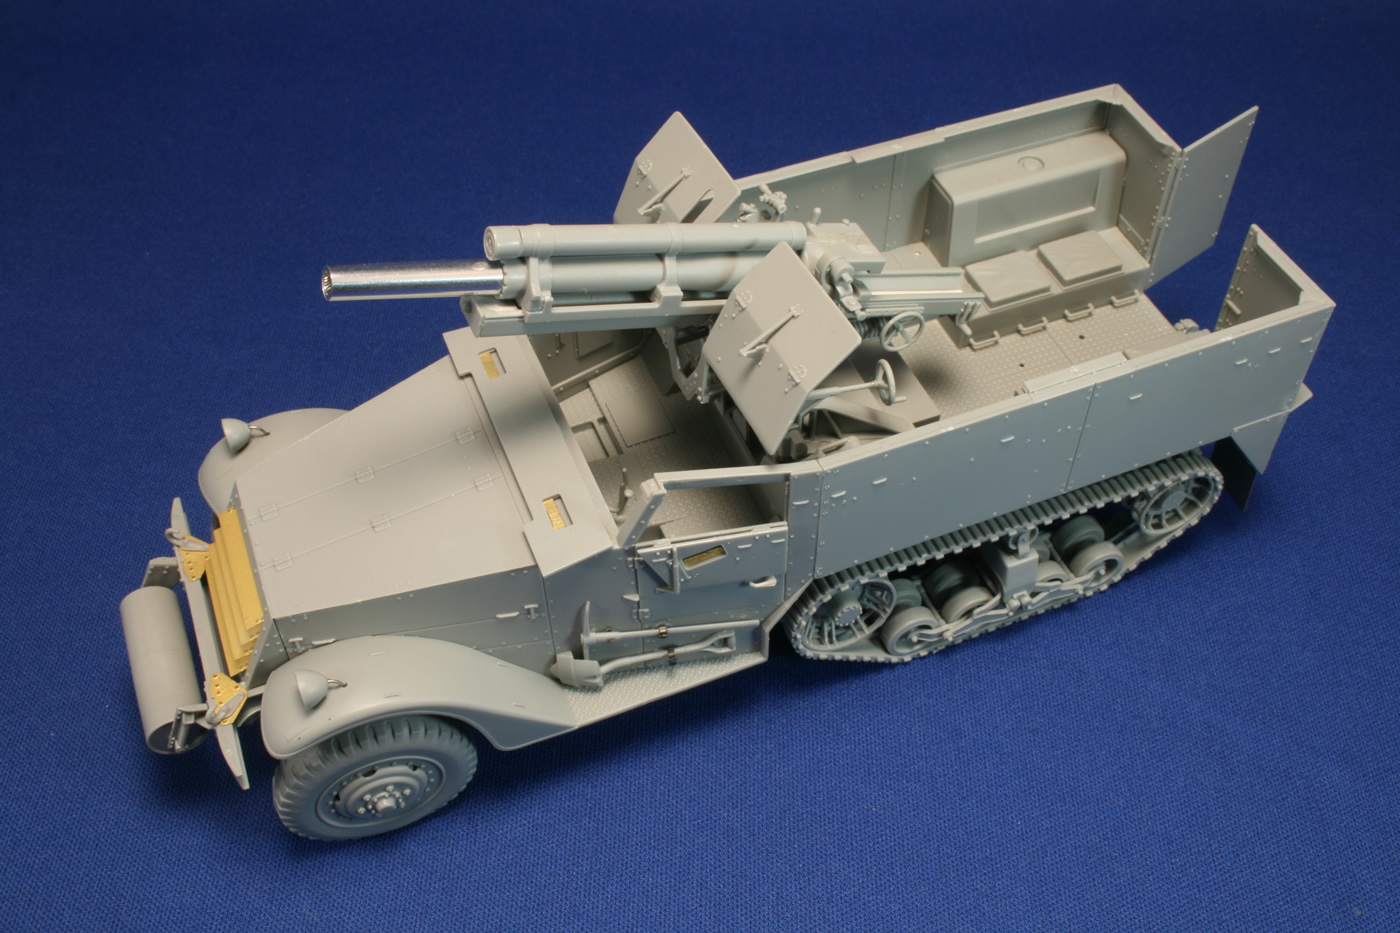
DML's T19 105mm Howitzer Motor Carriage |
 |
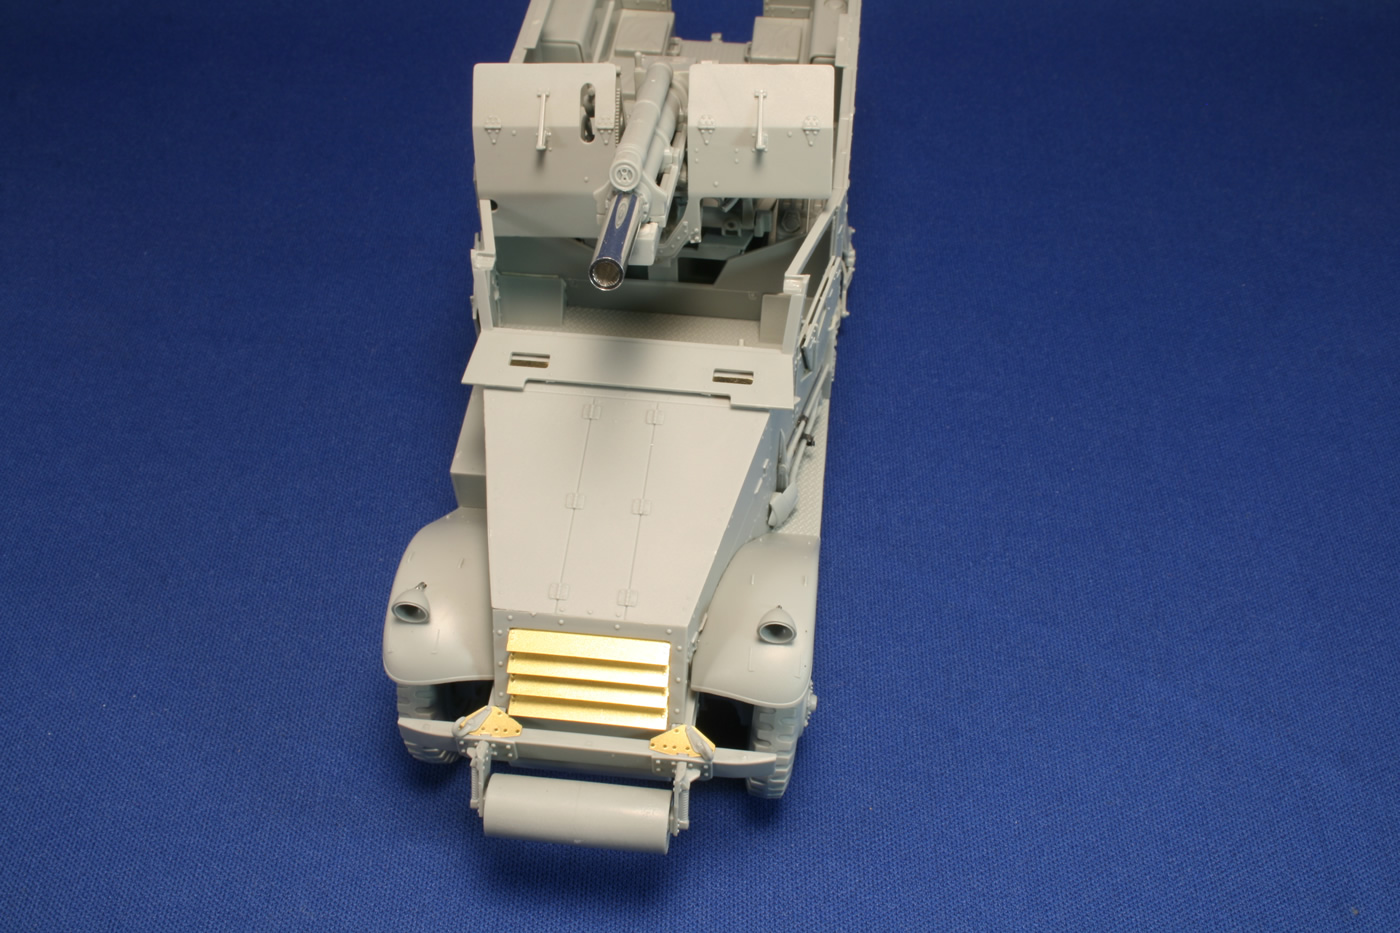
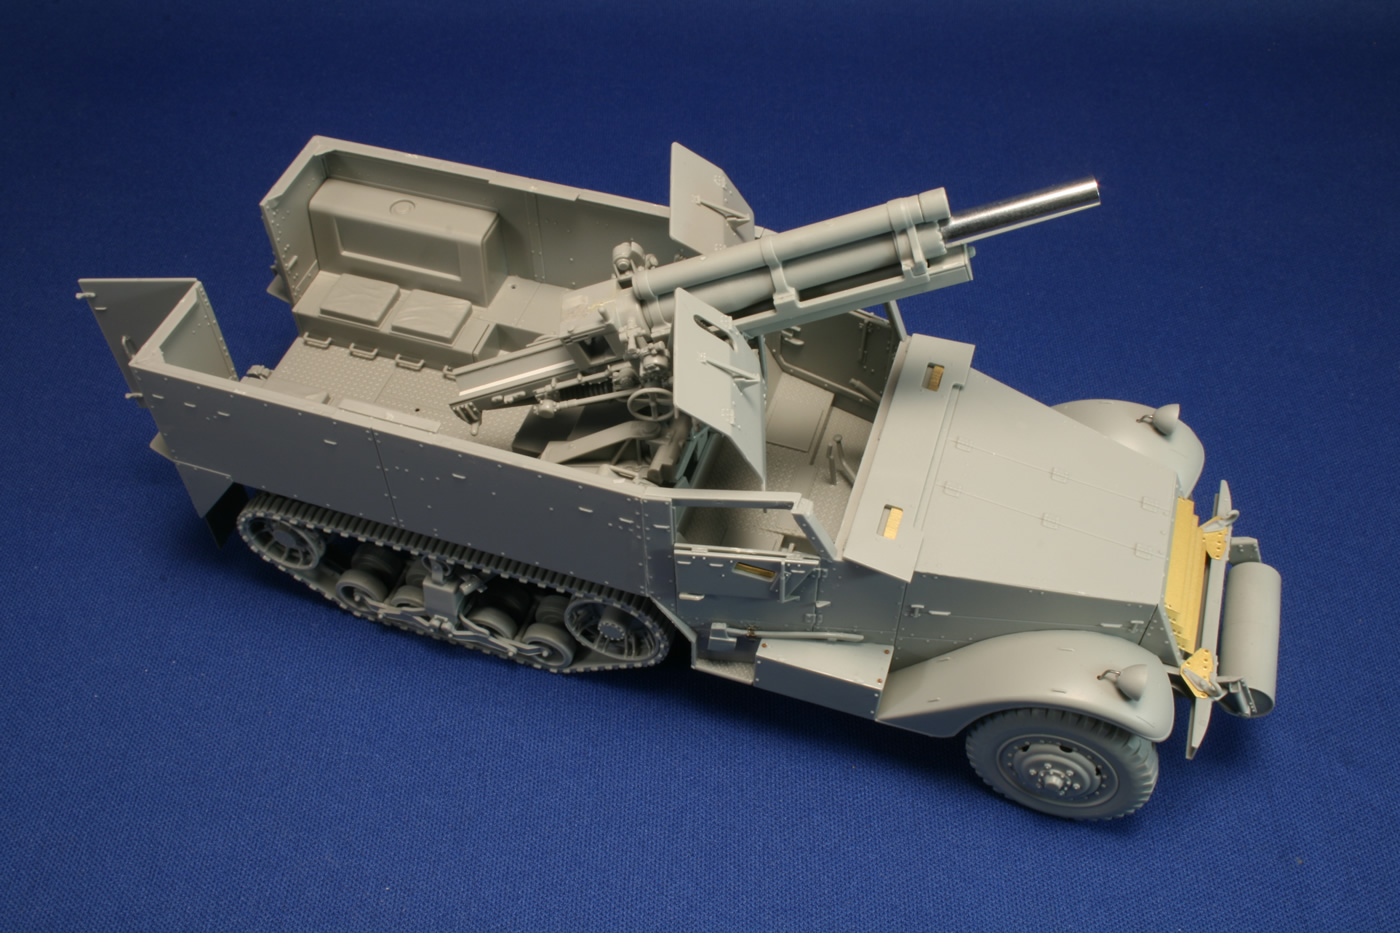
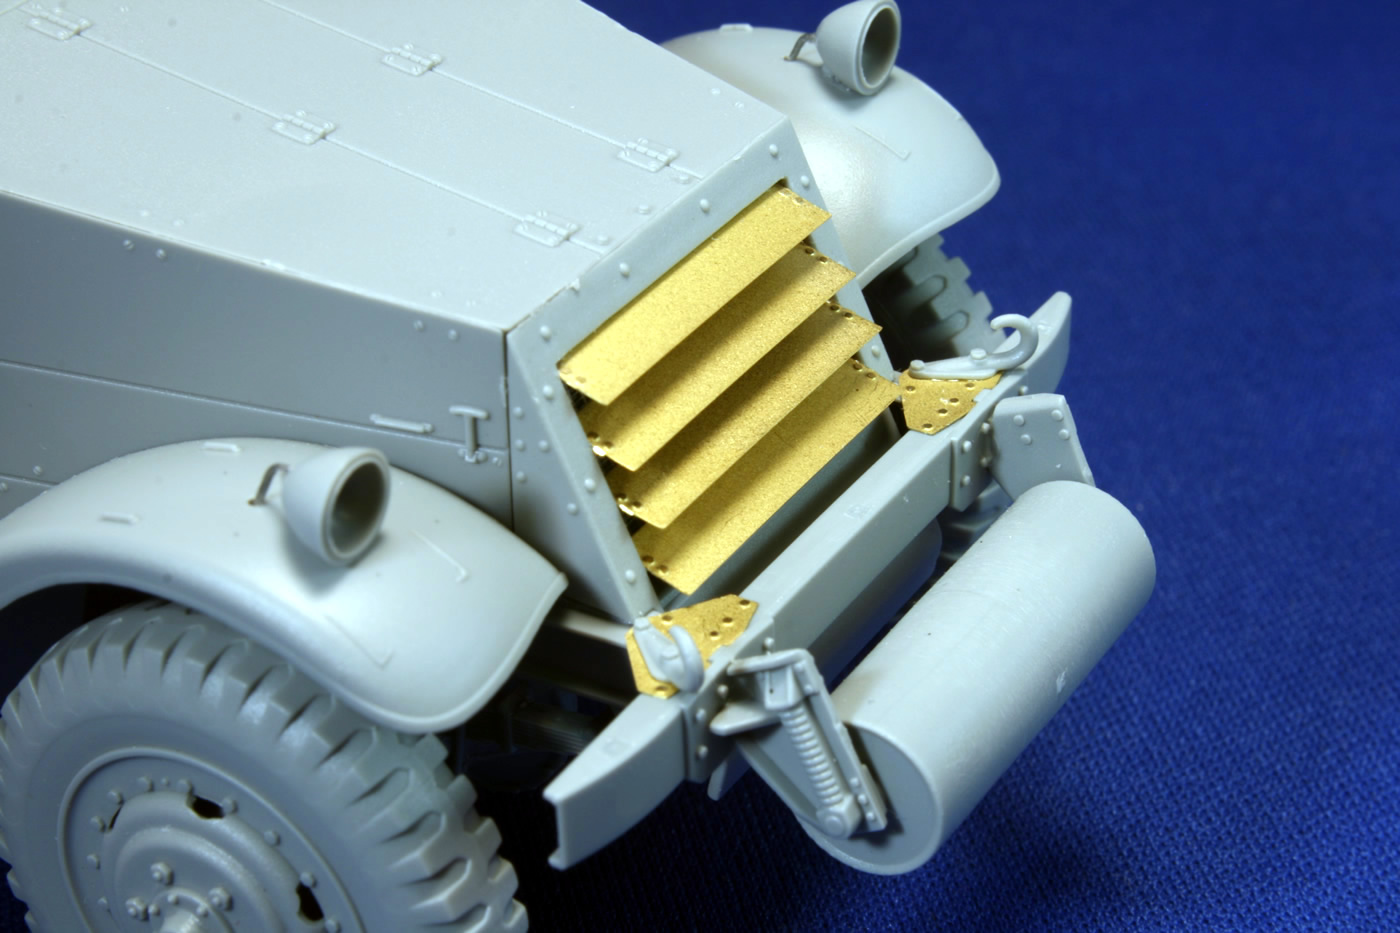
Ready for PaintAfter shooting photos of the subassemblies, I glued the front cab to the rear compartment and let it dry solid. Note that on the underside where the cab meets the fighting compartment, there is a void on either side behind the cab that needs to be filled. I dropped some short sections of .080" half-round in there, topped off with a schmere of putty. Over this should be a flange (probably not necessary if you're going to muddy-up your undercarriage). Jim Mesko's Walk Around book has some good photos of this area, and you can see flange end here.
Just before painting, I added the mud flaps. It would have been nice if DML had provided a little more real estate to which the photoetch flaps could be glued. They can fall off if you look at them wrong. The vehicle will be painted in this mode, working separately on the gun and other smaller parts (ammo, seats, steering wheel, brush guards, and wheels). NEXT MONTH: Painting and weathering the T19. Introduction Building the Chassis Building the Tracks Building the Cab Building the 105mm Howitzer Building the Fighting Compartment Ready for Paint Painting and Weathering References -tss- |

 |
 |
 |
 |
 |
 |
 |
 |
 |
 |
 |
 |
|