Driver's
Compartment
 It's
difficult to see much detail in the driver's compartment (and even less on the
right side) without direct lighting. However, adding some of the smaller features
can provide more visual interest and depth, along with accuracy. This is complicated
because there are few photos of the interior Priest in action (as opposed to Army
publication schema). I could not find any contemporary photos of museum pieces
that have their Priests completely outfitted.One sees a lot of empty brackets.
One also needs to differentiate photos of M7B1 or later Priests, as well as those
in British and Israeli service. The technical manual for the later M7 (TM9-731E)
provides a list of stowage and special tools and general indications where these
items were located. This gives at least some clues to what might have been stowed
in an earlier Priest. It's
difficult to see much detail in the driver's compartment (and even less on the
right side) without direct lighting. However, adding some of the smaller features
can provide more visual interest and depth, along with accuracy. This is complicated
because there are few photos of the interior Priest in action (as opposed to Army
publication schema). I could not find any contemporary photos of museum pieces
that have their Priests completely outfitted.One sees a lot of empty brackets.
One also needs to differentiate photos of M7B1 or later Priests, as well as those
in British and Israeli service. The technical manual for the later M7 (TM9-731E)
provides a list of stowage and special tools and general indications where these
items were located. This gives at least some clues to what might have been stowed
in an earlier Priest.
Academy's
interior provides more detail than what Italeri offers, but for some reason lacks
the gear shift lever next to the transmission. I pulled one out of the spares
box. The three-piece differential box correctly complements the sections of the
nose, but can use some help. I added the steering brake shaft, differential breather,
and ran some wiring through the area as seen in photos. On
the left sponson, I built a bin for map/manual storage and converted an old Italeri
tool box to the sidearm ammo box. Fingerprint Design decals were used as markings. On
the front wall, the kit provides a prominent storage box for the panoramic telescope
case, but the smaller one to the left that held the protectoscope needs to be
scratchbuilt out of a small block of plastic. Other details include various bolts
and fittings around the driver's hatch that secured the removeable windshield;
a scratchbuilt compass to the right of the hatch; and a flashlight on the right
wall stub pulled from the spares box. Also on this wall is a fitting that seems
like the right shape to hold a canteen, so I made one and slipped a canteen in
place. A new instrument
panel was crafted from plastic card and Fingerprint Design instrument dial decals.
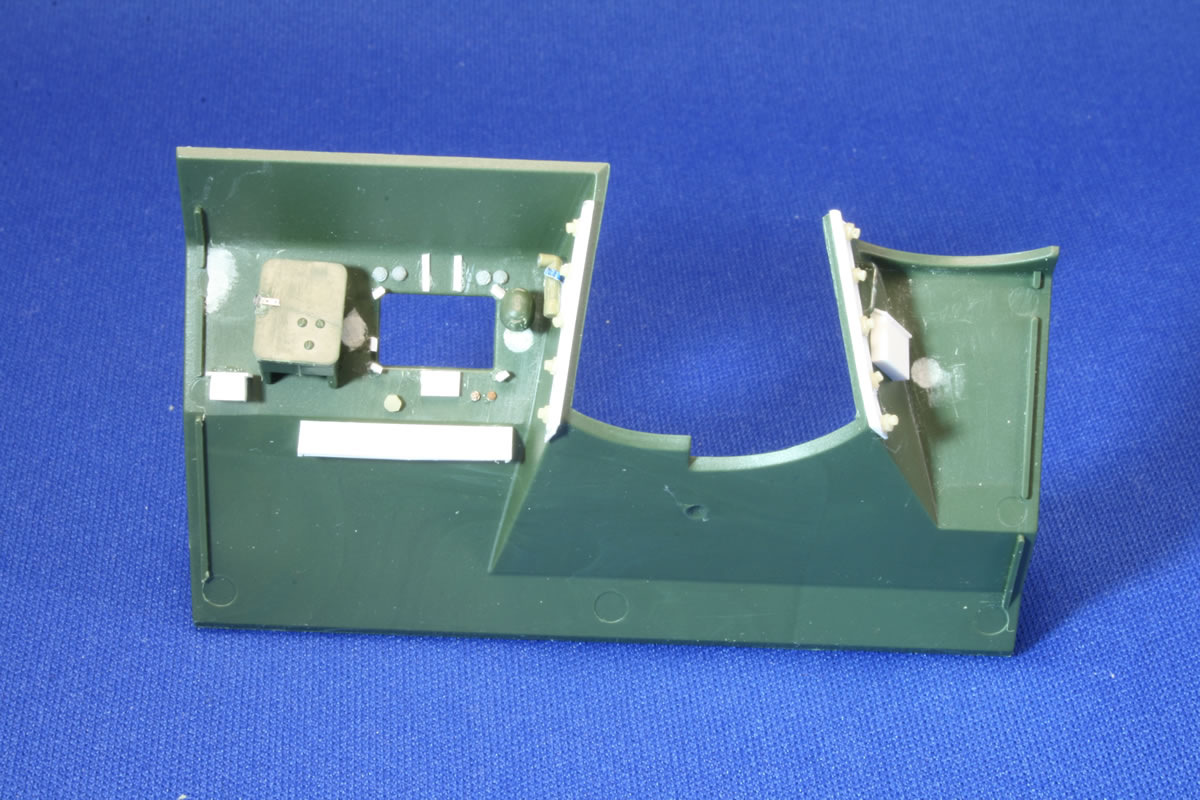
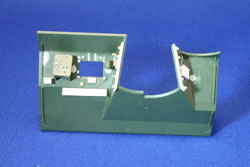 The
biggest challenge in this area of the Priest was trying to figure out how to create
the long bolted flanges on the edges of the wall stubs that butt against the howitzer
shield. These are very distinctive features of the Priest that are missing from
both the Italeri and Academy kits, and from most finished models no matter how
well detailed. Viewed from above, they are shaped something like a question mark,
which I tried to create with some lead foil. The foil, however, would easily lose
its shape while I tried to work with it to determine the correct placement so
as to not be too close to the howitzer shield. I finally decided to use some strips
of flat and half round plastic, to which I added rows of bolts from Precision
Scale. I'm pleased with the results. It gives a much truer look to the interior
of this vehicle. The
biggest challenge in this area of the Priest was trying to figure out how to create
the long bolted flanges on the edges of the wall stubs that butt against the howitzer
shield. These are very distinctive features of the Priest that are missing from
both the Italeri and Academy kits, and from most finished models no matter how
well detailed. Viewed from above, they are shaped something like a question mark,
which I tried to create with some lead foil. The foil, however, would easily lose
its shape while I tried to work with it to determine the correct placement so
as to not be too close to the howitzer shield. I finally decided to use some strips
of flat and half round plastic, to which I added rows of bolts from Precision
Scale. I'm pleased with the results. It gives a much truer look to the interior
of this vehicle.
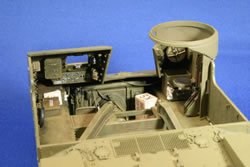 I
filled the empty space to the right of the transmission case with some boxes of
Hudson and Allen early rations. They're difficult to see once the gun is in place
but the lighter color gives some variety in the shadows. I
filled the empty space to the right of the transmission case with some boxes of
Hudson and Allen early rations. They're difficult to see once the gun is in place
but the lighter color gives some variety in the shadows.
Introduction
Suspension
and Lower Hull
Driver's
Compartment
Fighting Compartment
105mm
Howitzer
Upper Hull Exterior
Final
Assembly, Painting, and Weathering
Building
"Baboon" |