|
Building
Italeri's 105mm Howitzer M101 |
 |
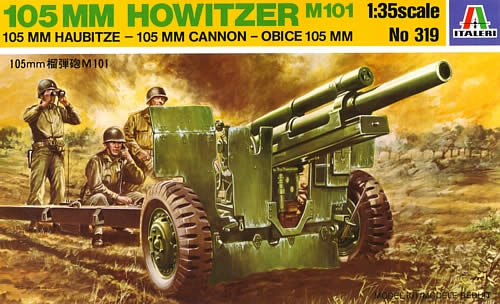
Italeri For all too many years, Italeri was the only source for a couple relatively decent styrene artillery kits with their 105mm and 155mm howitzers. Both have their problems, the ex-Peerless Max 155 more so than the 105. The latter gun has had continued life in the M7 Priest and the DUKW. Labeled with the postwar designation M101, this kit represents the 1944 M2A1 gun on the M2A2 carriage, which was now fitted with a main shield and a smaller auxiliary shield in front of its larger counterpart. New M2A2 carriages mounted a screw-type traversing mechanism, but the retrofitted M2 and M2A1 carriages retained their worm and rack apparatus, as the Italeri kit demonstrates. With the arrival of DML's earlier version of the 105—the M2A1 on the M2A1 carriage—I thought it was high time to build one of the several Italeri kits I've had in my stash for many years. As it happened, this has come in the middle of my marathon project of building three Priests, so I've already assembled two of the Italeri howitzers as well as Academy's take on the piece. And since it's clear from the extra parts on the DML sprues that they have an M2A2 in the offing, getting at least one of these old Italeri sets into the "built" category gives me some small victory over stash. Naturally, I have a lot of aftermarket stashed away too: the Eduard photoetch set, as well as two different Kendall Model Company update sets.
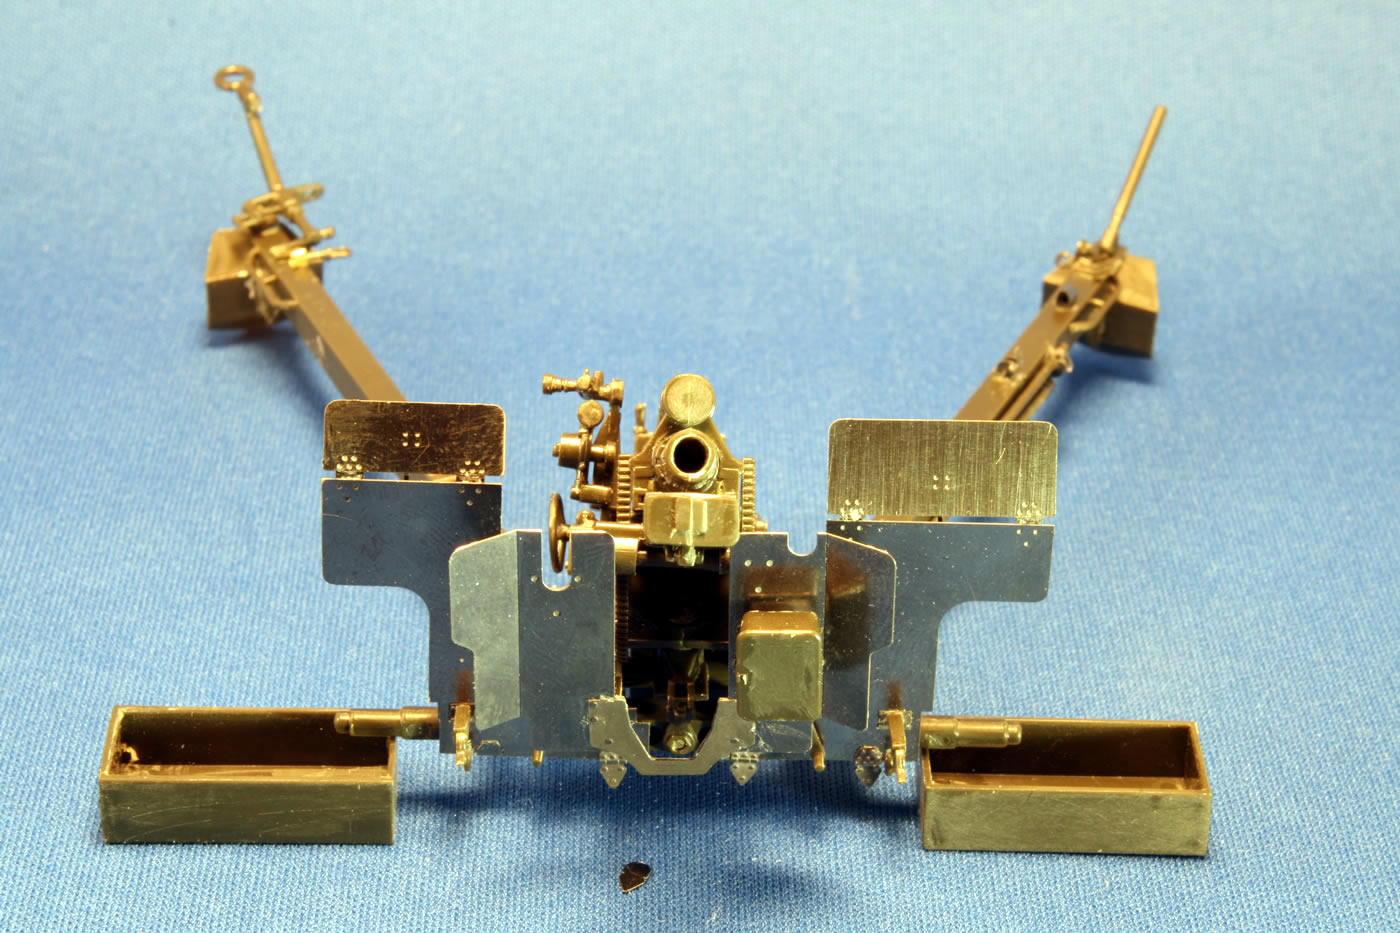
The pin marks, however, are a different story. They appear on the outer sides of the elevating arcs, some in tight places difficult to access, others on the face places where they can be addressed with a chisel blade and putty. There is also a break seam that needs to be filled, used to help reduce the size of the arcs for the version mounted in the M7 Priest.
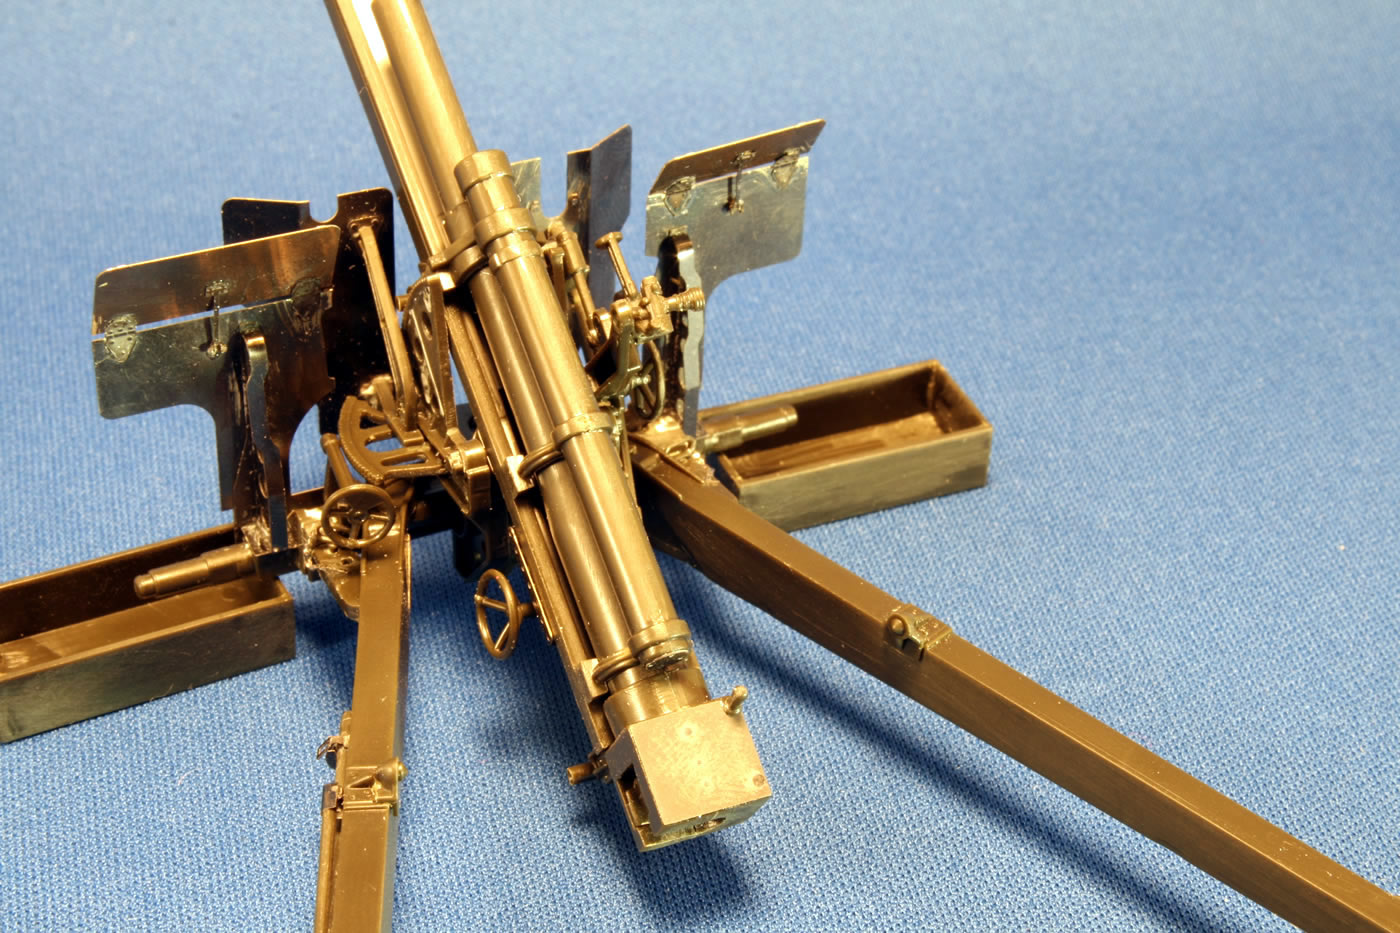
The construction of the howitzer unit is very similar to my experience with the company's Priest. You need to deal with the seams down the barrel and recuperator. The photoetch dresses up the ends of the recuperator cylinder. There's no p/e for the seam in the cradle so I used thin plastic card in the trough and putty and the sanding stick on the bottom side (which can be visible if your howitzer is displayed in an elevated position).
If you want to have the breech open, you need to make some adjustments, as I did with the Italeri howitzer used in a Academy Priest. Be sure to add the trigger shaft which is missing from the outer face of the block; the tip should rest to the rear of the retaining tab at the end of the firing mechanism.
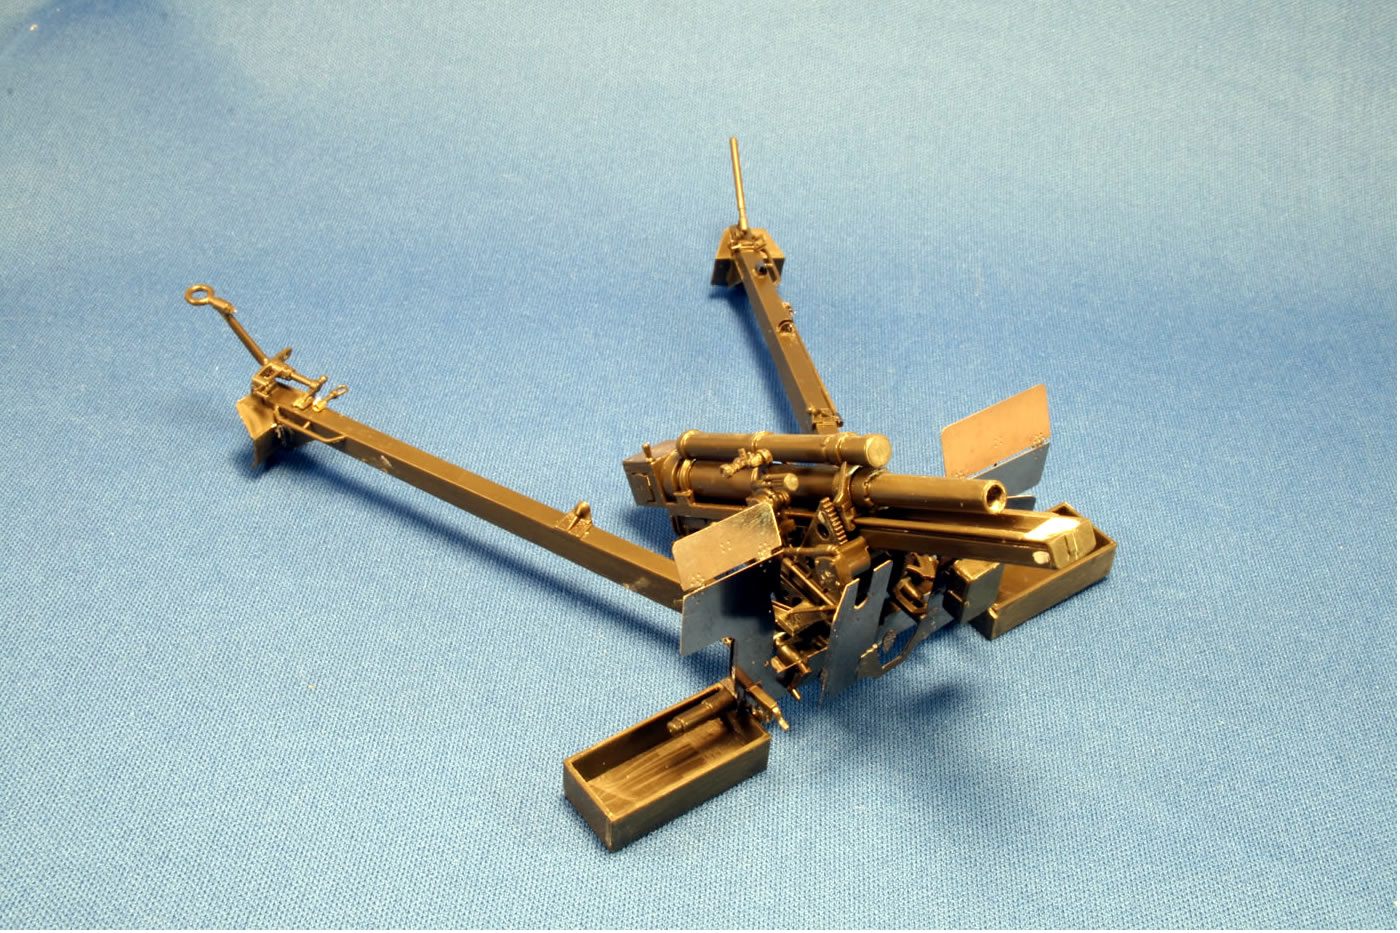
The carriage is a simple assembly. The one-piece trail legs are molded with the underside hollow (DML has two L-shaped pieces you glue together). That's no big deal though unless you're competing in contests where judges might be armed with dental mirrors.
Oddly, Italeri provides a hand spike molded into its useful position at the end of the left trail, as well as in storage on the top of the leg. Use one or the other, but be sure to cut off and hollow out the triangular-shaped fitting that should be glued to the surface.
I was tempted to use a few of the extra DML parts from the M2A2 carriage. The Italeri parts 35 and 41 have lightening holes that I bored with my pin vise, using the DML counterparts as templates. I did apply the spare DML brake handles, since they are much better than the original or Eduard parts
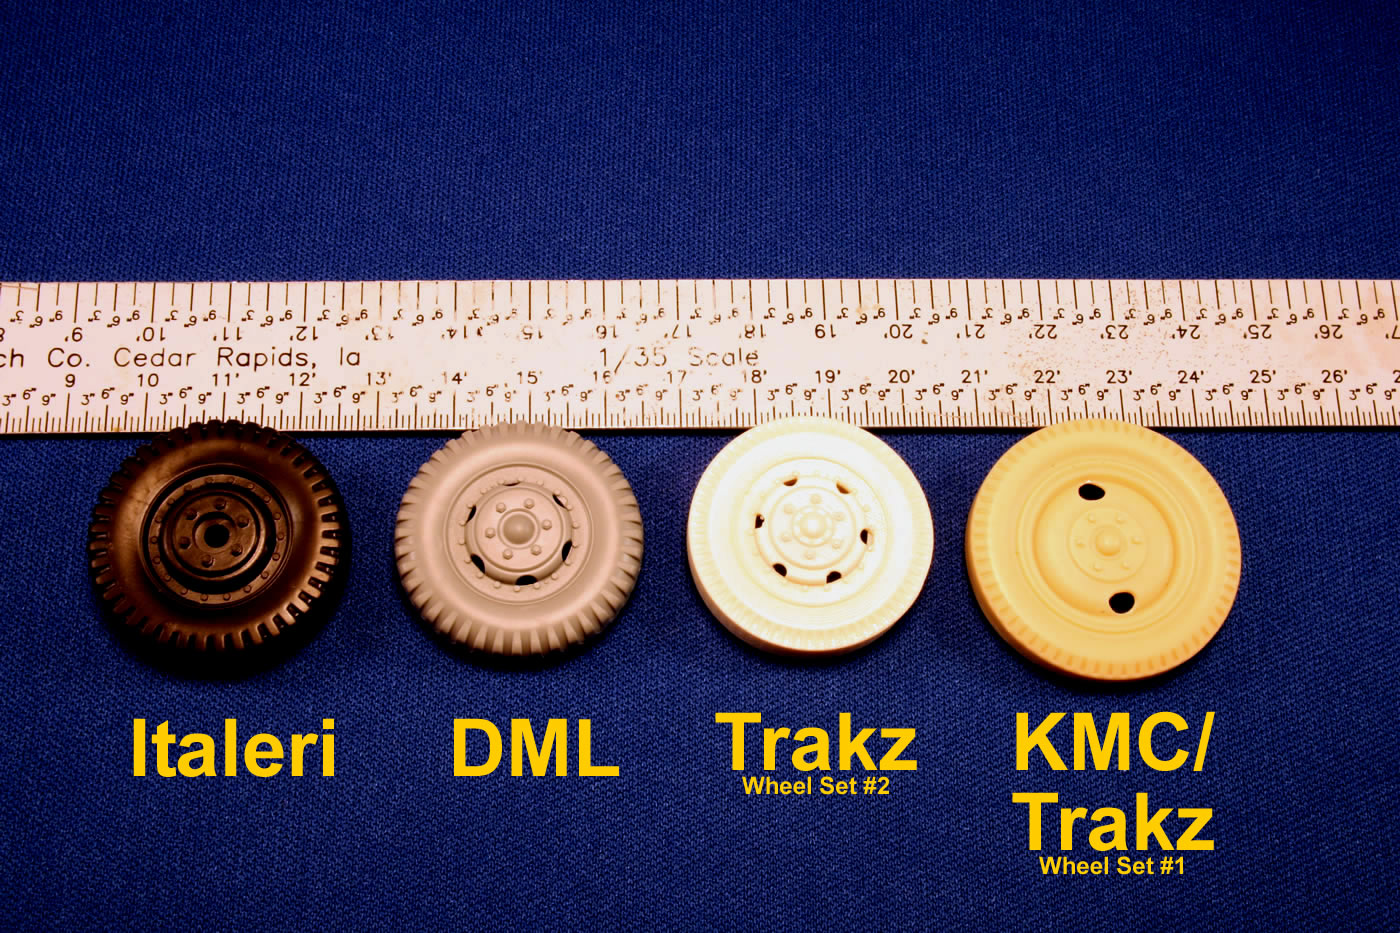
The tires are the mud and snow type that were seen more regularly as the war progressed. But, as with the DML kit, the tires are undersized by several inches in diameter. The diameter of the Italeri tires is about 38 inches. But according to measurements provided by Kurt Laughlin, the mud and snow tires should be 40.1 to 40.5, and the commercial highway tire was measured at 40.39 inches. Unfortunately, the actual measurements fall in between the tires available, as seen below. The Italeri, DML, (both mud and snow) and theTraxz 105mm Howitzer M101 Wheel Set #2 (a highway tire)—as well as a tire produced by Masters Productions (another highway tire, 38.7 inches)—are short. The larger Trakz 105mm Howitzer M101 Wheel Set #1, a repop of the highway tires in Kendall Model Company update sets, scales to 42.3 inch tire on a large dished rim; alas, it is too large. The Italeri, DML, and Trakz 2 tires are mounted on divided combat wheels, the Trakz 1/KMC wheels are commercial types.
The extras in the box includes three awful figures and a couple of stowage chests (which can be dressed up with p/e parts). There are five unimpressive ammo rounds, but there are several aftermarket alternatives to consider. Painting instructions are simple olive drab for the metal and grey-black for the tires. No decals are included. ConclusionIn spite of ample personal evidence to the contrary on my storage shelves, I believe models are made to be built. So I'm glad that DML finally got me off my butt and into this kit. I'm also glad they've taken a keen interest in this particular version of the 105mm howitzer and will be releasing a new kit in the future. The spare parts on the DML M2A1 look promising. And if you have already invested in one or two of these old Italeri kits, it will make a good basis for practicing your photoetch skills if you also have the Eduard p/e. Youngsters and casual modelers might enjoy building it out of the box because it has fewer parts and less fragile pieces than the DML. For them, some simple clean up will still make a relatively decent M2A2 howitzer. ReferencesSee the 105mm M2A1 on the M2A2 carriage at the Victory Museum in Auburn, Indiana. Also on the page are tech manual images that will help with the details. FM 6-74 105-mm Howitzer M2A1 on Motor Carriage M7B1 and M7B2, Department of the Army Field Manual, March 1954. FM 6-75 105-mm Howitzer, M2, Truck-drawn, War Department Field Artillery Field Manual, December 12, 1941. TM 9-1325 105-mm Howitzers and M2 and M2A1; Carriages M2A1 and M2A2; and Combat Vehicle Mounts M3 and M4, Ordnance Maintenance, War Department Technical Manual, 21 September 1944. Standard Guide to U.S. World War II Tanks & Artillery, by Konrad F. Schreier, Jr., Krause Publications. U.S.
WWII 105mm Howitzer Motor Carriages M7 & M7B1 Priest, Michael Franz,
editor, Tankograd Publishing. -tss-
|


 |
 |
 |
 |
 |
 |
 |
 |
 |
 |
 |
 |
|