The
only additional parts TWS offers for this area are several flashlights. The TWS
instructions do not address the turret, so if you want to know where they go you
need to consult the Easy 1 CD-ROM and/or Zaloga's Military Modelling article.
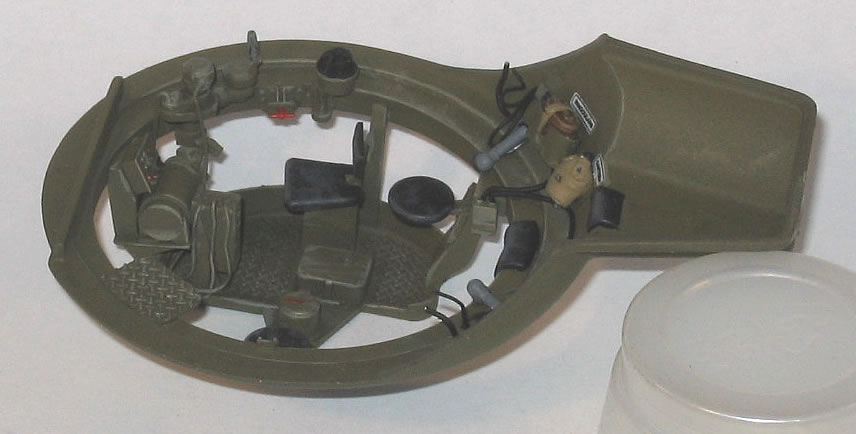
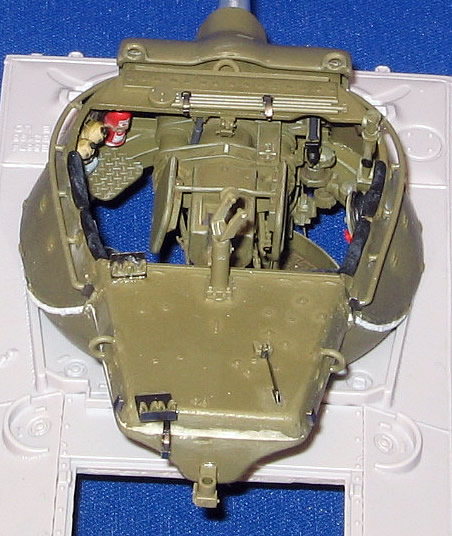
There are some differences among the references and other photos regarding the
wiring of the intercom and the reel which stored the "extension cord"
for the intercom (it appears the intercom boxes could be installed upside down,
which changes how the wiring looks). I sorted it out as best I could and to my
personal satisfaction. I also scratchbuilt some hand microphones. There
are two items omitted from the AFV Club kit: an enclosed reel that had an extension
cord for a portable light that is sometimes (but not always) seen on the left
side of the turret, and the bundle of signal flags above the intercom boxes on
the right side. The way the reel for the intercom extension wiring is positioned,
there is little clearance for the flags. Since this are not always seen in place,
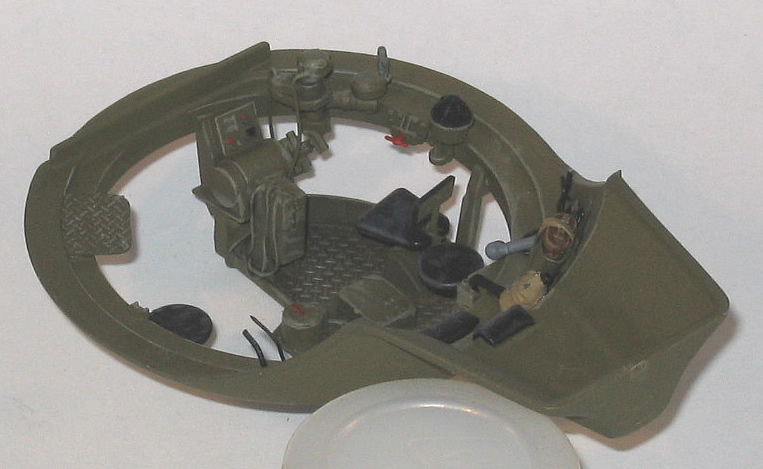
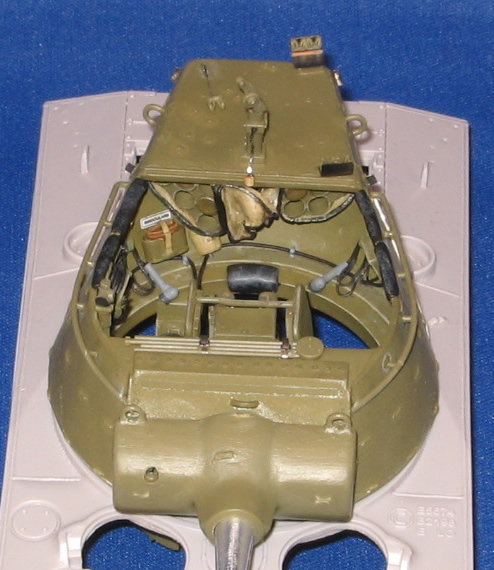
I omitted them until further information becomes available. Most
of the parts were glued inside the turret walls and the interior painted before
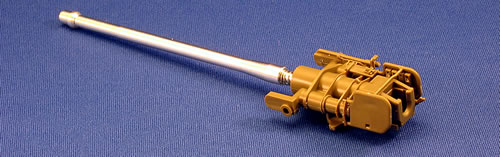
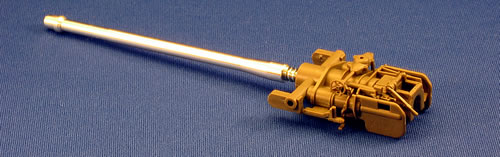
joining the top and bottom halves together. It's necesary to sandwich the gun
in place between the halves, so this was built and the breach area painted prior
to assembly. Some people don't like the inclusion of the toy-like spring action
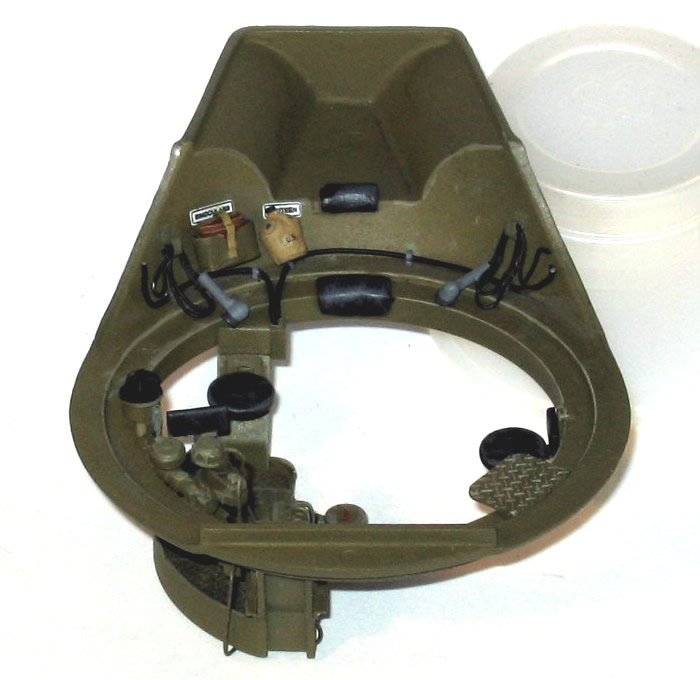
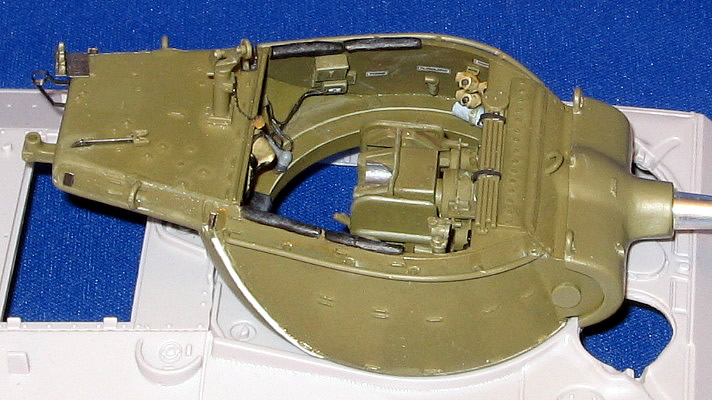
in the gun assembly, but it didn't bother me one way or another. The
turret halves do not meet as well as they could; there was some overhang on one
side and a bit of a gap between parts on the other. I filled and smoothed and
gave some attention to the significant weld seams down the rear sides of the turret,
and added the seams to the front and back areas. Underneath the bustle I added
some serial numbers. No one will see them but my little crew!
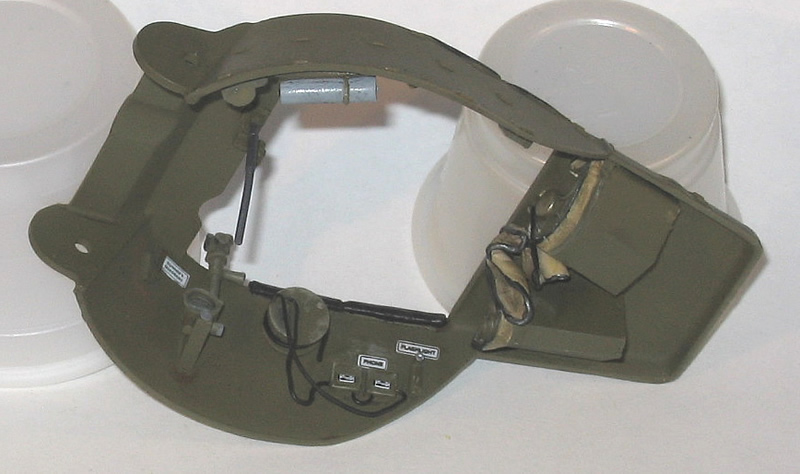
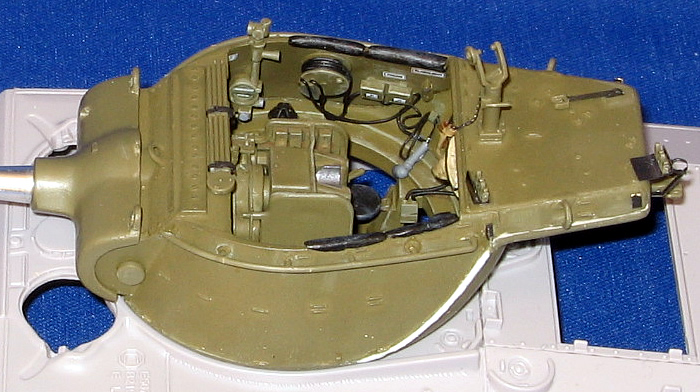
There
are numerous pieces to add to the exterior of the turret to finish it off. The
photos here show the exterior in its unpainted state, while the interior is basically
completed and ready for masking to protect it from the OD spray. |