|
"Between
Life and Death in the Hürtgen Forest" |
 |
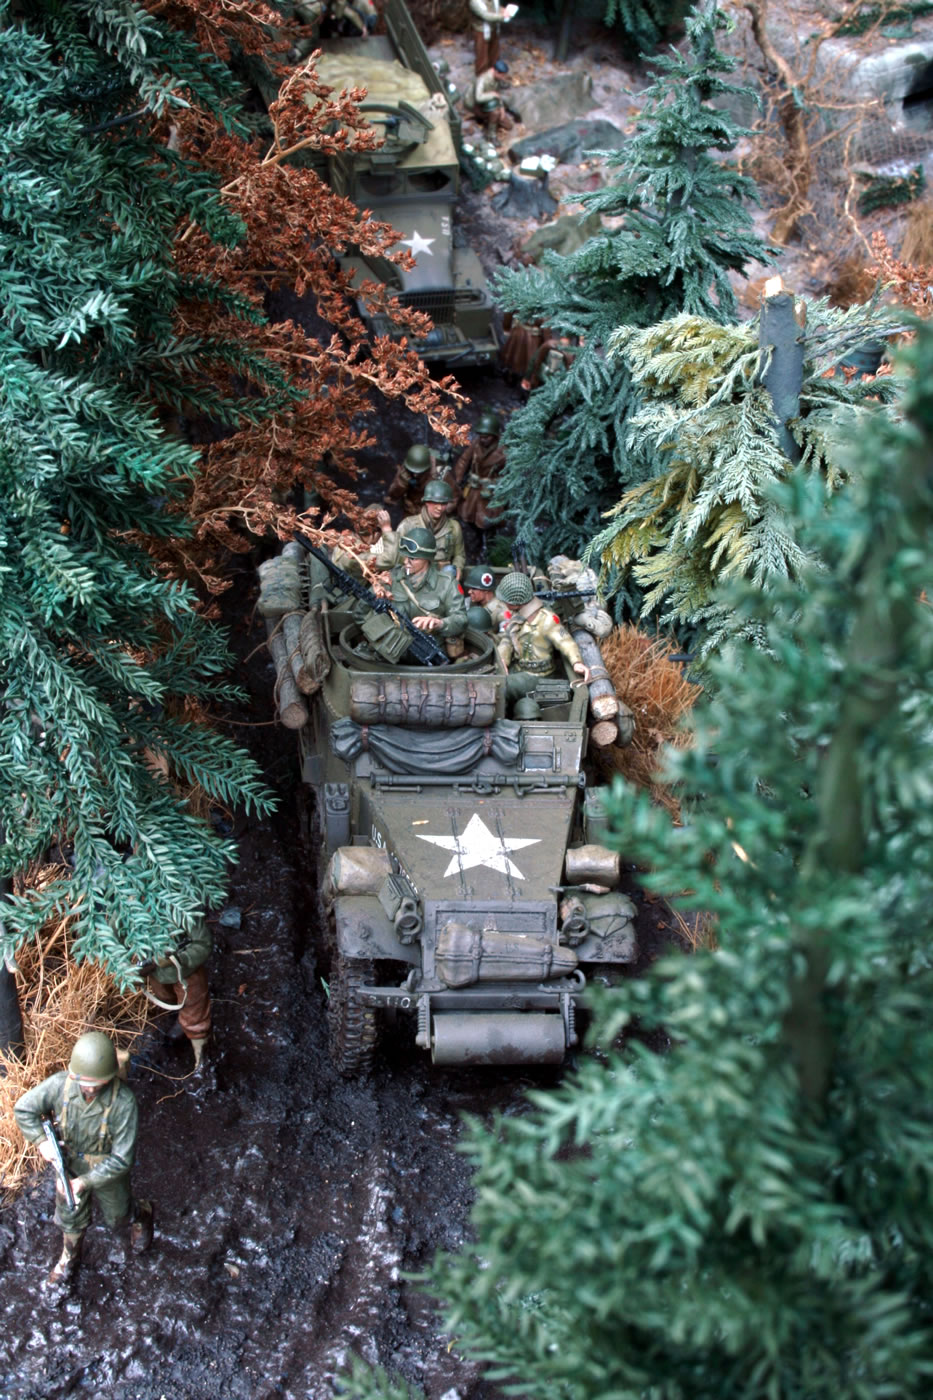
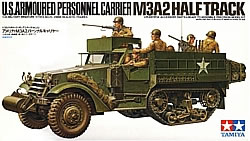 The M3A1 Halftrack
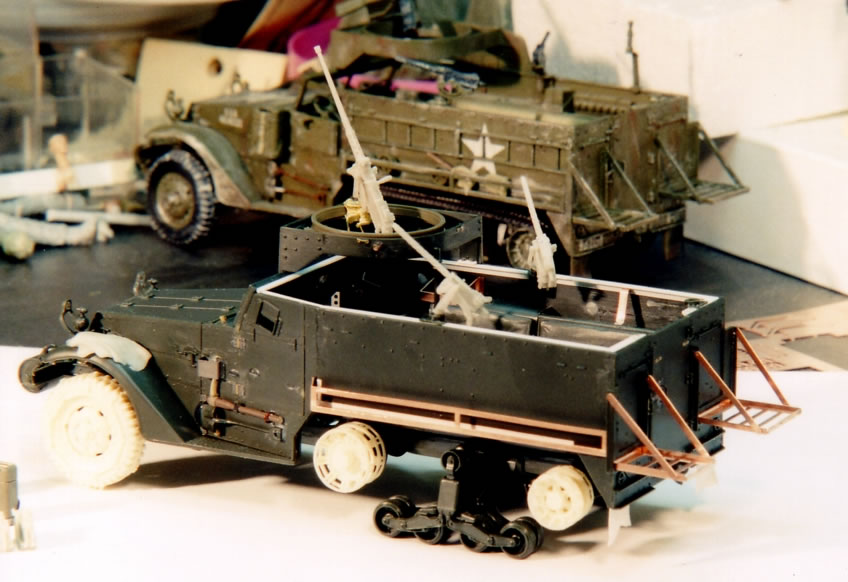
This comes from Tamiya's M3A2 kit, which actually was only a prototype vehicle that never saw production. There are a number of faults and corrections vary from simple to extensive. The Eduard photo-etch set for the "M3A2" is a good asset for this project. There's not much apparent overlap with the new Verlinden set, which I also used.
The
rubber track does not have the correct center guide teeth. Tracks that come with
TTW's wheels have teeth, but the treads are not as well defined as Tamiya's (from
which they were obviously and poorly molded). And the TTW teeth are too large
to fit in the space between wheel halves. Because each option had it's own deficiencies,
I used the rubber band tracks because they were easier to install. Be careful
not to put too much pressure on the delicate resin wheels. The rubber tracks have
some spring which raises them a bit off the tops of the wheels. I glued my track
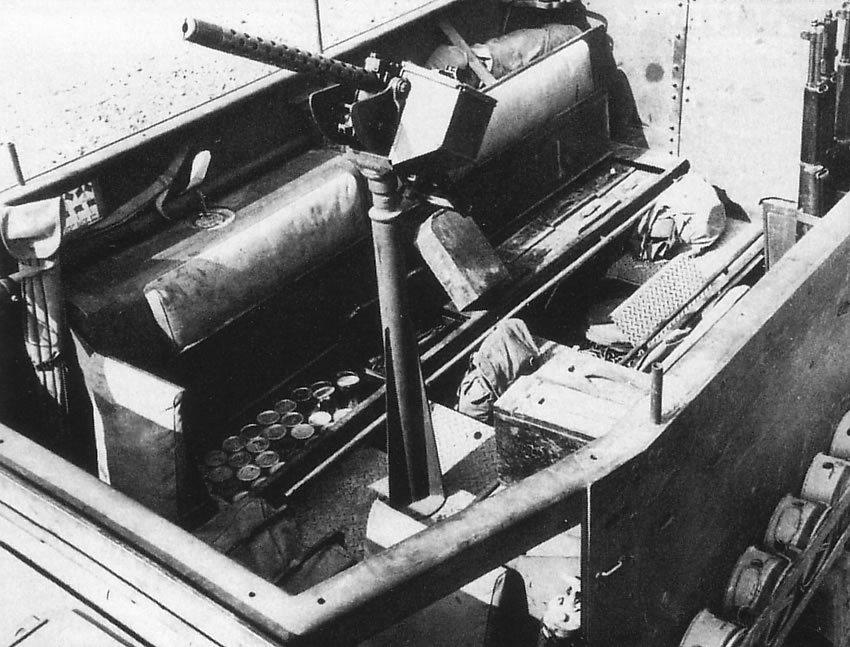
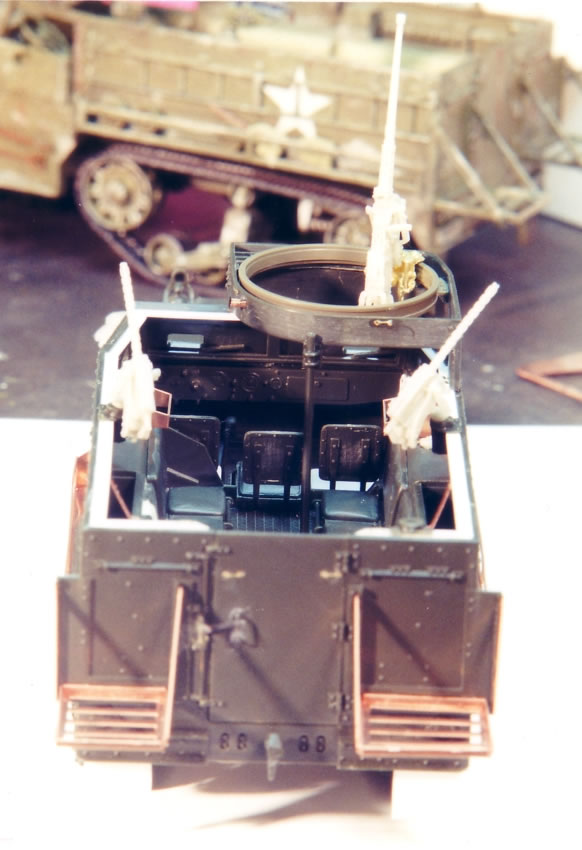
down securely onto the wheels. The MG pulpit falls woefully short. I carved out the gun ring and replaced it with the ring from Tamiya's M8 Greyhound. I detailed the outer face of the pulpit with rivets (shaved from old Tamiya M3Lee pieces) and Accurate Armour tie-downs. I replaced the .30 machine guns and cradles with those in the new VP set. The rear seat back along sidewall behind driver should have one long pad, not be split in two. I used putty to bridge the gap.
I ran Evergreen strip along the top of the sidewalls (except rear door) and drilled holes for canvas cover support brackets. Exterior detailing included adding tie-downs to side walls and fenders; bolts for the battery case; new mud flaps from thin plastic card; and the kit's jerry cans, trays and attachment brackets, mine racks were replaced with Eduard pieces. Apparently only platoon leaders had radios in their halftracks, so if you don't use the radio, remember to not use the antenna. Verlinden's set comes with a nice radio, but the Tamiya version is fairly decent. The kit's driver sits so high he cannot see through the windshield --- half his head is above the walls. I not only sanded down his the butt, but remade the seat out of thin plastic card (eliminating the padding) to further reduce his height. I also replaced his head with a smallish one from Scale Model Accessories, scrunched it down tight on his shoulders, and did likewise with the passenger next to him.
"Between
Life and Death..." |

 |
 |
 |
 |
 |
 |
 |
 |
 |
 |
 |
 |
|