|
The
Shortest Straw |
 |
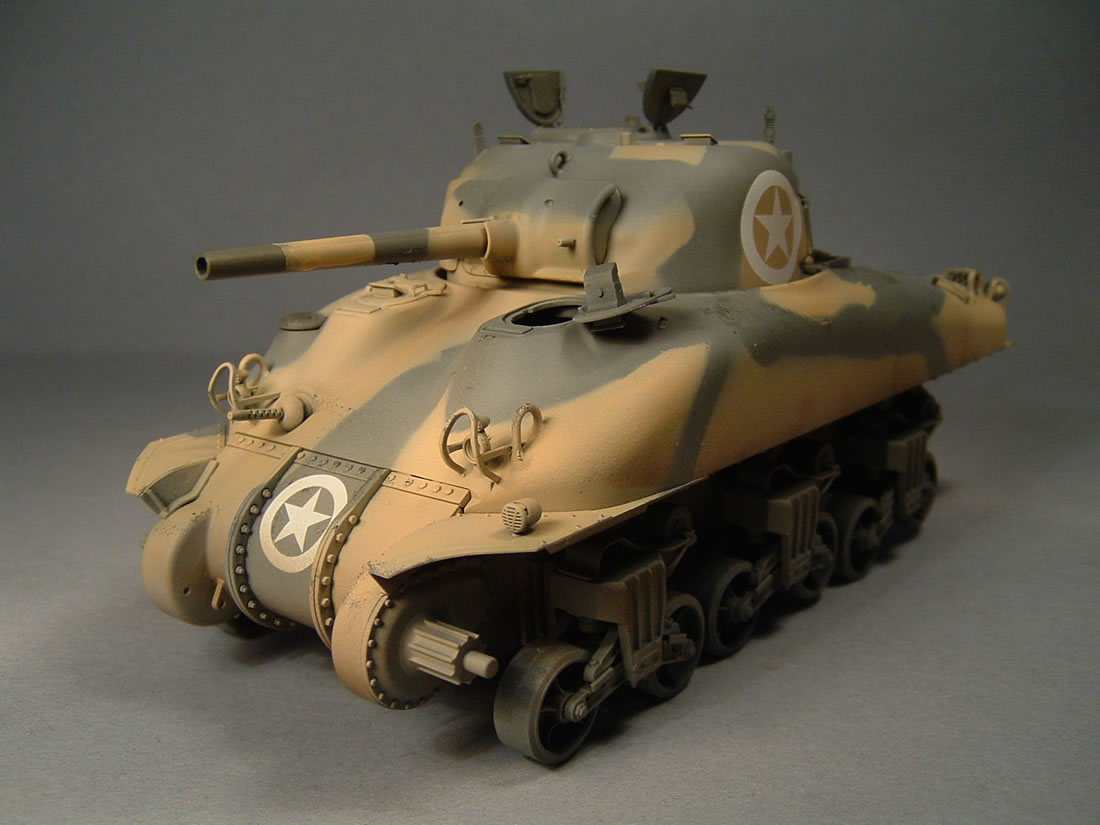
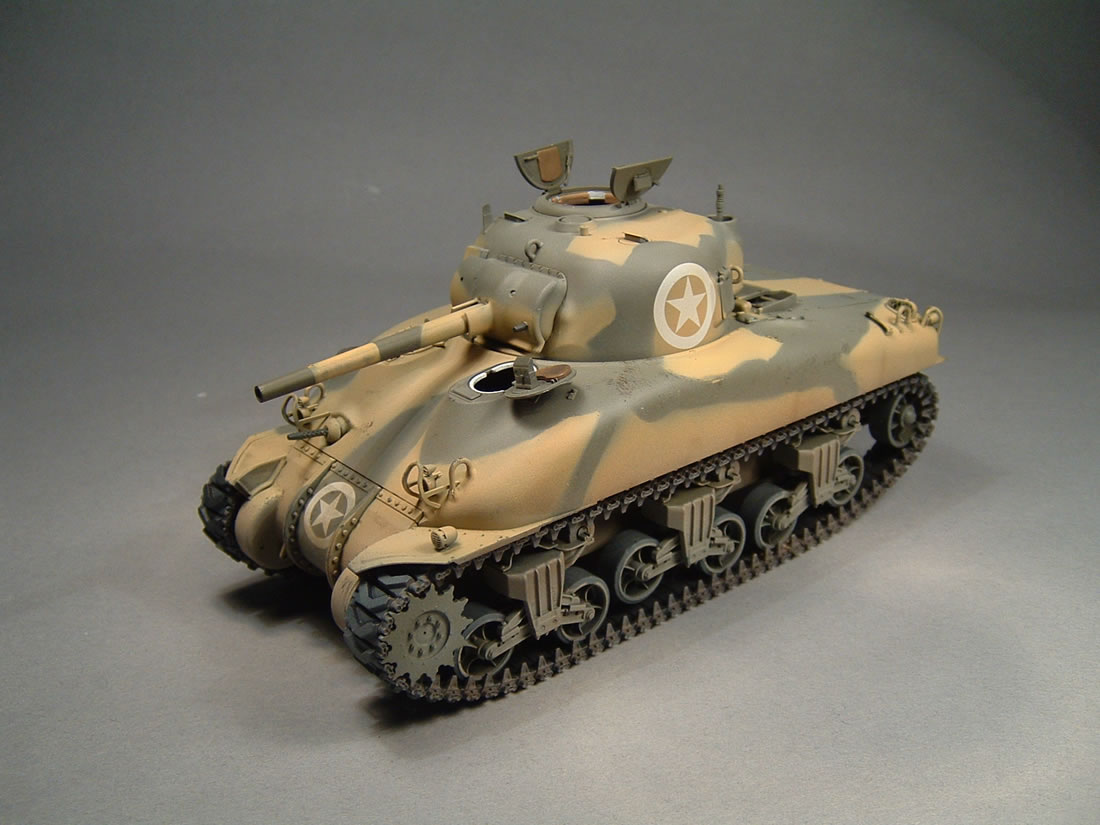
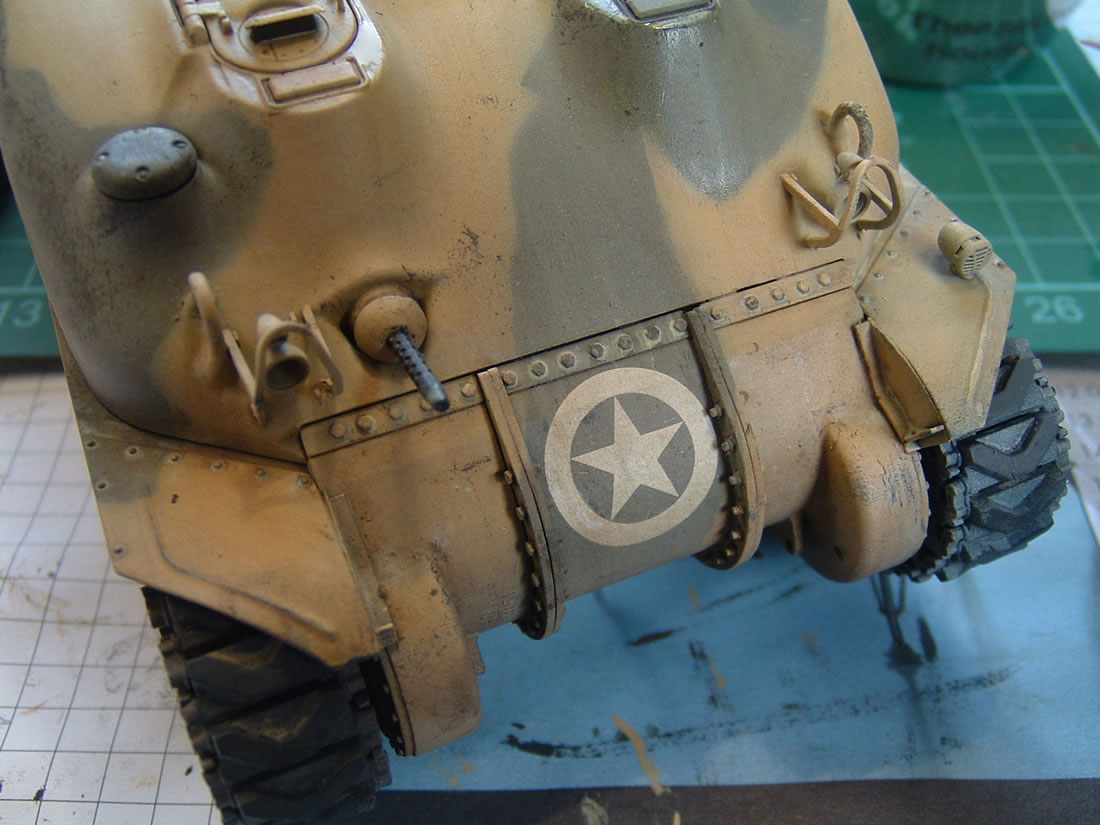
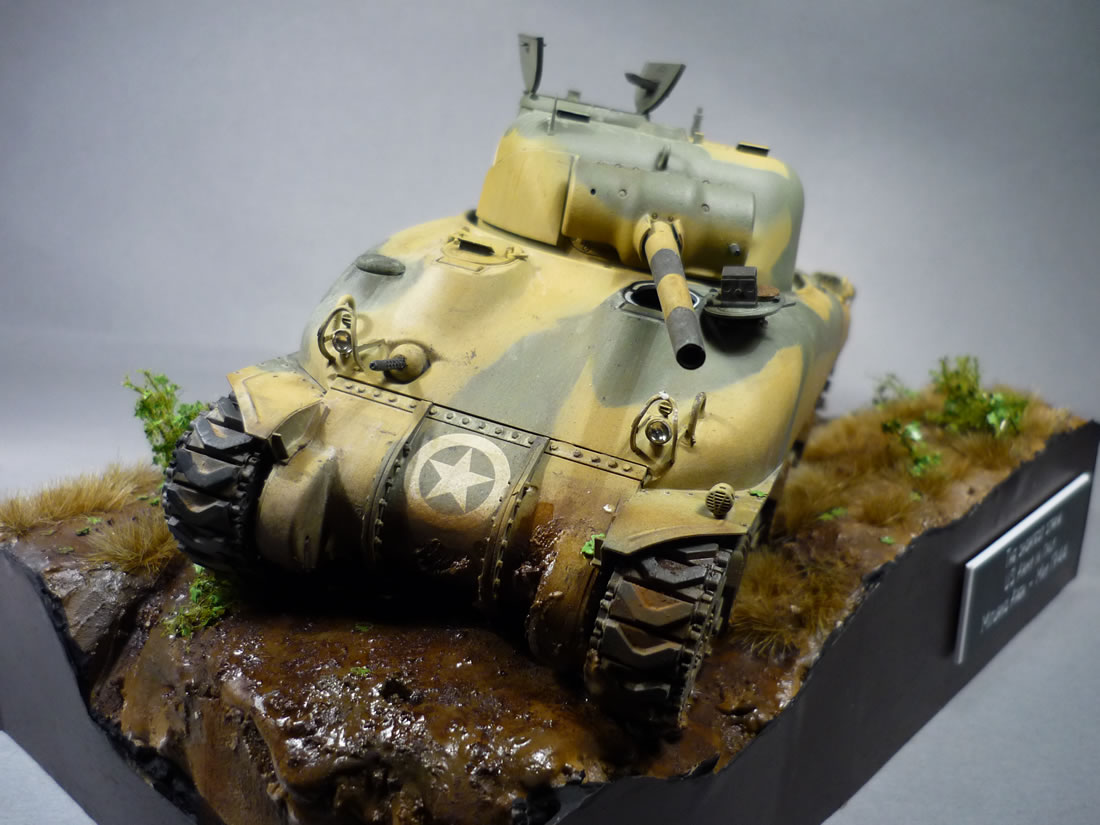
The end result is not what I wanted at the start of this project. I usually begin by leafing through my books, and then find a good photo that provides inspiration. The image that got me going on this project showed an M4A1, named Bull o´the Wood, that had slid off a road. I used Tasca's M4A1 Sherman (Late Production). The kit comes with a lower hull that has rivets that were present on early Shermans, but not seens on the tanks represented in the kit nor the version I wished to build. So I replaced the lower hull with a welded hull from Formations that does not have the rivets. This change made the build pretty painless. The Tasca upper hull, detail parts, and turret fit together nicely. The only nitpick would be the seam on the turret bustle and the fitting of the transmission cover. These need filling. Also, pay attention to the shell ejection port. There´s a mold seam around it. I used Tamiya extra thin putty to stipple the seam away and add some casting texture. To begin the painting process, the first step was prime the model in Halford grey car primer. This comes in a rattle can and works pretty well. I dunked the can in hot water, to get the pressure higher and create a finer spray. After the primer dried, I used my H&S Evolution airbrush to spray a coat of Olive Drab. I used Vallejo Model Air 043, straight from the bottle. Next, I applied two lightened coats, with the Vallejo OD lightened with Dark Yellow 025. The first coat had a ratio of 3:1 OD: Dark Yellow, and the second one was 1:1.
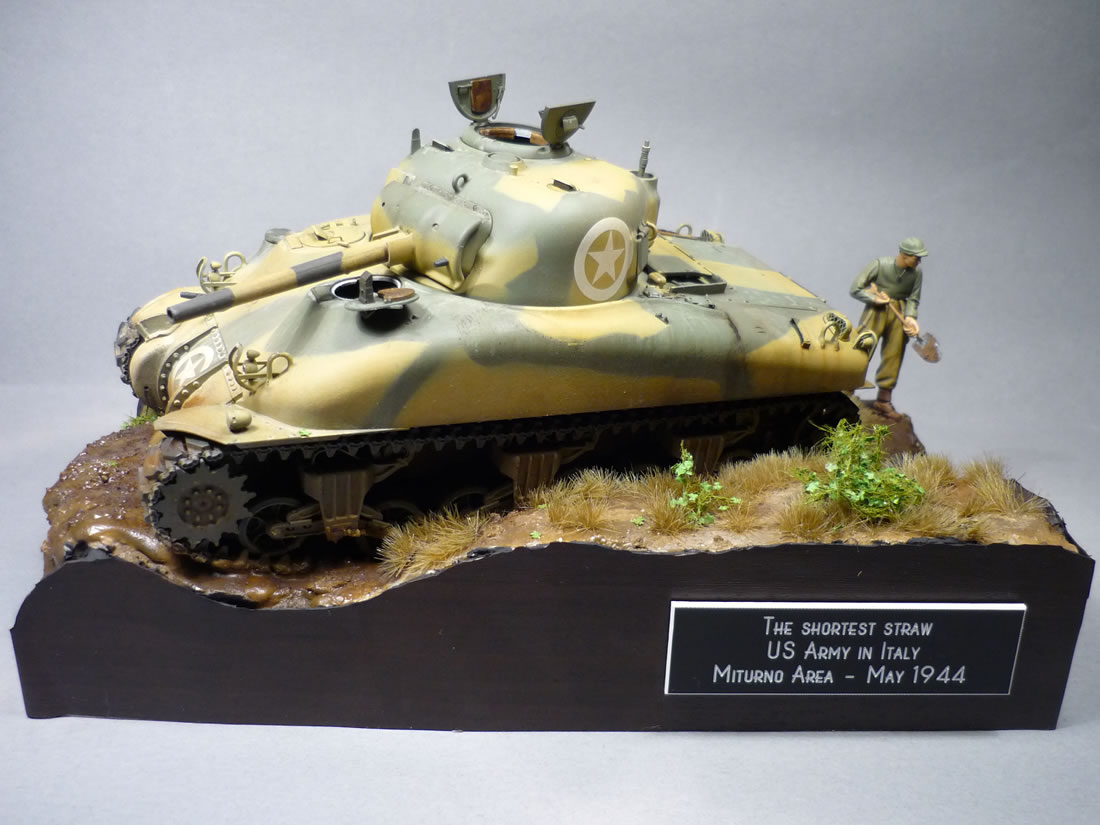
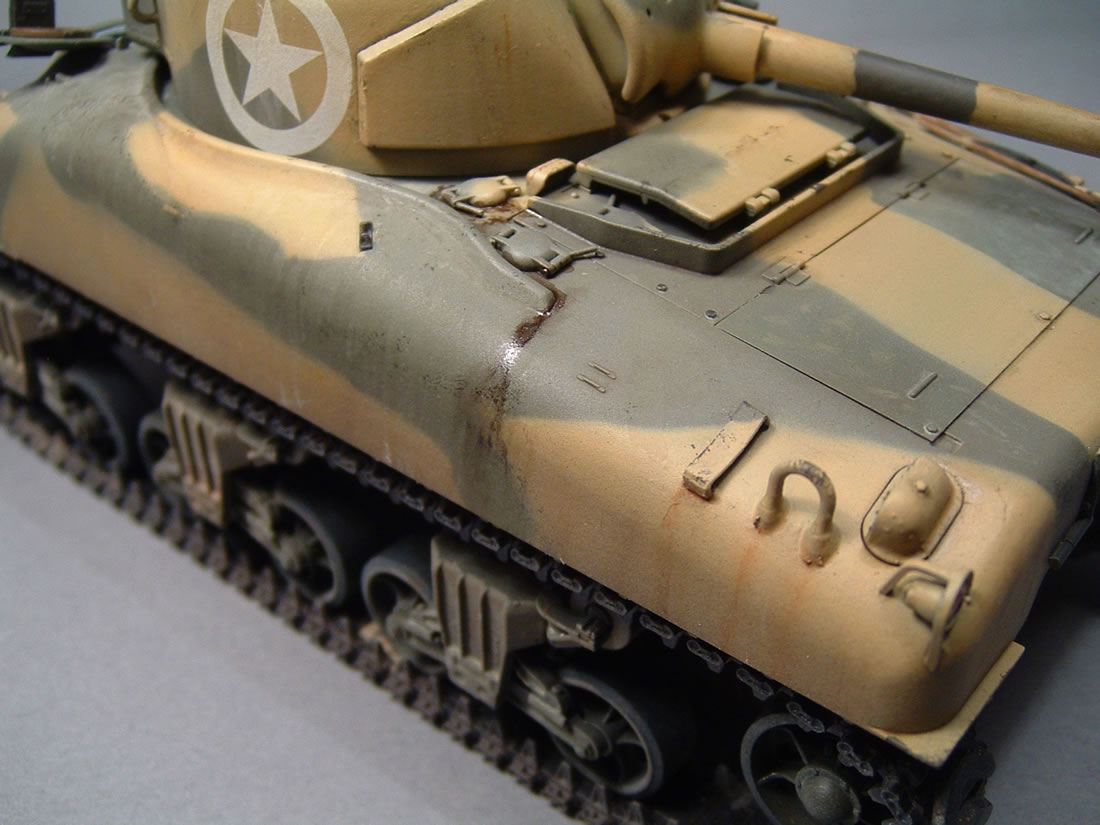
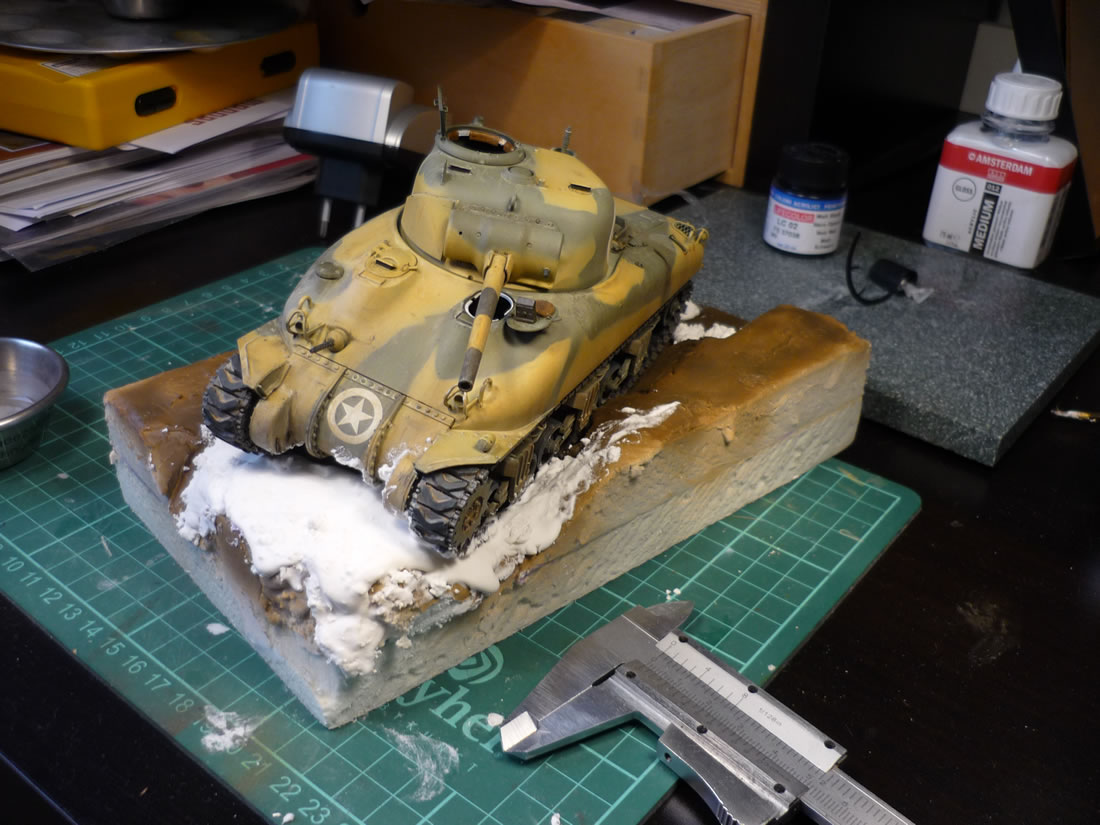
I then went on with the camouflage color. I had found the official manual, FM5-20B Camouflage of Vehicles at the Lone Sentry website. Using pictures of models from Zaloga's Modelling the M4 Sherman (75mm), I mixed up my camouflage color from Vallejo paints. I used Sand 71075 and Wood 71077, in a ratio of about 60:40. A few drops of Yellow 71002 gave the mix a nice vibrancy. As you can see from the photo, the colors appear extremely garish. Weathering will tone this down, and the amount of toning is up to you. The weathering was nothing really spectacular, but I misted some light buff colors over it, and the proceeded with pinwashes over the entire model, using Humbrol colors. Humbrol 72, 86 and 116 are good colors to start. Building a Small SceneAs mentioned, I wanted to create a scene where the tank had slid off a road and is mired in mud. The creation of this never materialized, so I went searching for some other photos. Using the Google search engine, I found some large photos that appeared in LIFE magazine during the war. One of these showed a U.S. M4A1 in the Miturno area, bogged down on the mud. Nice! This was to be the scene. First of all, I measured the size of the space I would need for the ground plan. I then used bits of styrofoam to get the tank to sit at the proper angle. The groundwork was shaped with DIY wall filler. This is far cheaper than modelling plaster. It gives the same texture and can be pre-mixed with acrylic paints to avoid the dreaded case of white spots. I didn't add acrylic paints, so I had a hard time getting all the groundwork properly painted.
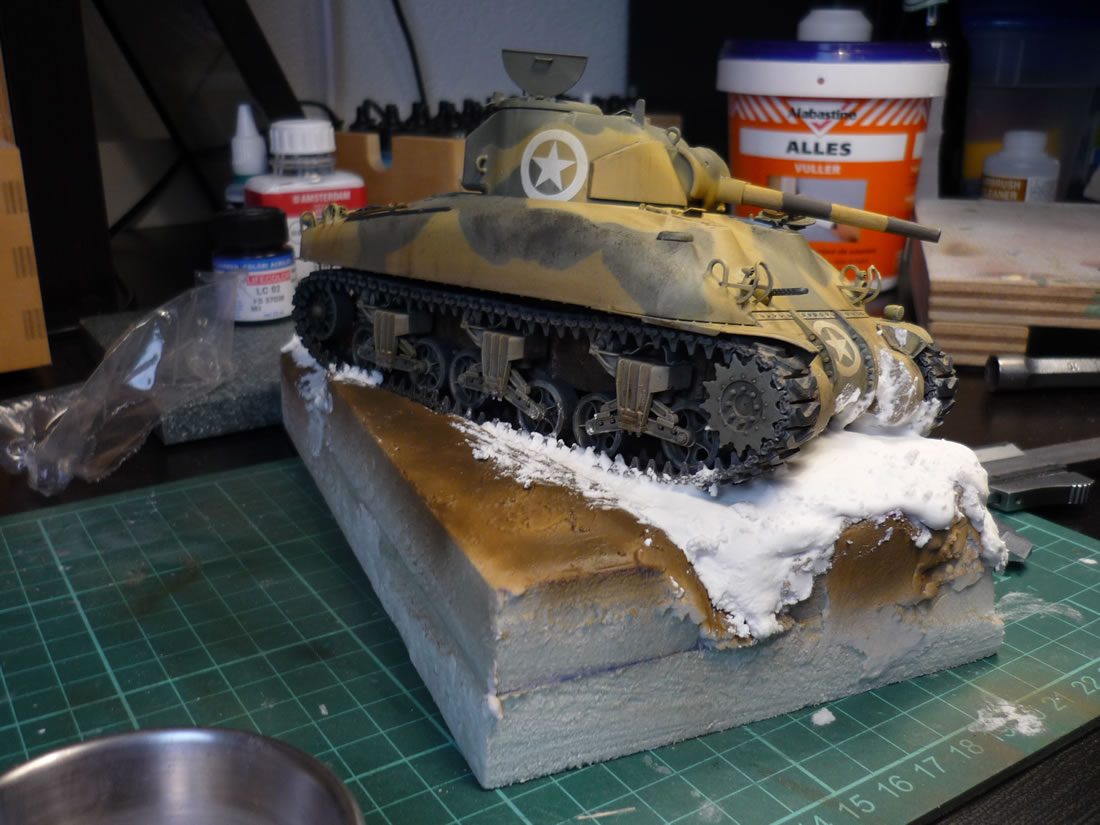
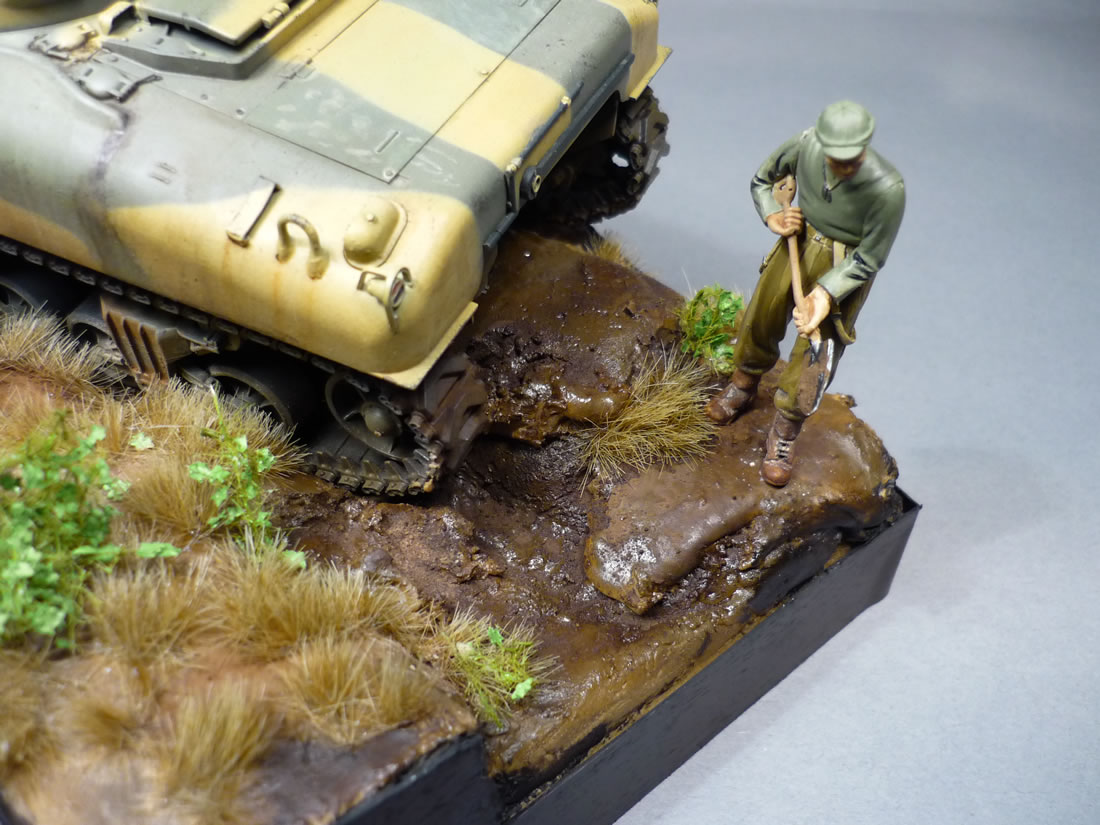
After the scene was finished more or less, I tried the tank. But it just didn't seem right. I added some more wall filler, and had to add more paint. Bogging down a car or tank is easy, but bogging down a model sure isn't. The small plants and grass came from Mini-Natur, which is a German brand. It's marketed by Grey Funnel Line, but it's easy to find other sources of similar products.
I added a small figure from Jaguar's "Sandbag Detail" set to create the scene. The title explains the story. And that's about it. A small scene, which took me more time than I first expected. But I had some great fun building it and that's what counts.
I
was very excited to receive some awards with this model: Bronze medals at Lier
and KMK in Belgium, plus a Silver at the Eindhoven, Netherlands, show in 2009.
-Martin Dogger |

 |
 |
 |
 |
 |
 |
 |
 |
 |
 |
 |
 |
|