|
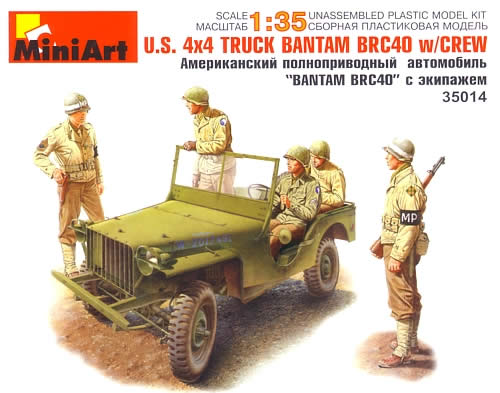
U.S.
4x4 Truck Bantam BRC40 w/Crew |
 |
|
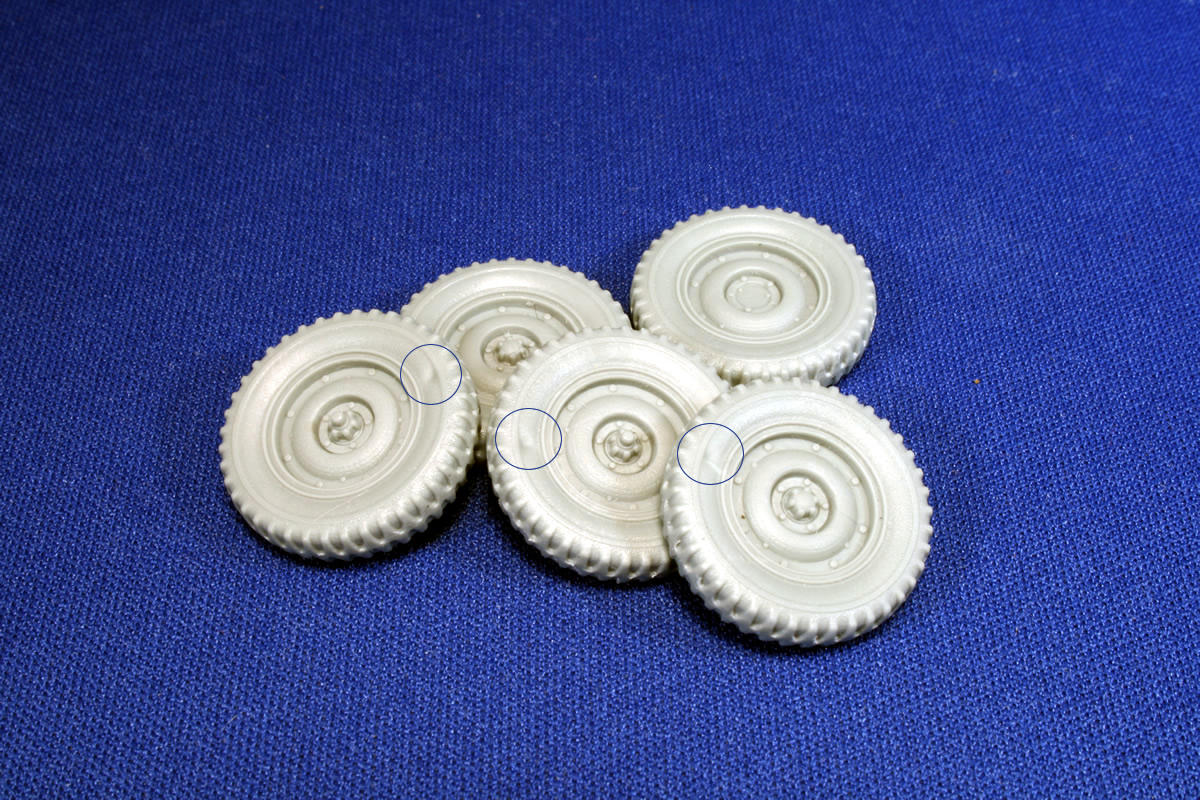
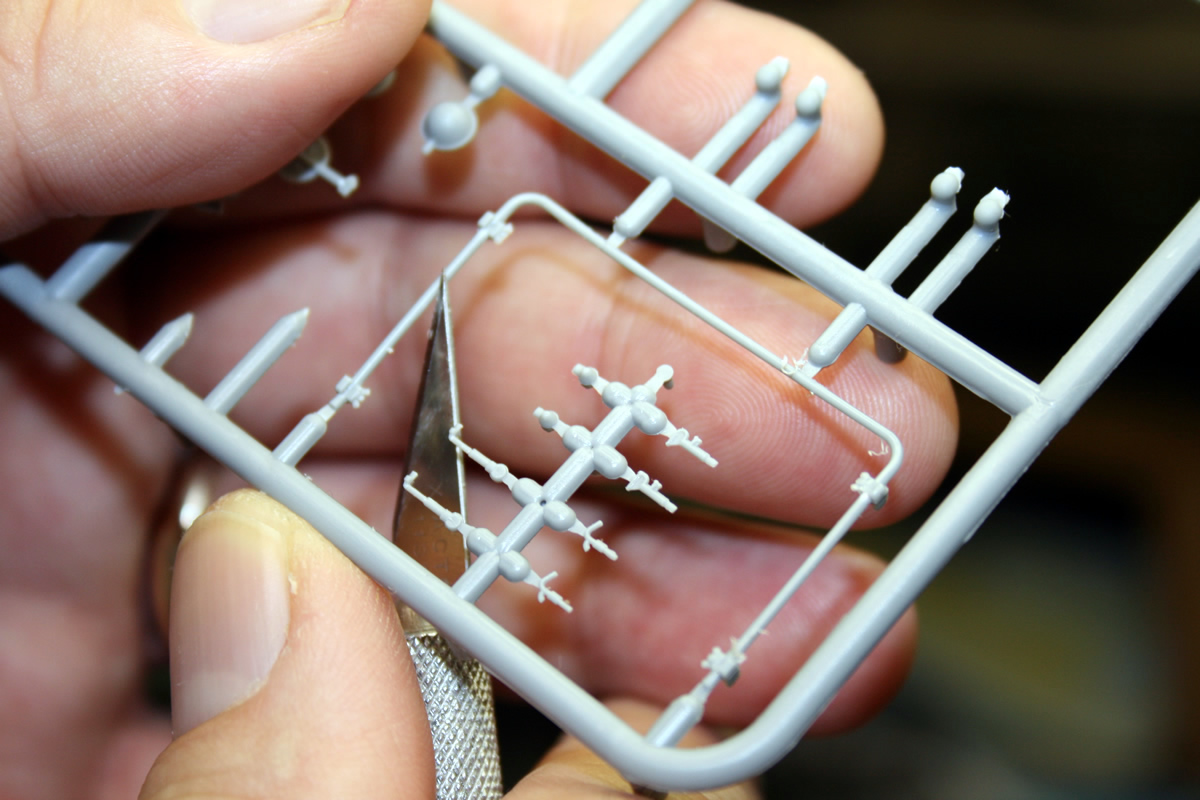
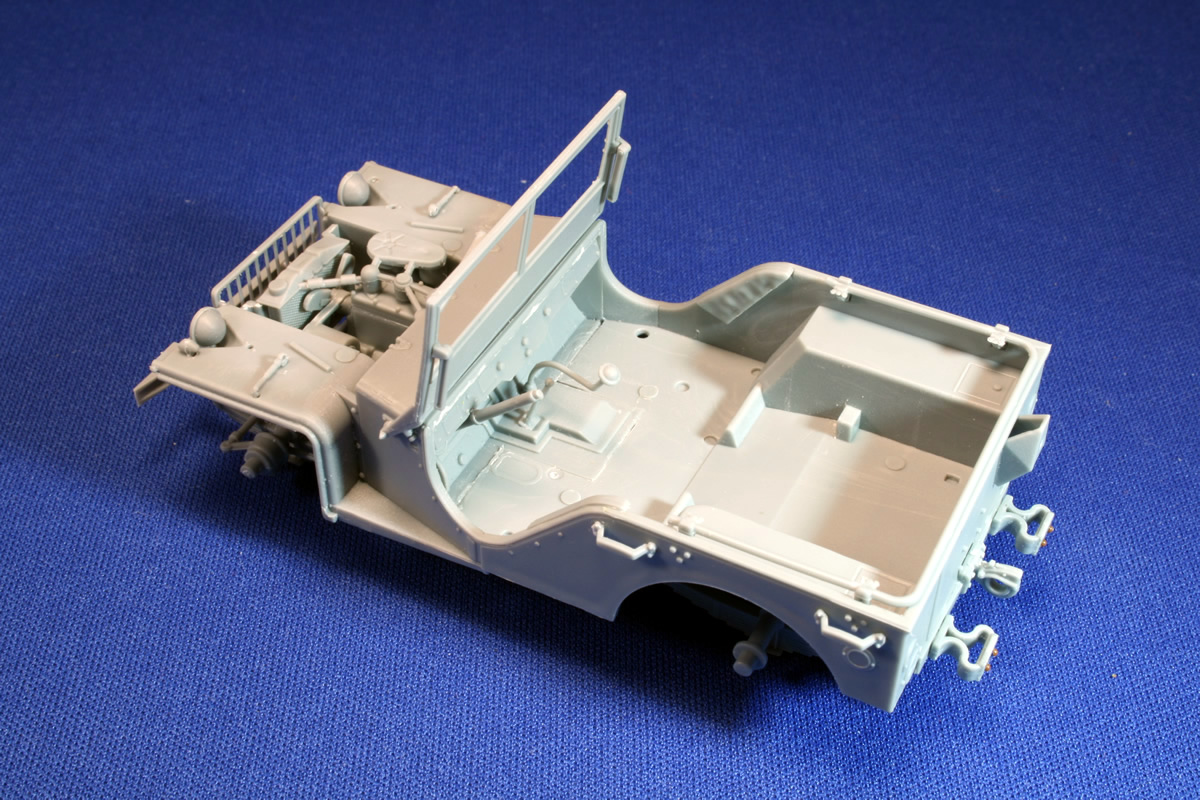
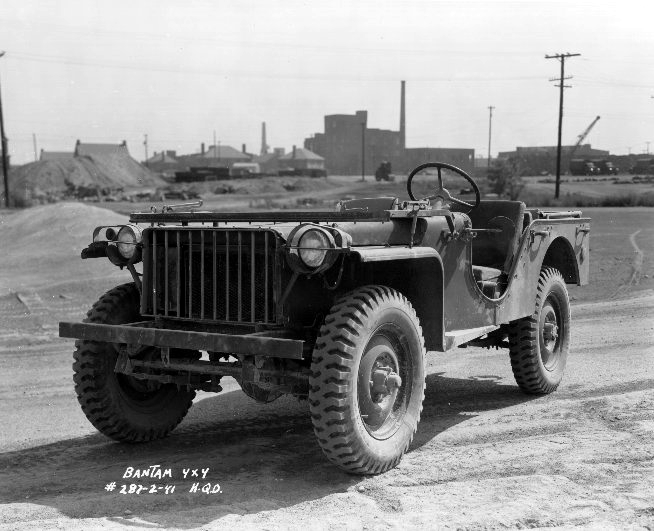
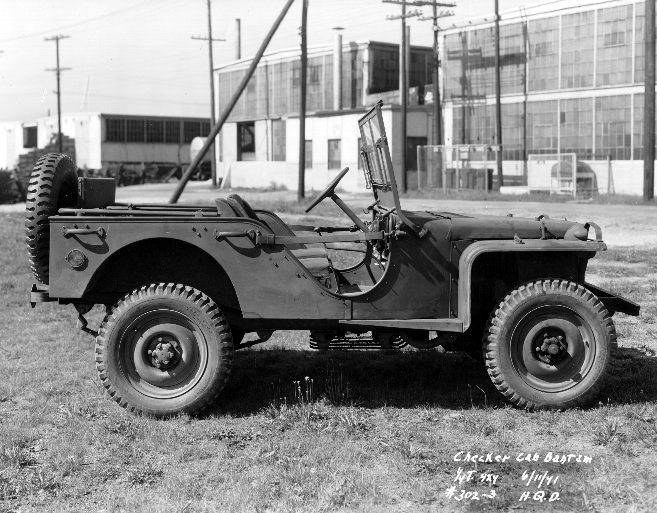
MiniArt The Bantam BRC40 may have run a distant third to Willys and Ford in the race for the U.S. government's jeep contacts, but this MiniArt kit that should get the respect of many Allied modelers. The Bantam shares numerous visual features with its more successful competitors. It's mainly distinguished by its squarish appearance, with sharp-edged corners on the rear box, angular fenders, and unique headlight arrangement. Of the 2,600+ jeeps built by the Bantam Company, the bulk went to Great Britain, where they were employed in the Middle East, and the U.S.S.R. Their use by American forces was pretty much limited to stateside training and the Philippines. I'd previously purchased and reviewed the separate boxing of the five nicely rendered figures that are included in this kit, but this was the first MiniArt vehicle I've built. The amount of required flash cleanup was a surprise. Not the worst I've experienced, but enough to make me consider how easier it would have been had Tamiya had done this kit. The plastic is a soft type that is easy to mar if you're not careful. But the level of detail is impressive, as are the numerous delicate small parts. A few sink marks in the tires were addressed with putty; the tread does not match the tires in most photos I've seen, which are mostly prototype or factory photos as seen below. But there may be other tread patterns I'm not aware of. A divot in the center of the steering wheel was capped with a washer and rivet. The rim over the dashboard did not get a full shot of plastic in the molding so I had to touch that up with putty. Tichy Train Group rivets replaced two bolts on the outer face of each rear bumper guard, which were molded too close to the sprue and were obliterated during removal.
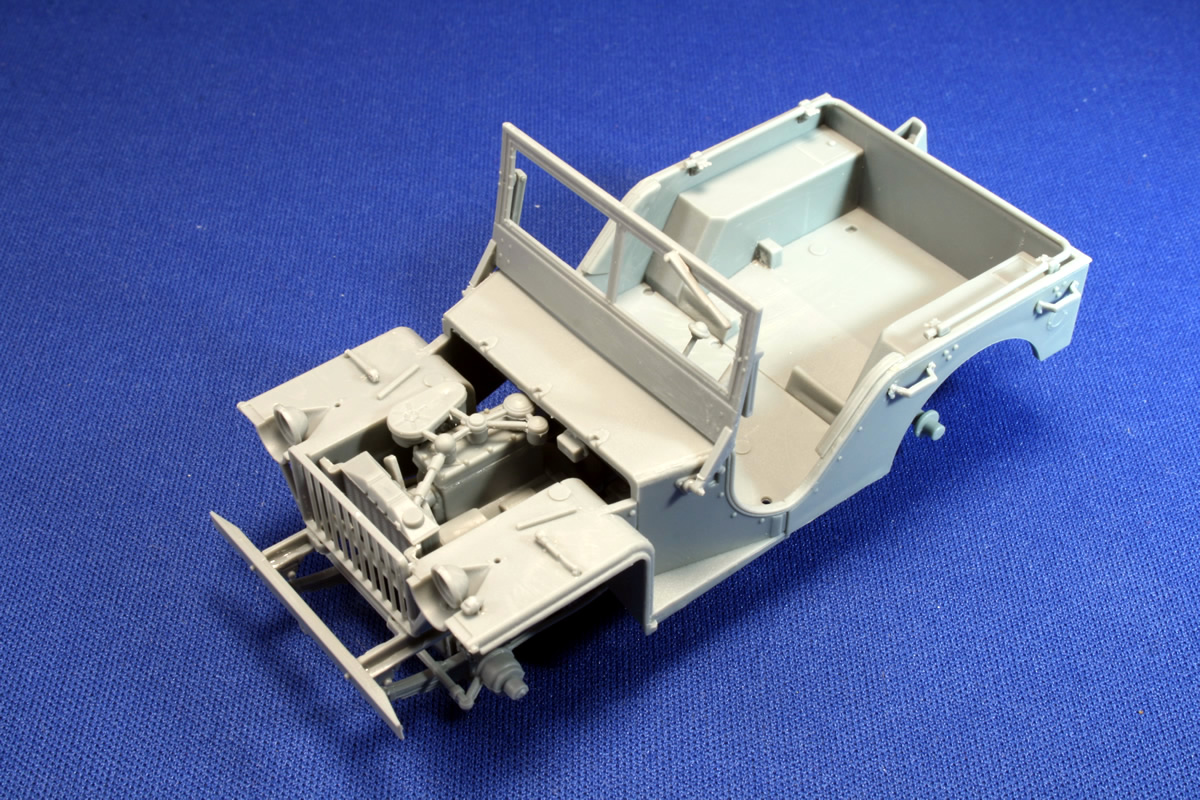
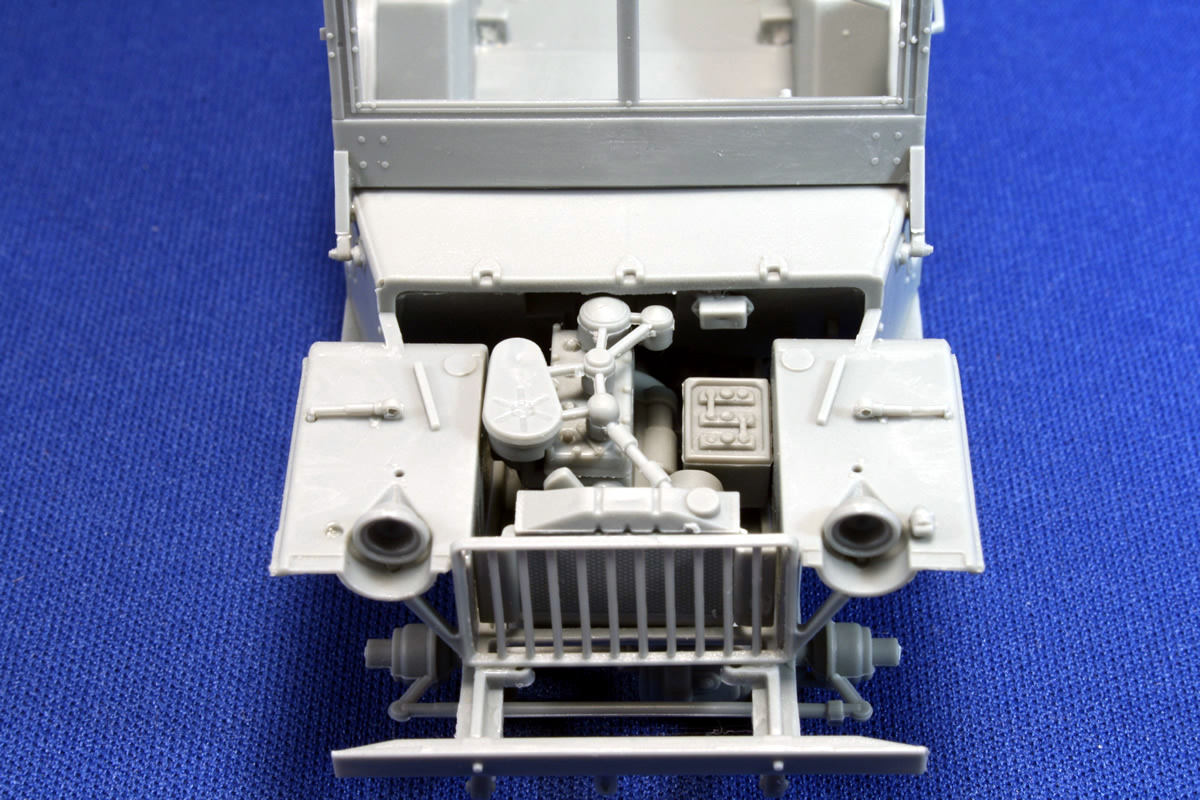
The Bantam is equipped with a fairly complete engine, but you'll need to provide your own wiring to really dress it up. I ran across several photos online of restored engines to help guide the way. The instructions are compressed into four pages, the first page having an invaluable numbered parts display (there are no part numbers on the sprues). The center spread contains the exploded drawings that are packed rather densely. With all of the small parts it can take some hunting to see exactly where they go on the vehicle. The back page has instructions for assembling the figures and painting them and the vehicle. Construction goes fairly smoothly except Step 7, where the leaf springs B11 and B18 need to be switched for proper placement. Also parts A19 and A18 are reversed on the parts diagram (the grill work is on the obverse side as show in the drawing). I have to count myself blessed over the years to have not lost any significant parts to the Carpet Monster. Unfortunately, I lost two while building this kit. The first was one of the blackout lights; fortunately, I had a pair of spares. The other wayward object was one of the latches that secure the windshield to the dashboard. Spare photoetch parts replaced those fairly well.
An
examination of online shows that MiniArt did a very good job capturing the details
of the Bantam, but there are opportunities for improvement. After photographing
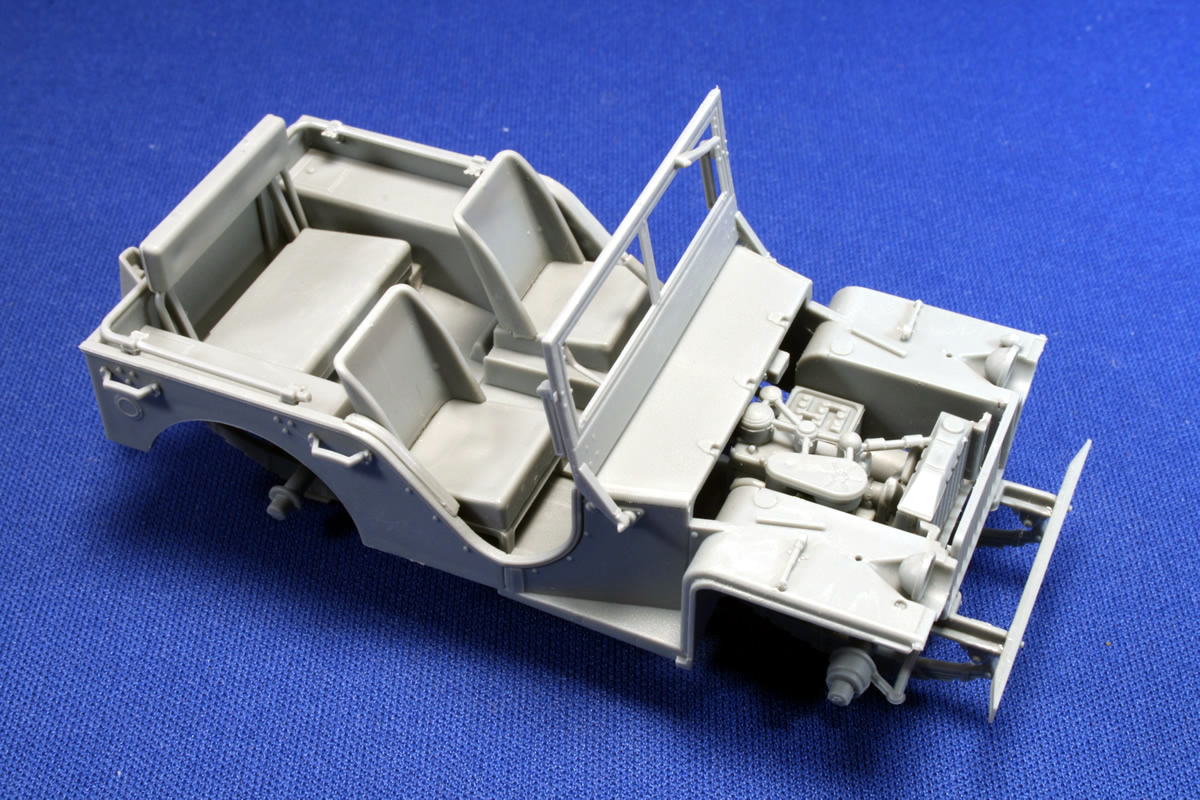
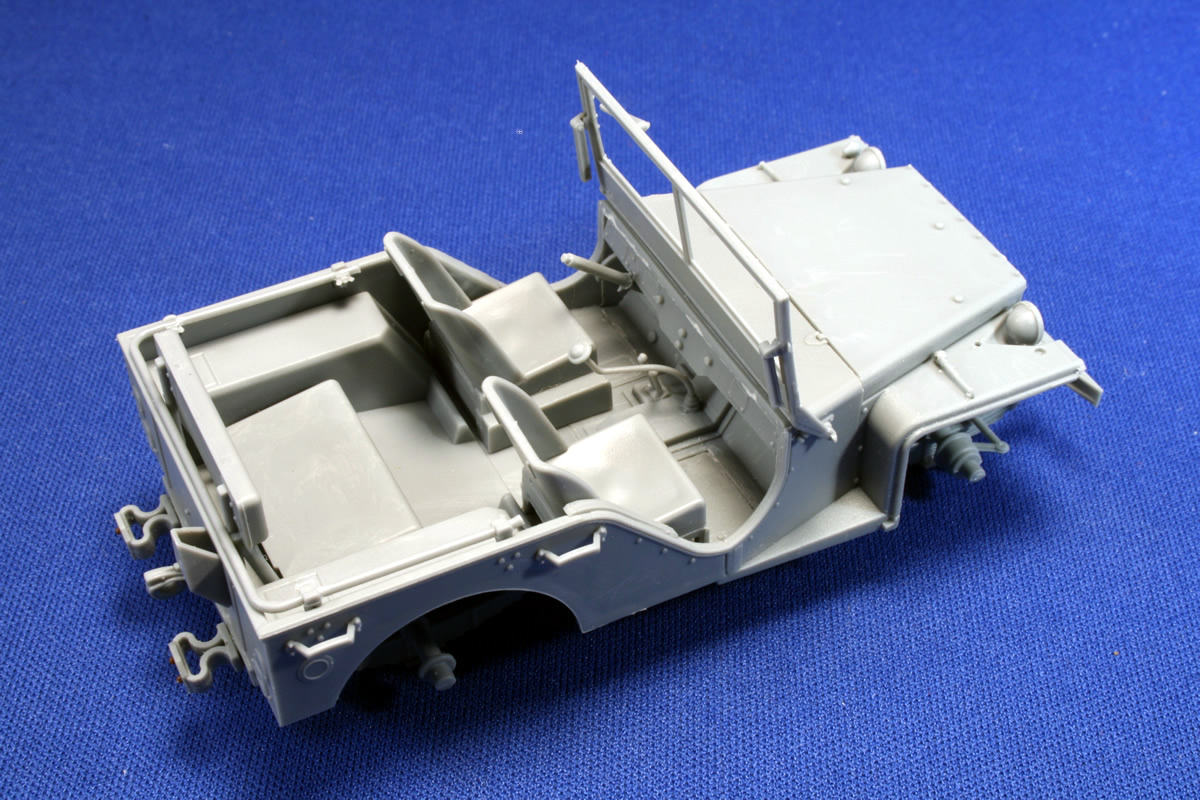
the basic construction, I decided to give some extra attention to the seats. I
filled the seams on the back sides since they have the appearance of one piece
according to the photos on Toadman's website. I used Archer Fine Transfers' weld
beads to create a hem for the canvas seat covers, and added what appear to be
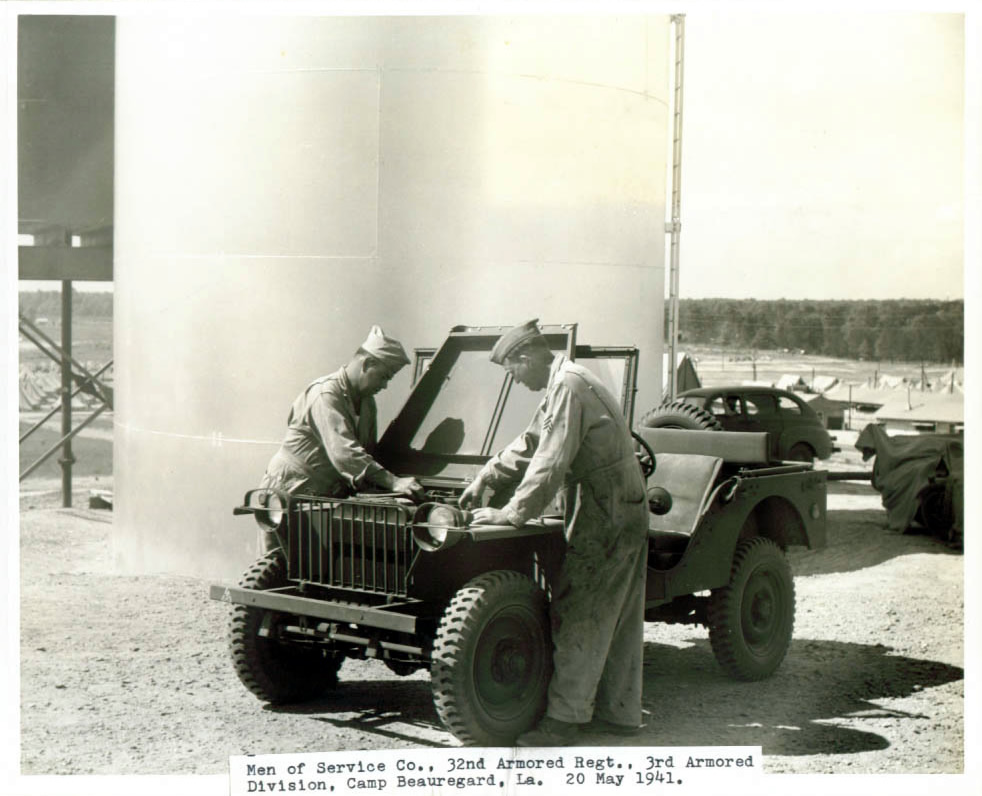
snaps to hold the fabric in place on the sides of the seats. Two possibly helpful tips: I did not glue the hood to the frame until after I'd painted them separately and painted the radiator black; there's a lot of radiator behind that bar grill. Also, I refrained from gluing the brush guards to the front fenders until the body was painted, the headlight bowls painted silver, and the clear plastic lenses glued in place. Comparing notes: a modeler mentioned on one of the discussion groups that he had no sink marks in his tires, but he did have small black specks in his clear parts. I looked at mine and did find a couple specks, but only under magnification. I don't anticipate it being a problem in my regard. I tried a new technique that I'd seen online: carefully scribing the headlight lenses to give them that standard grid embedded in the glass. It was a challenge to keep the lines even and squared across the slippery round surface. Unfortunately, you don't get spare headlights to practice on. I took my chances and was moderately successful. Fortunately, the brush guard helps obscure a couple less-than-perfect lines. I felt they were good enough to forgo replacing with MV lenses. Olive drab is the paint choice. Because of its limited use in the American Army, most period photos show the vehicle during its development and testing so there are no markings. MiniArt skimps on the decals, providing only blue drab registration numbers, which would be appropriate for the early-war time frame. But missing are two prominent white dashboard gauges (they are not even molded into the plastic part) and various data plates. That's a shame, because it's a significant omission. Archer Fine Transfer comes to the rescue, but the remedy adds another third to the cost of the kit. My final mishap came with applying the decals. They are very thin and delicate. I was trying to straighten one lying in a bit more water than I wanted on the edge of the hood. I blew a quick blast of air to blow the water off, and the decal took flight as well. Fortunately, the is a third set of registration numbers that are for the rear wall of the jeep. I'd only seen such numbers used on a Bantam in what appears to be a factory photo in David Doyle's WWII Jeeps. So I decided to use this third decal in place of its departed sibling on the hood. I have a diorama destination in mind for this little buggy, and giving the rear an extra shot of dust will easily obscure any supposed blue drab marking. Of course, this is still such a relatively obscure vehicle that most folks won't notice it! I'm still impressed with the quality of the figures, and still vexed by the late-war M1943 jacket on the driver. You might be able to get away with that in a mid-1944 stateside training setting, but certainly not in the Philippines. Though strangely not included with the separately boxed set, this kit's decal sheet includes rank patched and MP insignia for the figures. Apart from the nuisance flash and missing dashboard decals or detailing, I enjoyed this kit, and found it a pleasant departure from its Tamiya and Italeri/Heller cousins. Overall, I'd place the final product squarely between them, once you get past the cleanup and decal issues. Review sample courtesy of Alain Yuen and Dragon Models USA.
-tss- | ||||||||||||||

 |
 |
 |
 |
 |
 |
 |
 |
 |
 |
 |
 |
|