|
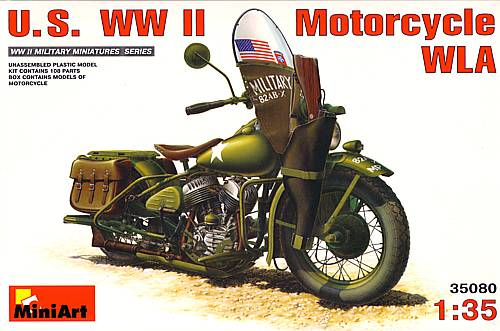
U.S.
WWII Motorcycle WLA |
 |
|
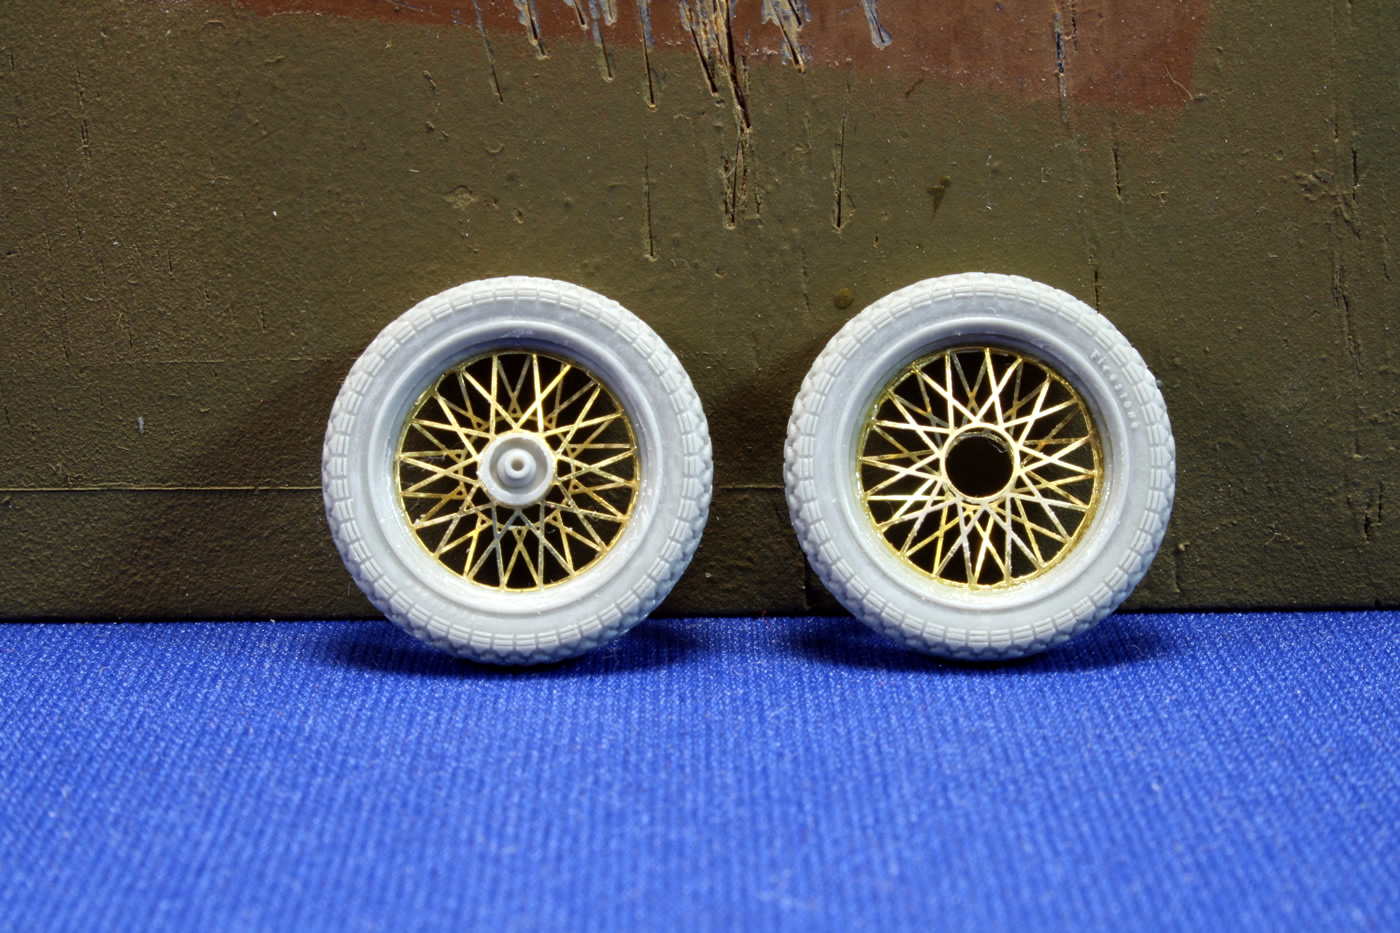
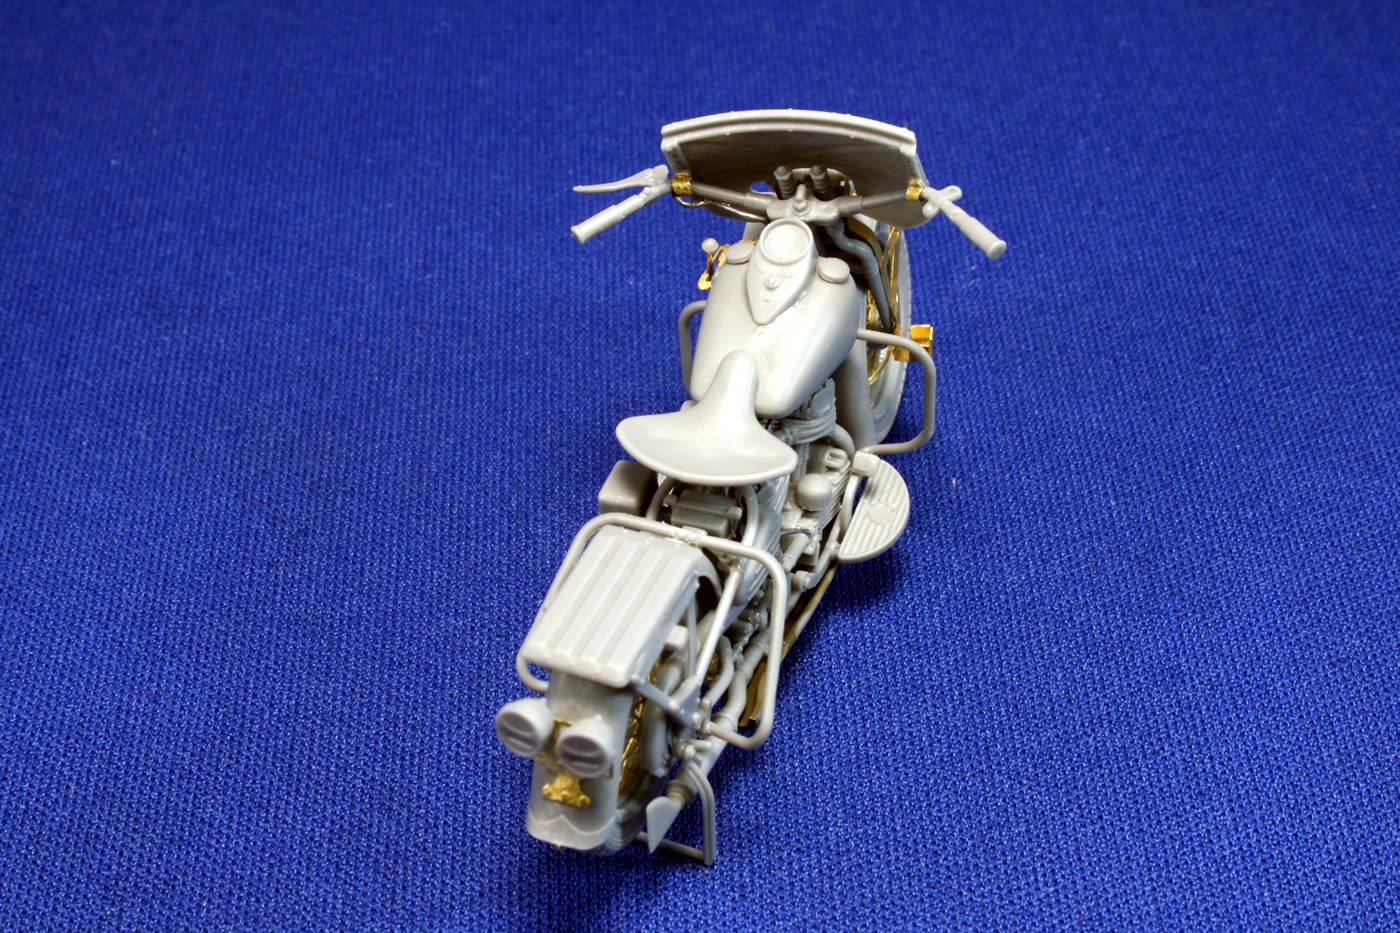
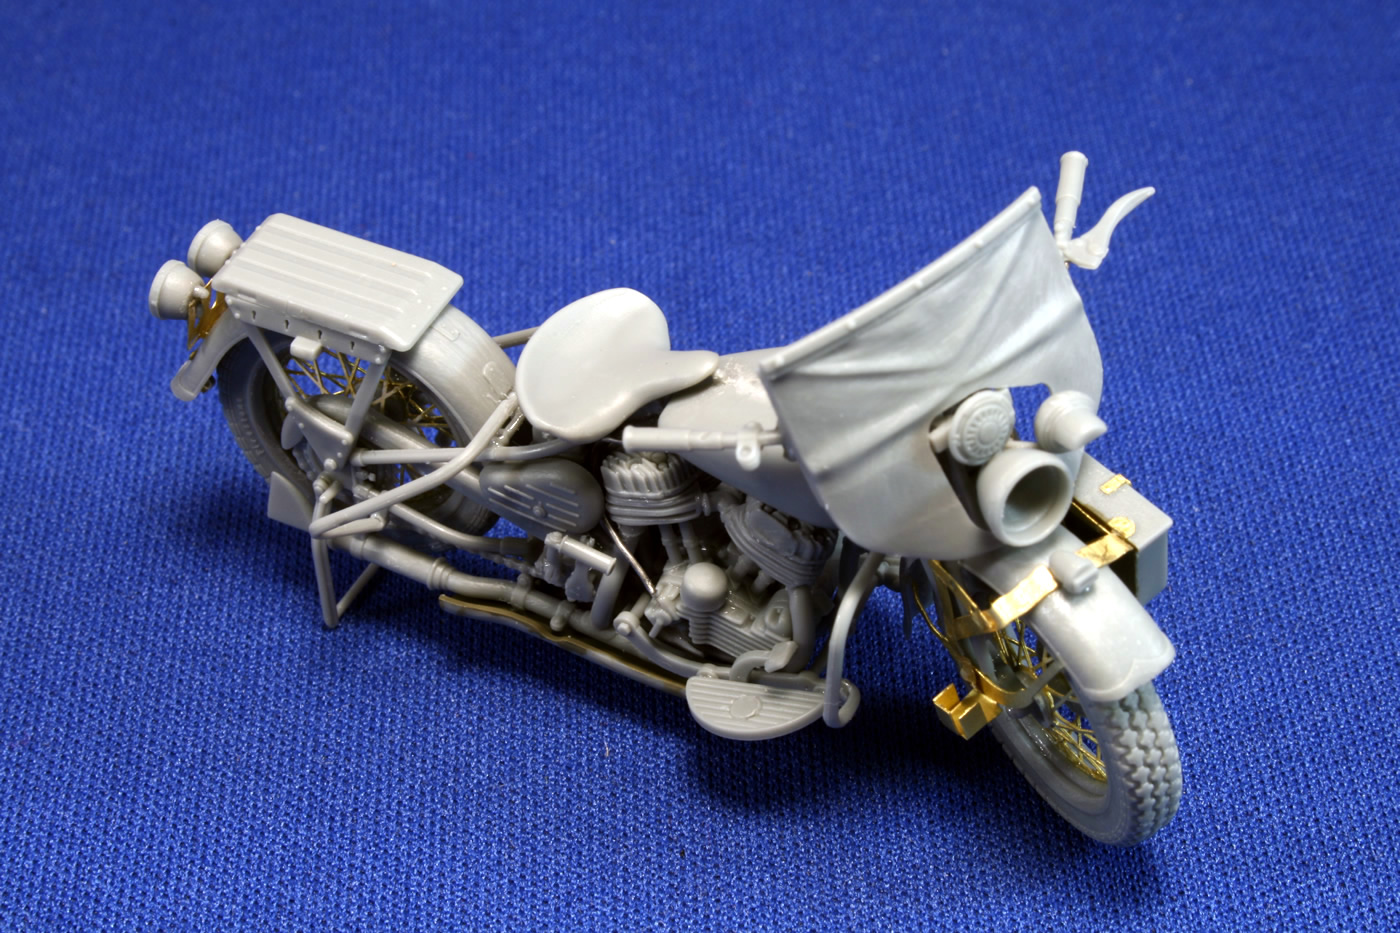
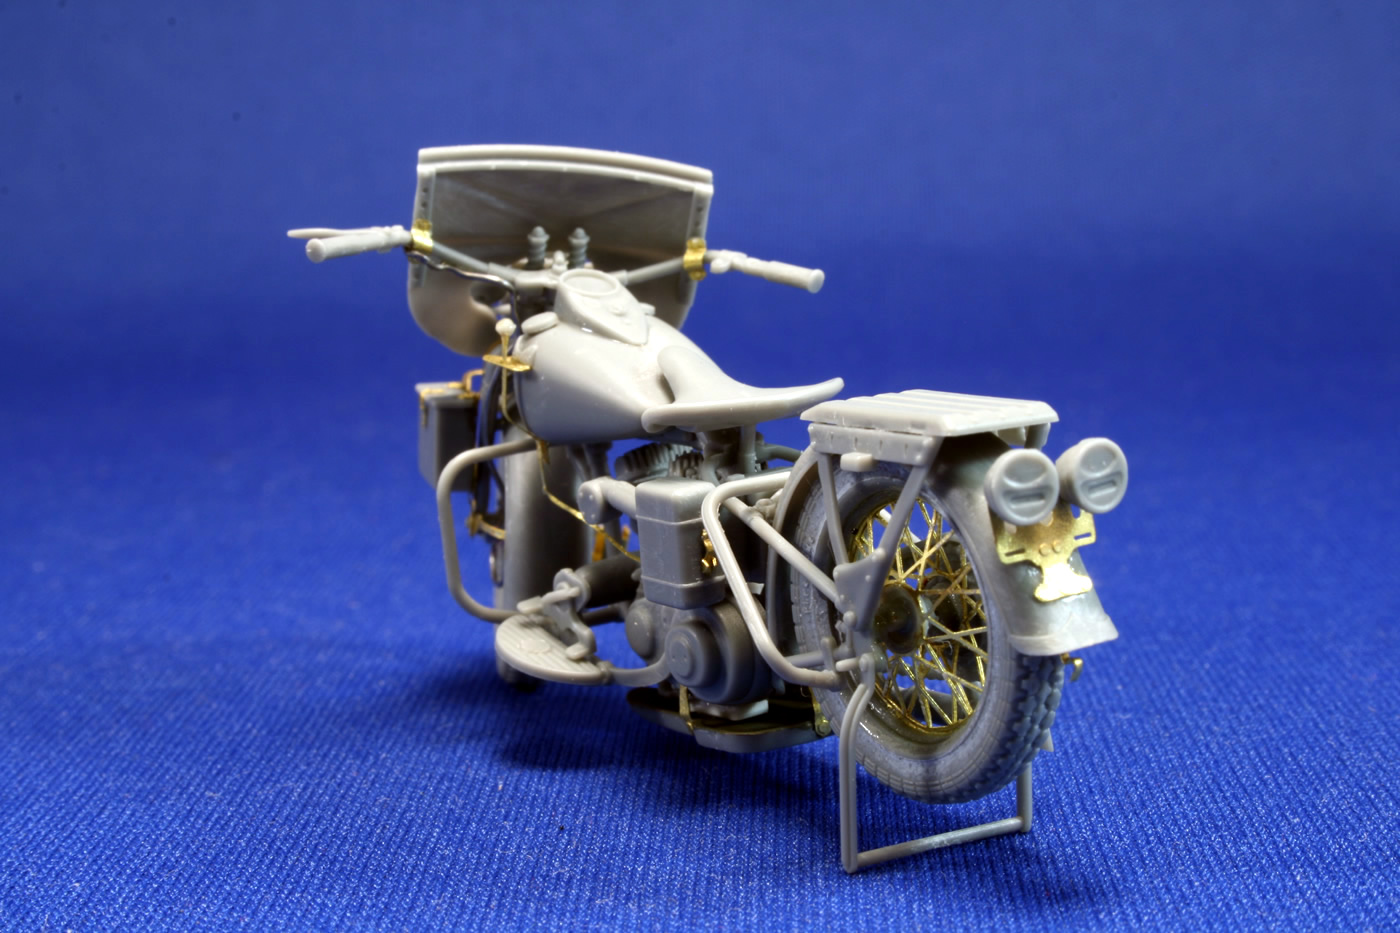
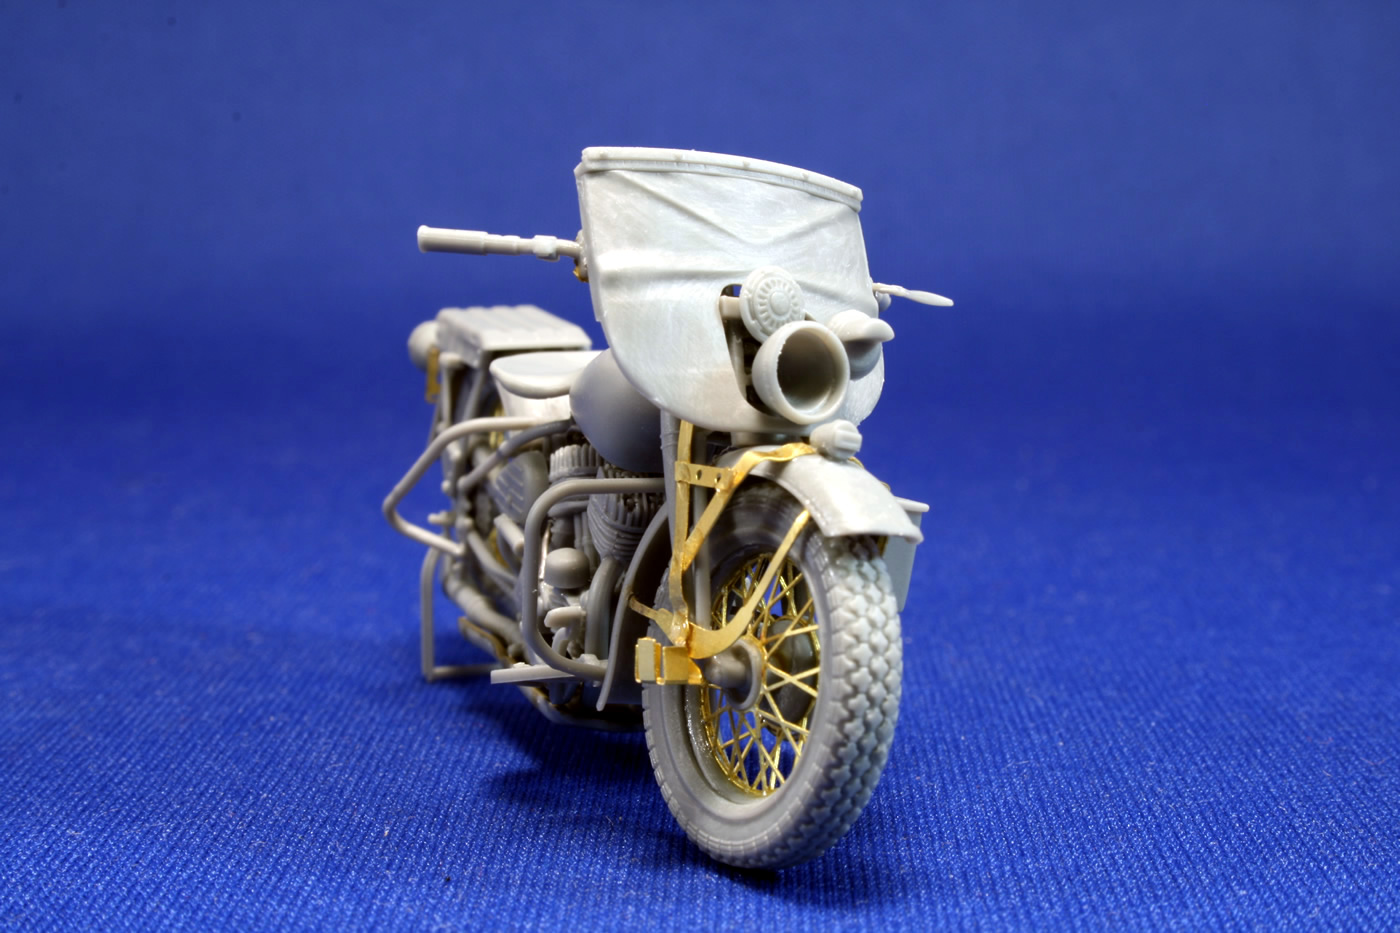
MiniArt This kit was a bit intimidating given the multitude of small parts and the thin photoetch that requires some precise bending. Consequently, I built one of the Italeri bikes I’d had on the shelf for many years just to get some practice and get familiar with the parts. The Italeri kit is still a decent option, but MiniArt has put a lot of effort sharpening the details and the inclusion of the p/e adds to both the experience and the overall results. But this is not a kit for beginners—or even intermediates that have not had a lot of acquaintance with small parts. A magnifying lamp was definitely helpful with this kit. Here’s another tip: cut the parts with a nipper close to the counter or table and use the bottom of the kit box to capture the parts as they fall. Staying low to your building surface helps minimize the “bounce” factor and the sides of the box may keep things from jaws of the carpet monster. MiniArt provides jigs for forming the p/e spokes and bending the parts for the front fender supports. Overall, this works pretty well, though it’s easy to push the parts out of shape because they are so thin. The spokes in particular need careful attention when placing them inside the tire rims. I used a good dose of thin superglue to keep them in place. Also, care must be taken when attaching these wheels to their frames. I didn’t pay attention to the different sizes in the inner rim of the photoetch that fits to the plastic hubs, and had to remove the wheel from the rear when I discovered it was supposed to be the front wheel. Subsequently, I never got the correct rear wheel to sit on the plastic hub as it should have, and it is slightly off kilter in relation to the fender above it. Fortunately, this problem is covered by the placement of the saddle bags, but take this as a word of warning. Double check the instructions and dry fit parts often. The instructions are a tight series of exploded drawings. There are a few quirks, such as not identifying part A21 which is connected to A72 in step 4. The attachment of the left foot rest is not specified in the instructions. The drive chain in part A26 should go over, not under, part A74. There is also a “mystery part” A16 in Step 30 whose purpose and exact positioning I couldn’t figure out. Later in Step 35 I saw that it is the support for the blackout lamp. I was able to glue it to the bottom of the lamp and then insert it through the lower windscreen section. I also had a problem keeping the gravel pan in place, as it is anchored to the frame only by a pair of small photoetch tabs. After having it pop off a couple times, I put a shim below the bike that I could glue the pan to directly for a stronger bond than the p/e and superglue provided. Another tip regarding the two small p/e parts (PE18 and PE19) that represent the brackets that hold the windscreen to the handlebar. Cut only one end from the fret and form the part over a straight pin to match the curve over the handlebar. Then cut the other end of the brass part. This should give you the approximate shape for positioning on the bar. I may have mixed the two p/e parts inadvertantly, but I found that what was supposed to be PE18 worked better on the opposite side of the bar, and vice versa for the other part. If you have some nubs from the attachment points to the photoetch fret, you can carefully sand those down with a sanding stick after the parts have been glued to the bar.
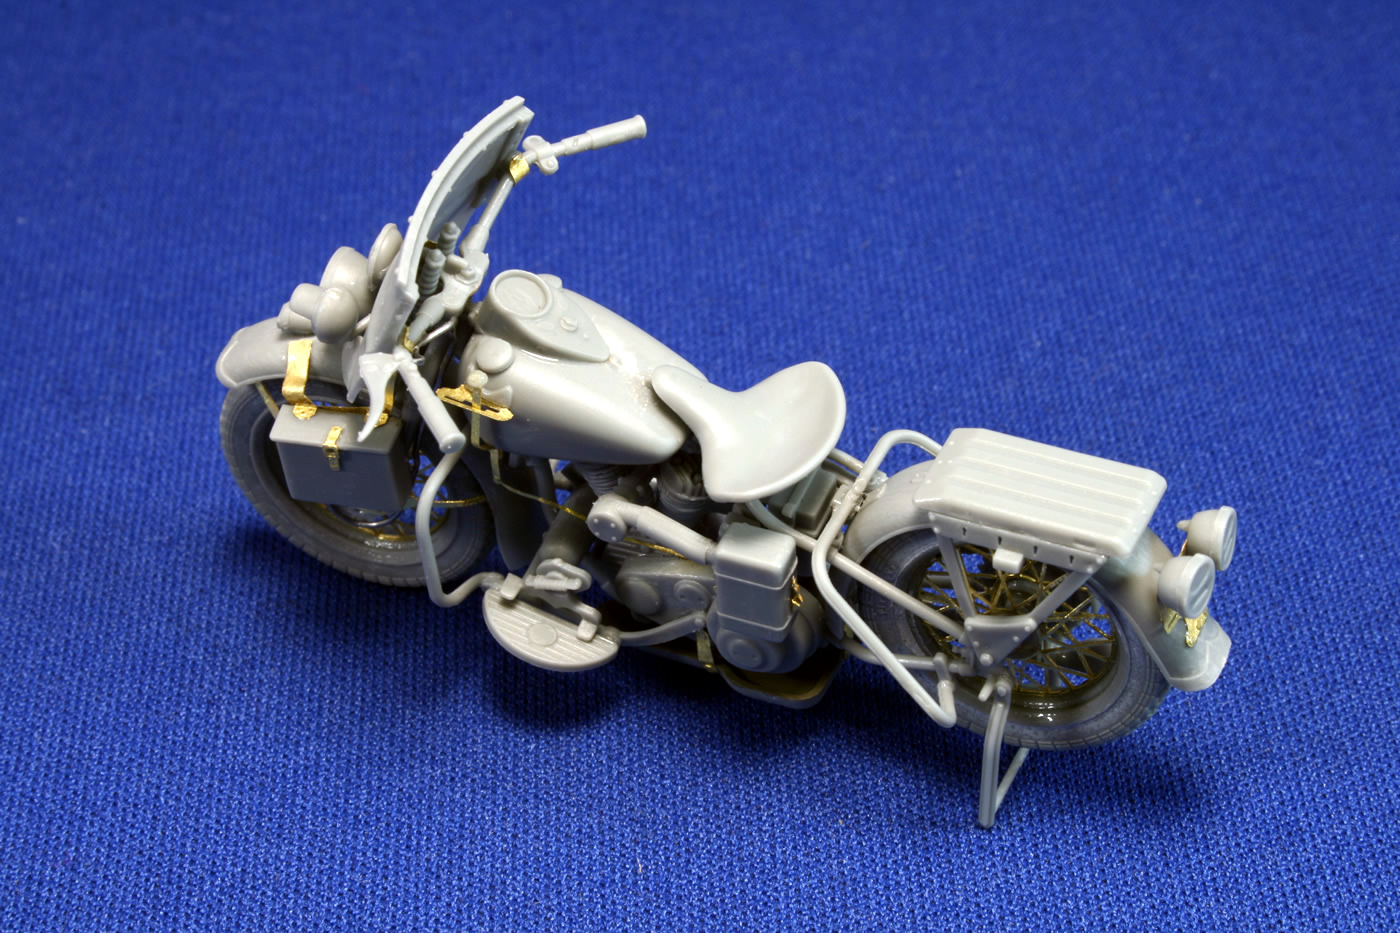
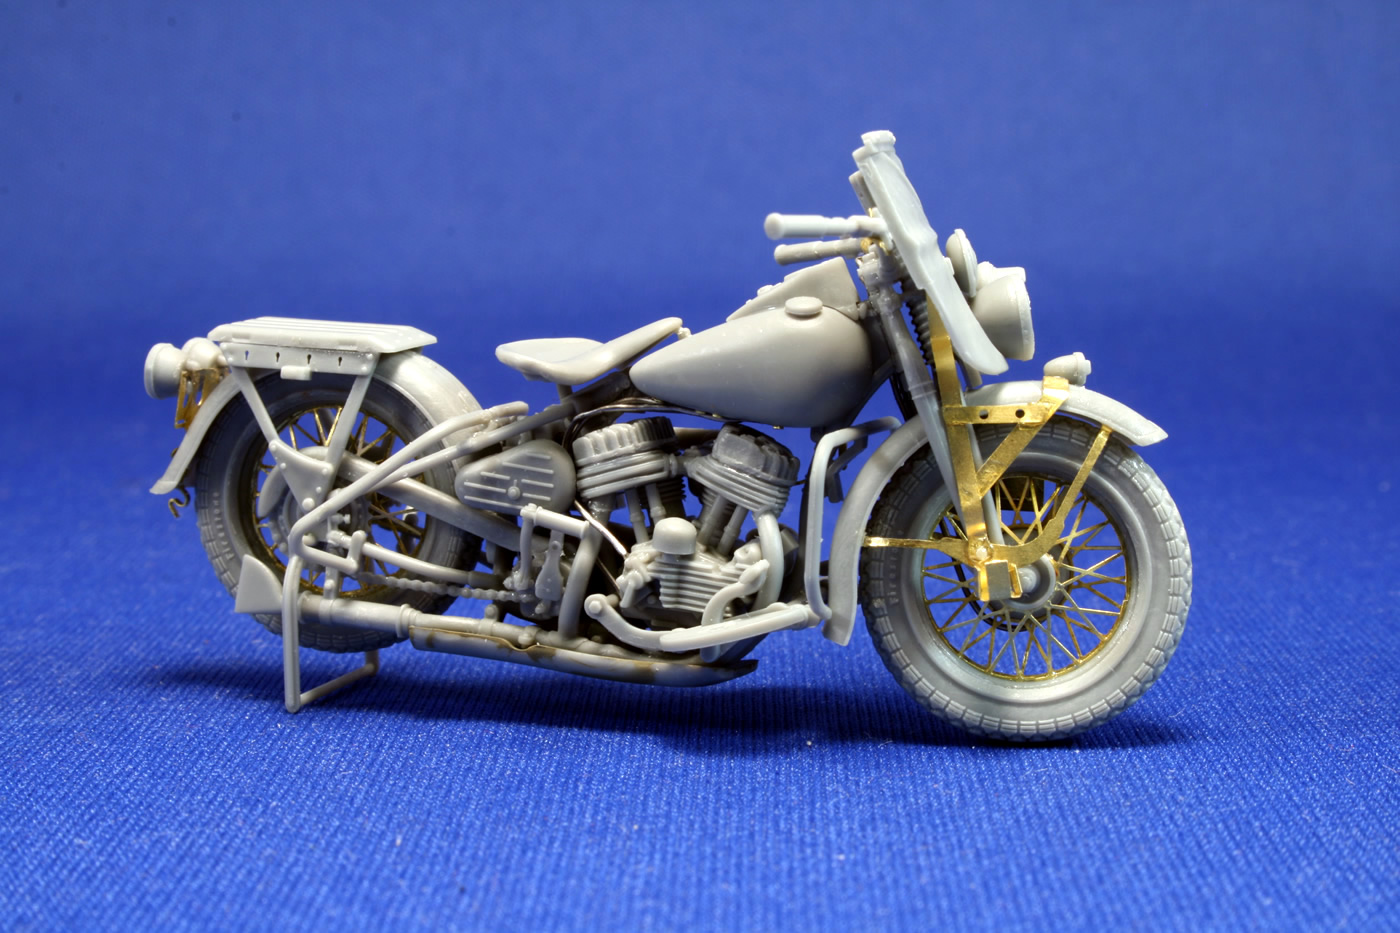
This kit took me a couple weeks to build, mainly because it is so fragile and the parts are so small, and I wanted to make sure glue dried securely before moving on to the next step. In some respects it’s a bit over-engineered in favor of detail and accuracy. Only the scabbard for the Thompson submachine gun was a bit of a letdown, as the gun is molded into one side of the scabbard, rather than resting free in the sleeve. So that one side looks a bit off. MiniArt should have made the gun stock as a separate part to glue into the scabbard. The only missing item is thin wire, which I used to create the brake and gas lines.
The vehicle will get the standard OD finish, with a variety of blacks, silvers, and metallic grays for the engine parts and leather color for the seat and saddle bags. The decals are nicely printed and appear quite complete for representing an 82nd Airborne military police motorcycle. Subsequent to this kit, MiniArt released #35085 U.S. Military Police with Motorcycles, with a pair of GI MPs sold separately and with the Bantam jeep; and #35101 U.S. Motorcycle Repair Crew, with a pair of bikes and three maintenance figures. I’m tempted to pick that one up just for the fine looking figures. But I’d be up for building the bikes again, too. Review sample provided by MiniArt. -tss- | ||||||||||||


 |
 |
 |
 |
 |
 |
 |
 |
 |
 |
 |
 |
|