|
M7
Priest U.S. Howitzer Motor Carriage
|
 |
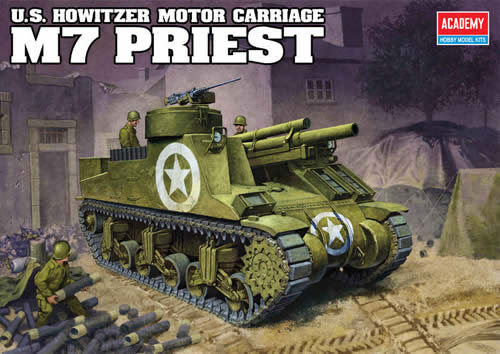
Academy
Hobby Model Kits Background The M7 Motor Carriage was the production vehicle of the T32 HMC. The T32 was designed to provide a mobile artillery piece and put together the 105mm M2A1 Howitzer on a modified M3 Lee chassis. It was built by several factories and served until the end of the war with the US Army, USMC, Canadians, Free French Forces, and British Army. Postwar use included the Korean War. There were several identifiable changes during the production run. The early M7 had stowage boxes over the rear deck which opened down and away. On the top of these was a cradle for a small fuel tank which could be jettisoned. The very early ones lacked ammunition ready racks and were equipped instead with four crew seats. Later on, two of these seats on the left side were omitted to make room for ammunition stowage. As production progresses, some M7 were equipped with the rounded transmission armor cover (E4188) but it does not seem to have been adopted. The hull rear stowage boxes were modified by omitting the fuel racks and having them open from the op towards the center. Some of these saw the heavy duty suspension units (D47527) with the offset return roller on a straight arm bracket. The last M7 built had the heavy duty suspension as standard along with the sharply angled transmission armor, lowered pulpit, lowered headlight mounts, and modified engine deck which omitted two vents to either side of the center deck plate. The Italeri kit represents this production run. The Kit Inside a rather large box under a well done painting, we find ten sprues, two of which are the vinyl tracks, and one which is doubled. The sprues are divided into pairs and bagged separately. Also in the box and separately bagged, but not sealed, are the decals. Instructions and a marketing card complete the contents of the box. The instructions are in a booklet form with eight pages covering construction in 12 steps. A one paragraph text provides a brief of the Priest. The assembly sequence is good and the illustrations are clear. A parts map completes the instructions. Photos of the completed model are included where necessary. A separate painting and markings guide provides guidance to decal placement. The parts are molded in the same green as Academy’s allied kits and the styrene is not brittle so cutting, sanding, and gluing are easily accomplished. Details on the parts are sharp and the bolted surfaces have been rendered separately so as to not lose fidelity.
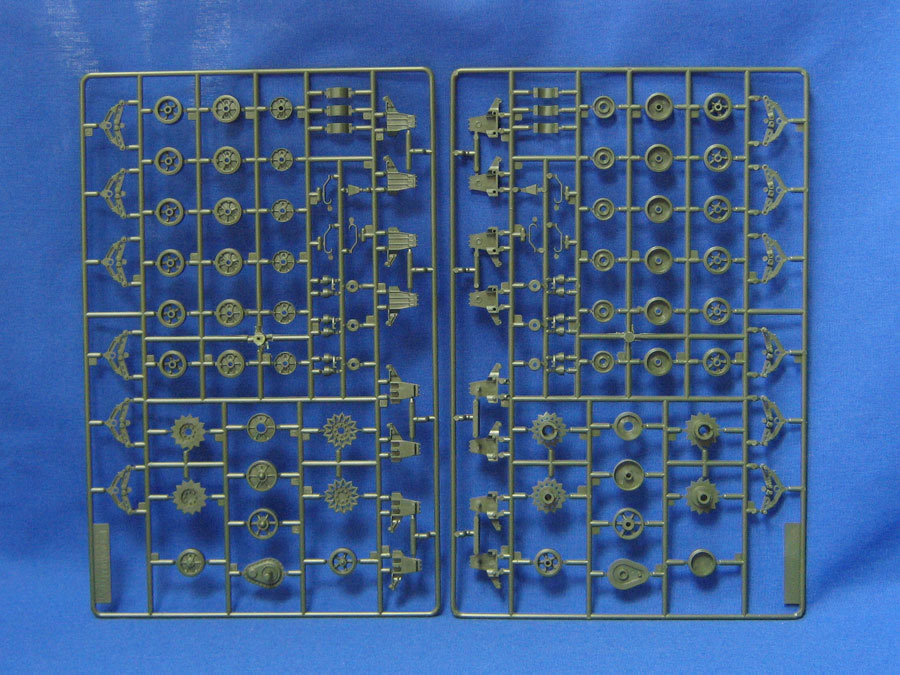
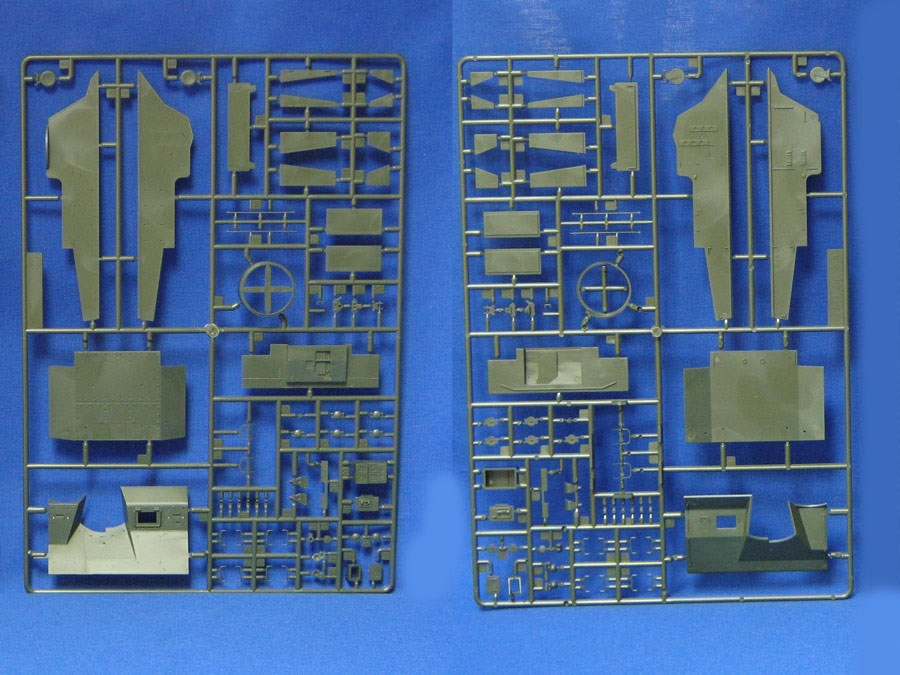
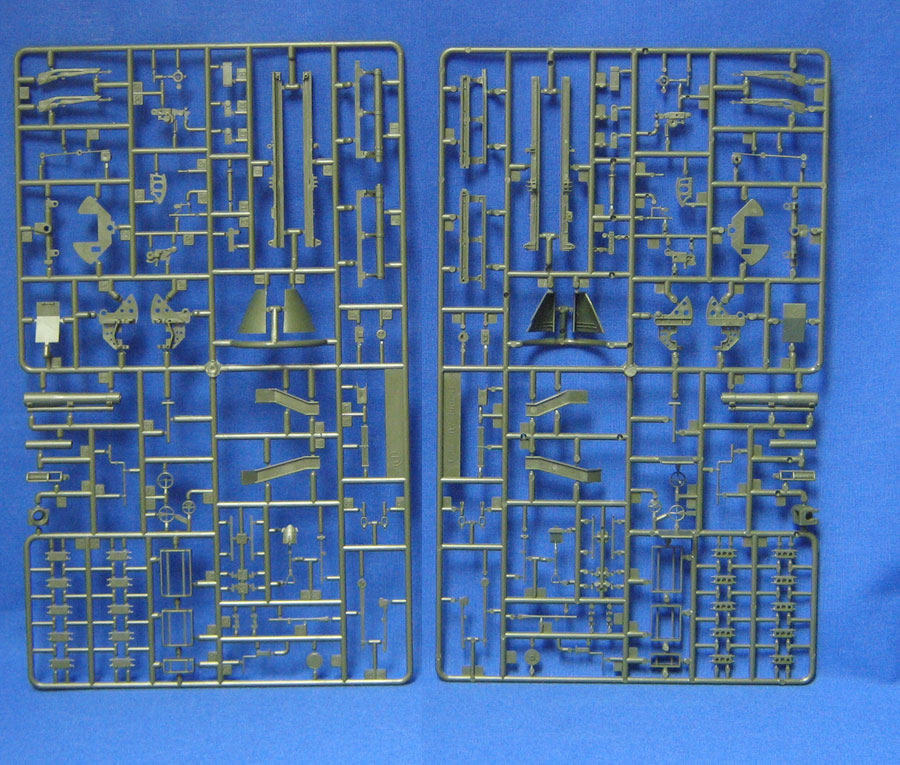
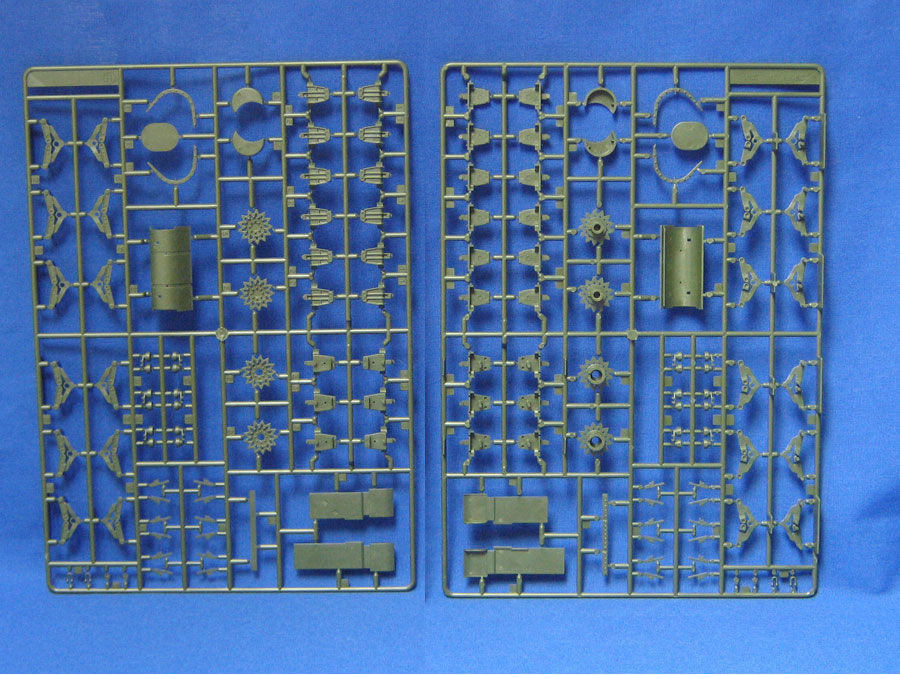
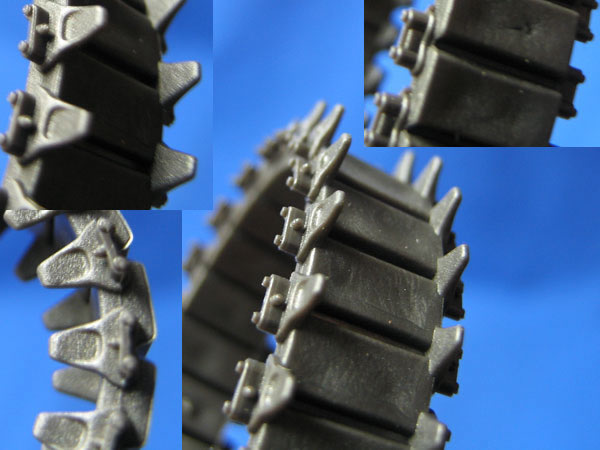
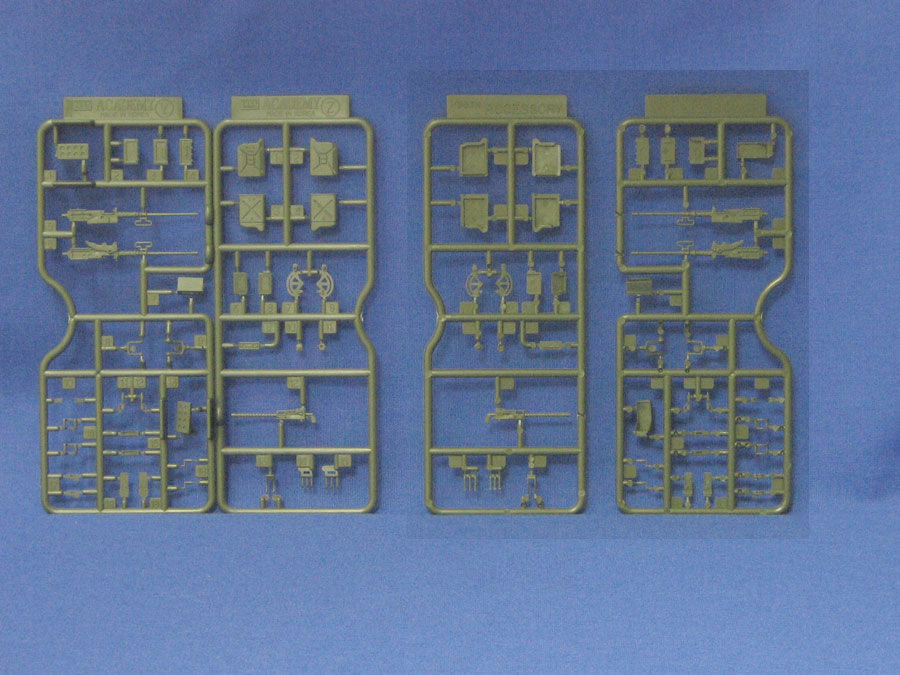
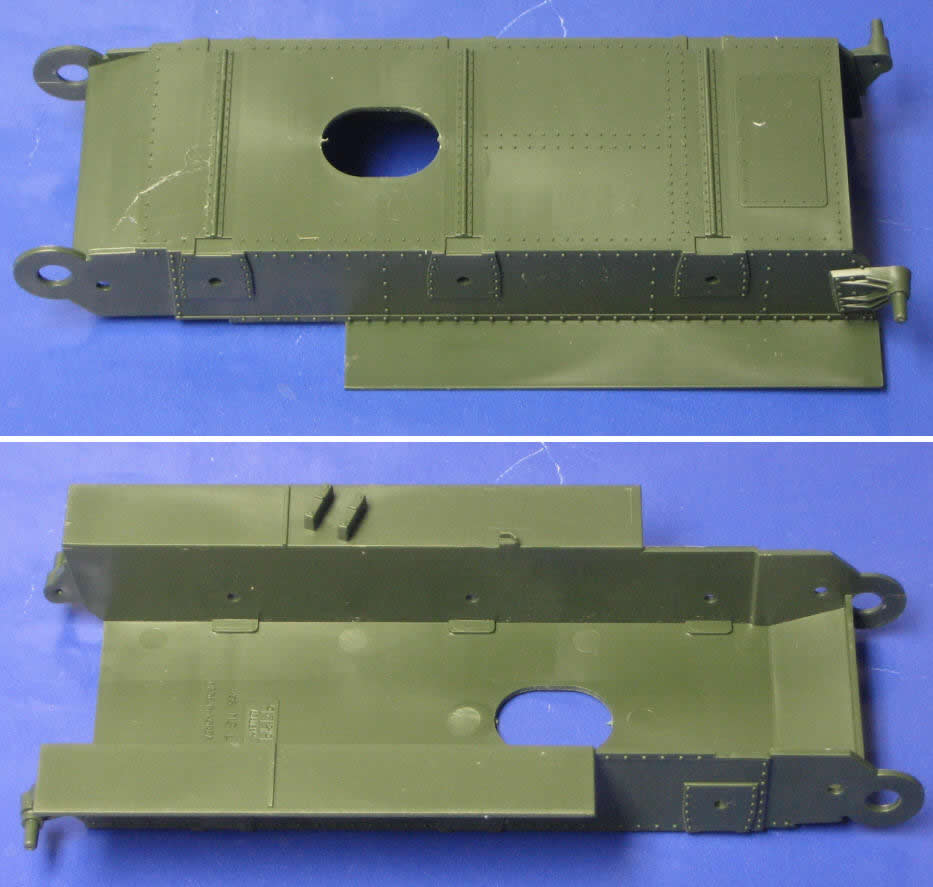
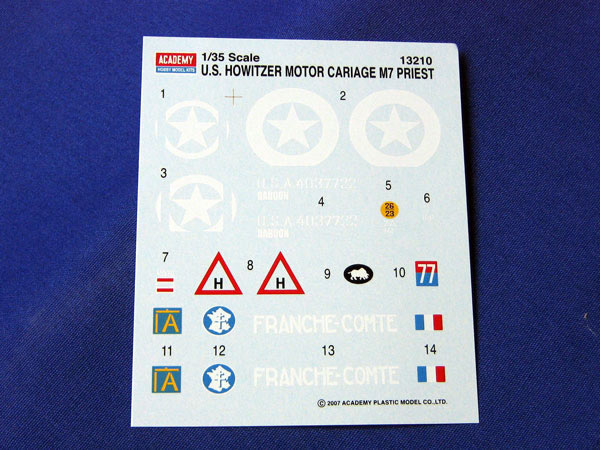
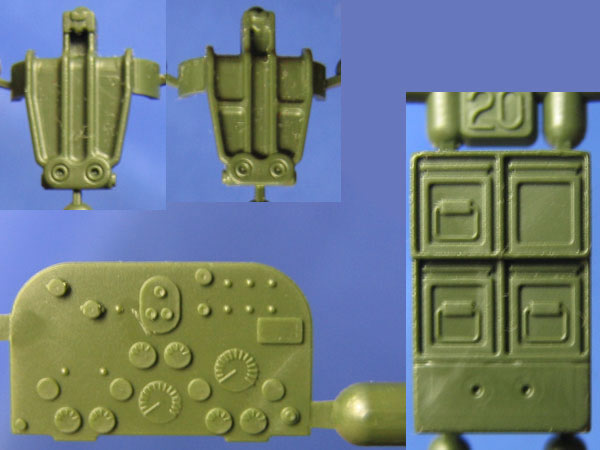
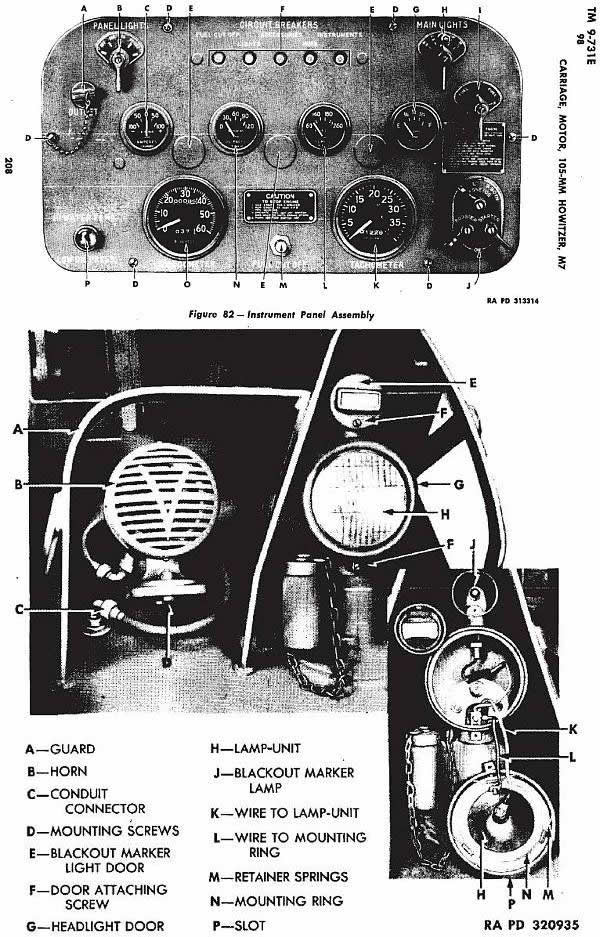
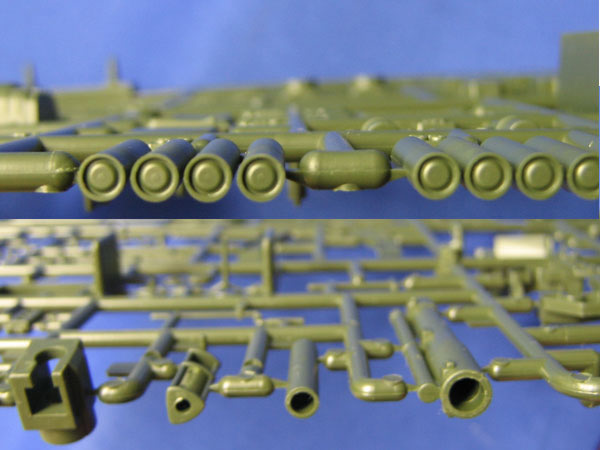
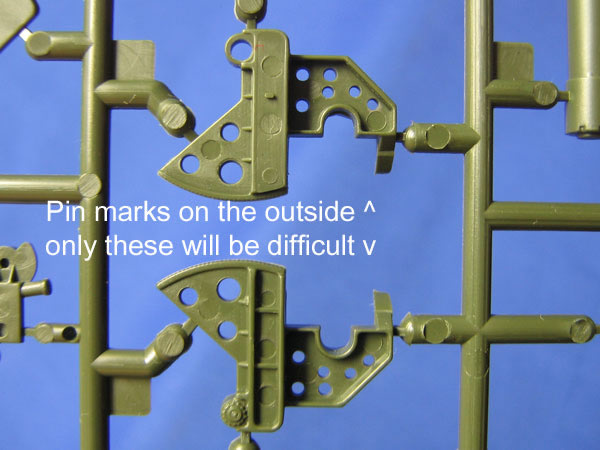
Sprue A is the same running gear found in most of Academy’s Sherman based kits. This made its debut with the M-12 and the exhausts, part 8, are still there. However, this is a very nice sprue offering both spoked wheels with the correct number and stamped wheels with an insert for the inner sides. The only thing missing from the stamped wheels are the rivets, two between each radial arm. Your spares box will receive 34 parts from both sprues as two are provided to ensure enough parts. Another option is to use the early heavy duty VVSS but one must rely on instructions from another kit as they are not in the booklet. While the oldest of the sprues, very little flash and pin marks are evident. Sprue B covers the interior along with the rear hull. Slide molding has been used to add a recessed groove to the tops of the ammunition tubes. There is slight flash on some of the parts but easy to deal with. The upper hull, engine deck, and some stowage items are on Sprue C. The detail on the upper hull includes some nicely rendered welds, bolts, and rivets. The machine gun ring for the pulpit is found here. Strip styrene can be used to improve the detail by adding the missing lands. No flash or sink marks were found on this sprue. The first unused parts appear on Sprue D. This sprue covers the gun and tank tools. Slide molding has again been used and the result is quite good. There were some light sink marks on the heavier pieces and light flashing evident. Both will be easy to handle. However, there are pin marks on the visible side of several parts which will be difficult to eliminate. Sprue H provides for the newly tooled suspension and transmission cover. Also includes are the fancy drive sprockets to offer a more commonly seen option. There are two types of outer bogie halves one being common for this vehicle while the other, with horizontal braces and a larger radius in the upper edge, I have seen on M3 Lee tanks. Note that the instructions illustrate a three piece transmission armor with a cutout to clear the sponson of the M3 Lee. However, the kit includes the correct three piece armor without the cutout. The tracks are the T51 rubber pad type and the details are sharp but there is a seam on each which will be difficult to remove. Aftermarket options include sets from ModelKasten, Friulmodel, RHPS, and Resicast for burnt Sherman tracks. Personally, I will use RHPS due to cost. Should I ever consider burnt tracks, the best option are ModelKasten tracks as they have the skeleton detail and I can model only a portion of the tracks as burnt. Slide molding has been used on sprues Y and Z to open up the muzzles on the two 50 Cal HMGs, the 30 Cal MG, and the side detail of a 50 Cal ammunition box. Sprue Y has the larger machine guns and the pair is not identical with one having a cradle attached. Two pintles are also includes and a multi-part ammunition box with a side opening lid as opposed to the second type with the flip lid. On the same sprue as the 30 Cal machine gun are two types of canisters (one water and one fuel) with separate lids and handles. The decals cover some nice options but are incomplete. Although the instructions include front views for each of the four options, none are provided with markings for the front and rear of the vehicles. The options include an M7 from the US 2nd Armored Division in Sicily (July 1943); Battery B, 14th AFAB of the US Army’s 2nd Armored Division in Normandy (1944); a British Priest of the 11th Regiment Royal Horse Artillery, 1st Armored Division, El Alamein (1942); and the Free French 31st Firing Battery, 64th RADB, of their 2nd Armored Division in France (September 1944). While the markings are vibrantly printed and well chosen, I found them slightly thick and with a semi-gloss finish. Assembly In the twelve steps, one begins with the suspension. The fancy drive sprockets and welded road wheels are correctly called out. Here the choice of outer bogie halves is offered. I would suggest part H1 as it is the most common in photos. Part H2 is seen on the M3 Lee. The second step preps the hull tub by removing some parts and grinding them away, adding the suspension bogies and idlers. I would suggest leaving the idlers off until track installation. Steps 3 to 5 deal with the transmission assembly, both inner and outer sides. The next step, the 6th, adds the driver’s compartment and front fenders along with the instrument panel. This item does not match that found in the TM (see photo 15) but it is possibly correct for an early or mid model. The gun assembly is tacked in step 7 and it is made of several pieces with the barrel and recuperator slide molded. An inset showing the finished model is included but I do not see how this helps the modeler in assembly. While a raised fighting platform is included, I need to see if the omitted drive shafts will be visible after the platform is in place. Several panels make up the upper hull in step 8. The front pieces, part C1, includes some nice weld detail. There are a few shallow knock out punch marks to deal with and the rail on the machine gun skate ring mount is a but simplified. The grouser boxes on the glacis are shown as stowing spare track blocks. While some may not find this unusual, the way Academy recommends assembly definitely is unorthodox. They would have you glue the blocks to the glacis and then the boxes over them. For this kit, I have plenty of grousers left over from the many Academy M10/36 kits in my stash. The next two steps deal with the rear of the vehicle. It is nice to see the engine hatches on the lower vertical plate are separate. Box type air cleaners are provided but the photos I have seen which show the air cleaners seem to have the round can type. Formations models does make a set that would be perfect. The final two assembly steps cover the well done heavy machine gun, adding the upper hull to the lower hull, ammunition stowage, accessories, and the tracks. Accuracy As the kit is designed, it is a mid production model. It has the top opening lids and the revised increased ammunition stowage. The headlights guards are included and the option to use the later heavy duty bogies are there even though they are not mentioned in the instructions. In the first published English review on this kit, Cookie Sewell beat me in pointing out the two missing vents on either side of the central engine plate. While I considered ways to include these vents and their cover, Cookie mentions an option I did not think of, covering them in stowage after placing some brackets. Other details to be added are the bolts to mount the transmission armor housing are shown as rivets on the sides and bottom of the hull. These could be replaced or hidden behind weathering. Summary This is actually a very nice effort from Academy and shows their dedication to the modeler in taking the time to correct the suspension. The ability to correct my M3 Lee using the left over outer bogie halves is also a bonus. The small problems there are can be taken care of with only the difficult pin marks being the most time consuming. This kit is recommended to all Allied modelers. References Used
See also: Cookie Sewell's review on this site. Frank DeSisto has done an excellent review on Missing-Lynx with a few details missed by me. Click here. Terry Ashley's review was published here. - Saul Garcia
|
||||||||||


 |
 |
 |
 |
 |
 |
 |
 |
 |
 |
 |
 |
|